A guide to designing and printing labels with the Phomymo label designer.
Open phomymo.affordablemagic.net in Chrome, Edge, or another Chromium-based browser. The app works on desktop and Android - iOS is not supported due to Web Bluetooth limitations.
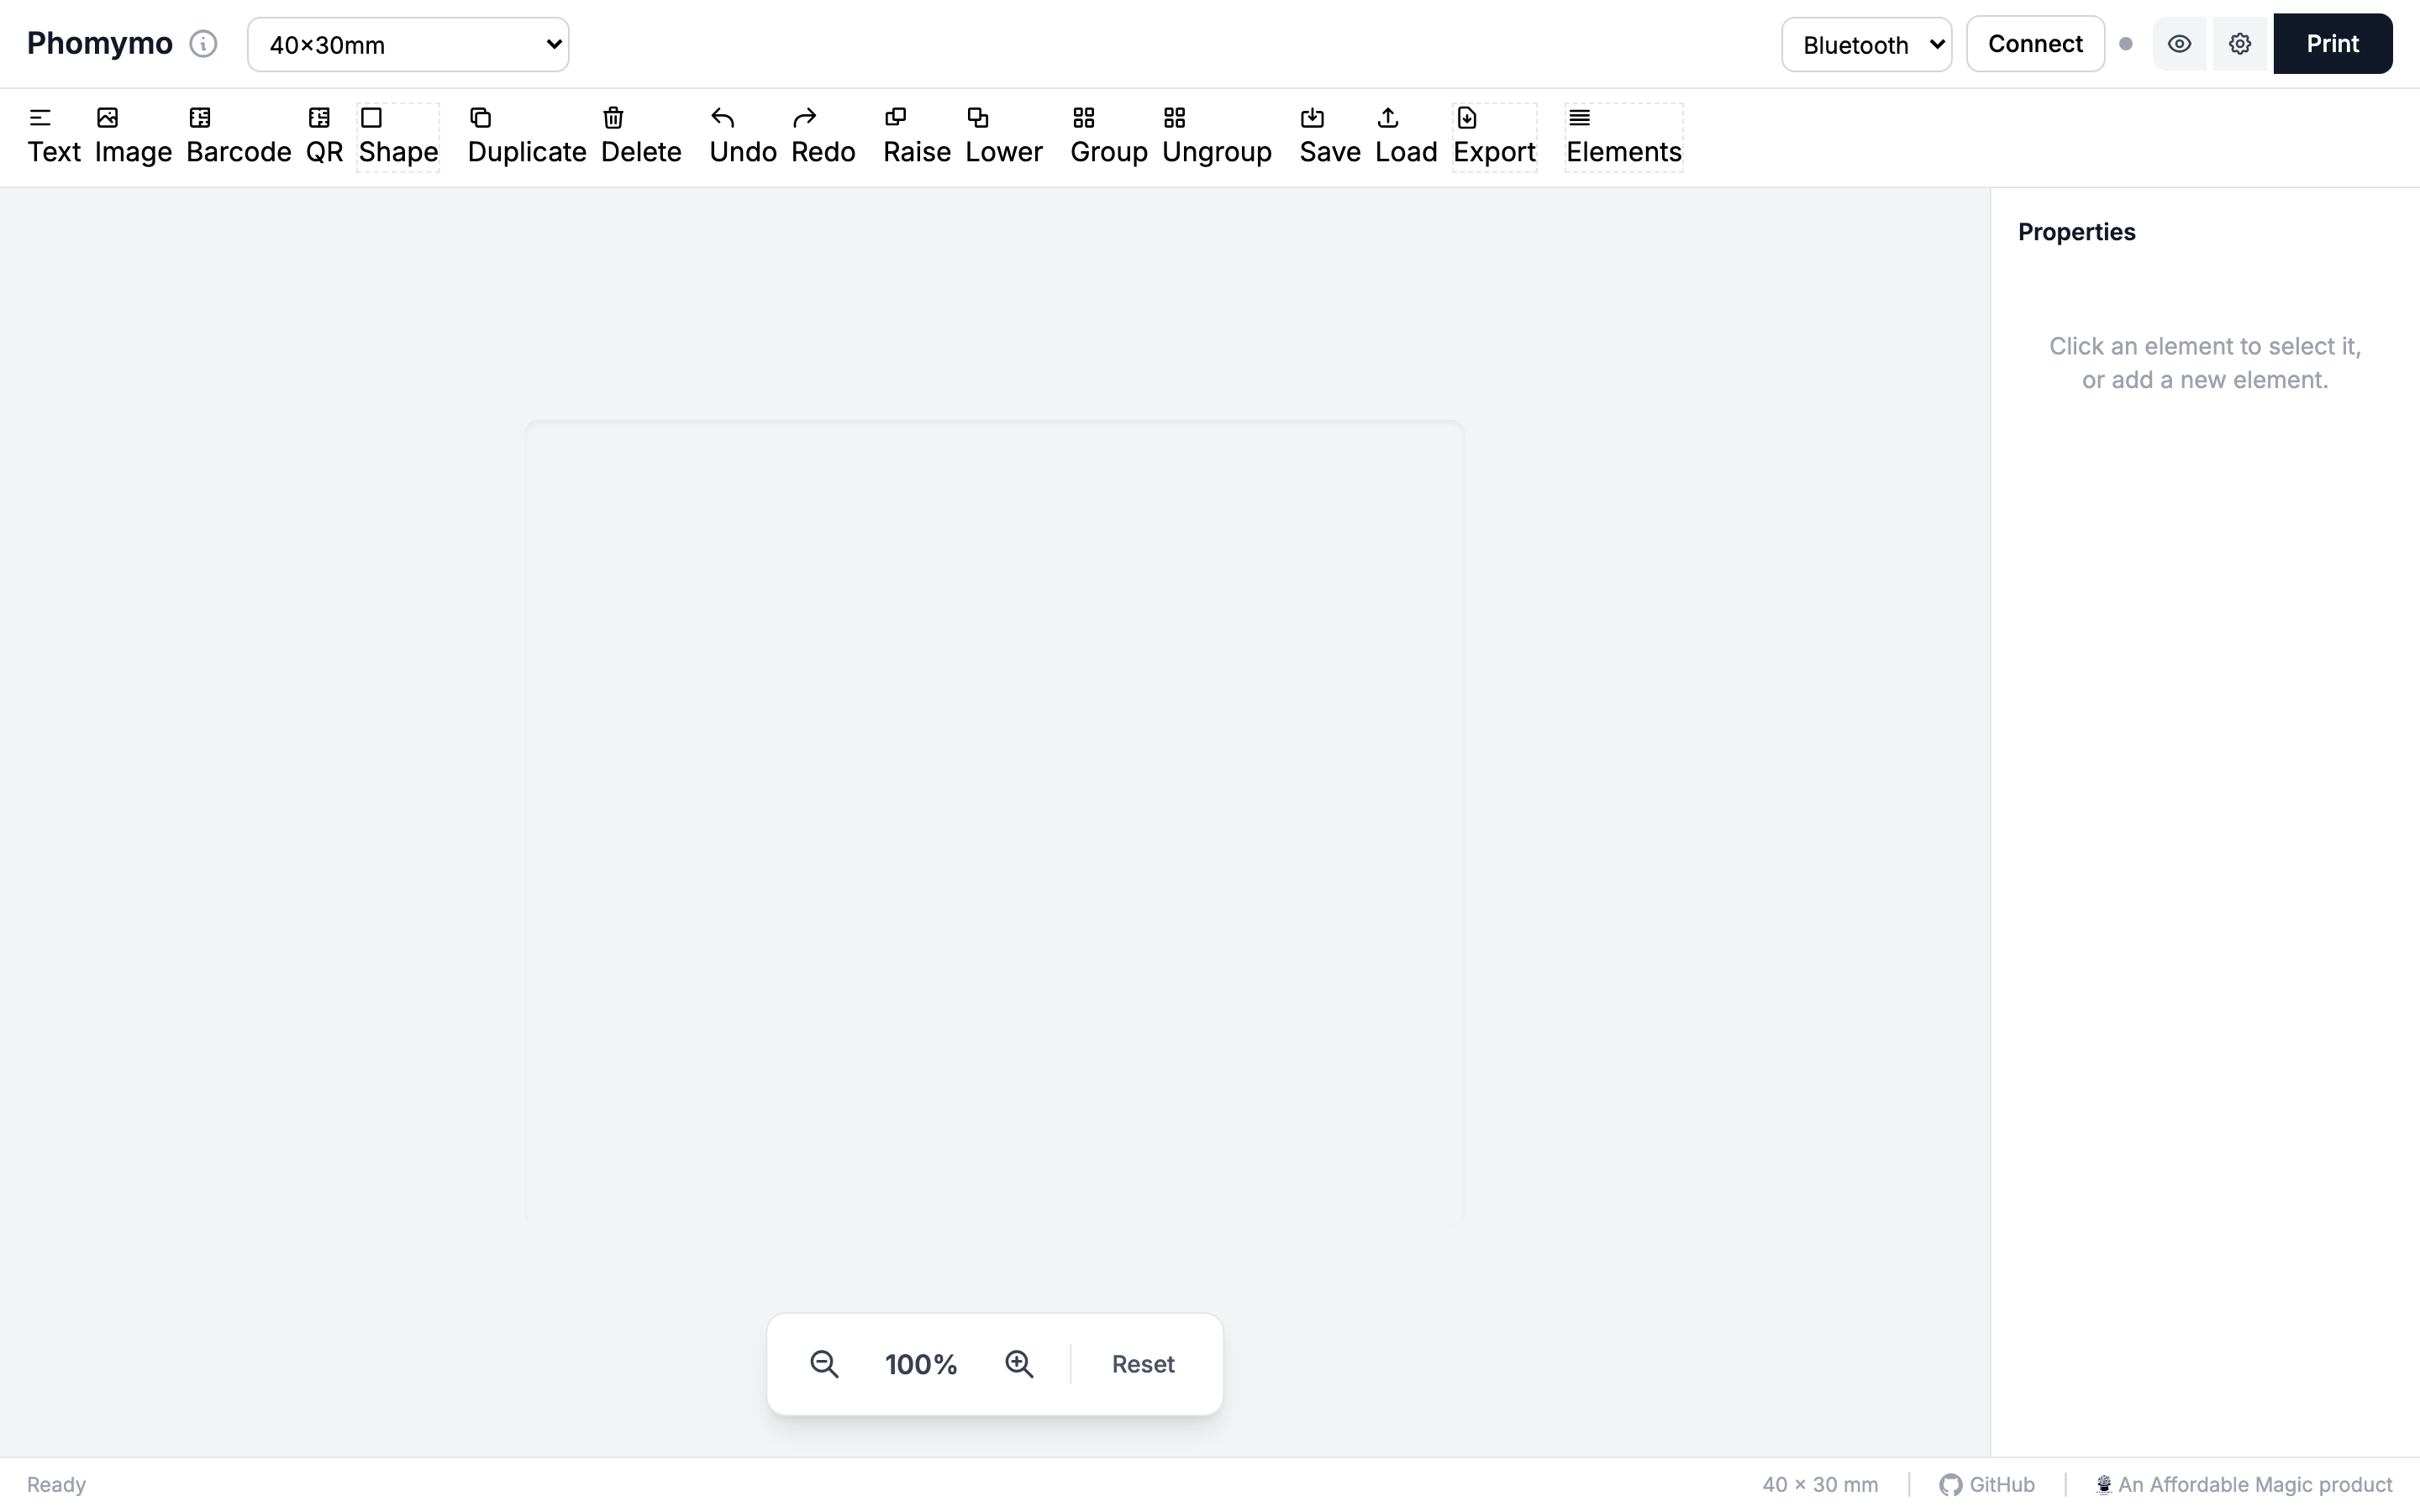
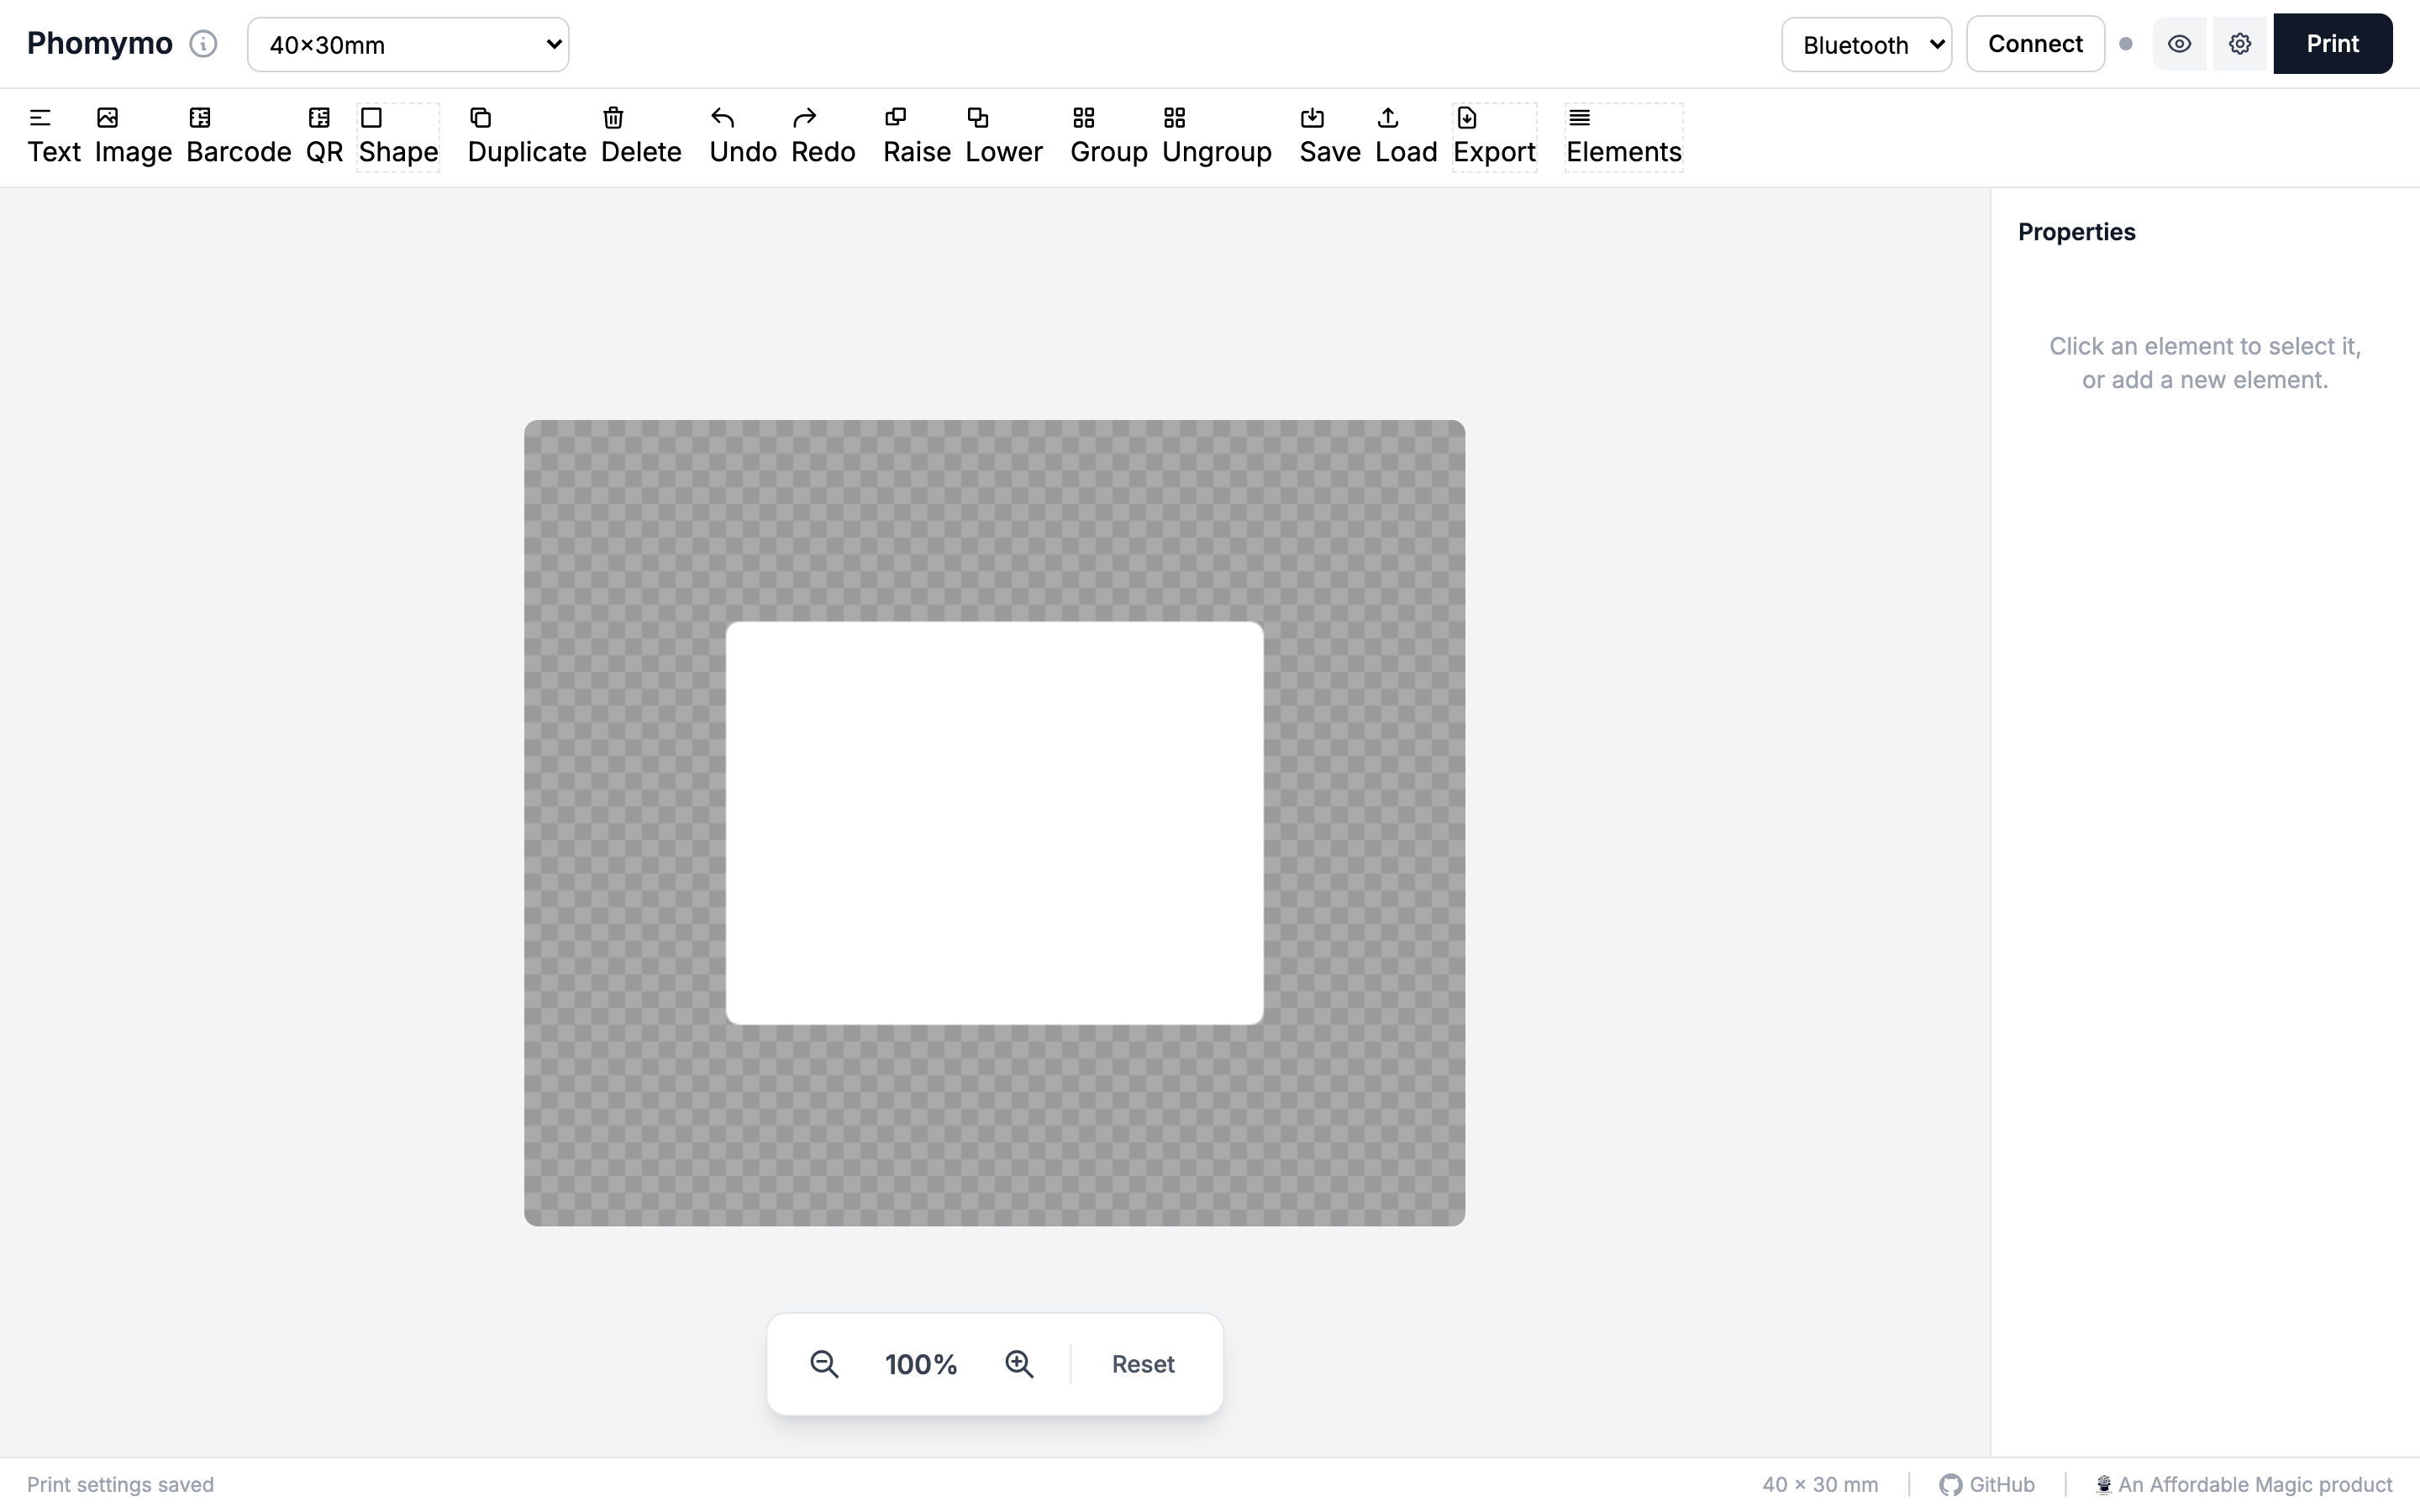
The interface has three main areas:

You can also use USB for PM-241 shipping label printers by switching the connection type dropdown.
Use the toolbar buttons to add elements to your label. Each element appears on the canvas and can be dragged, resized, and rotated.
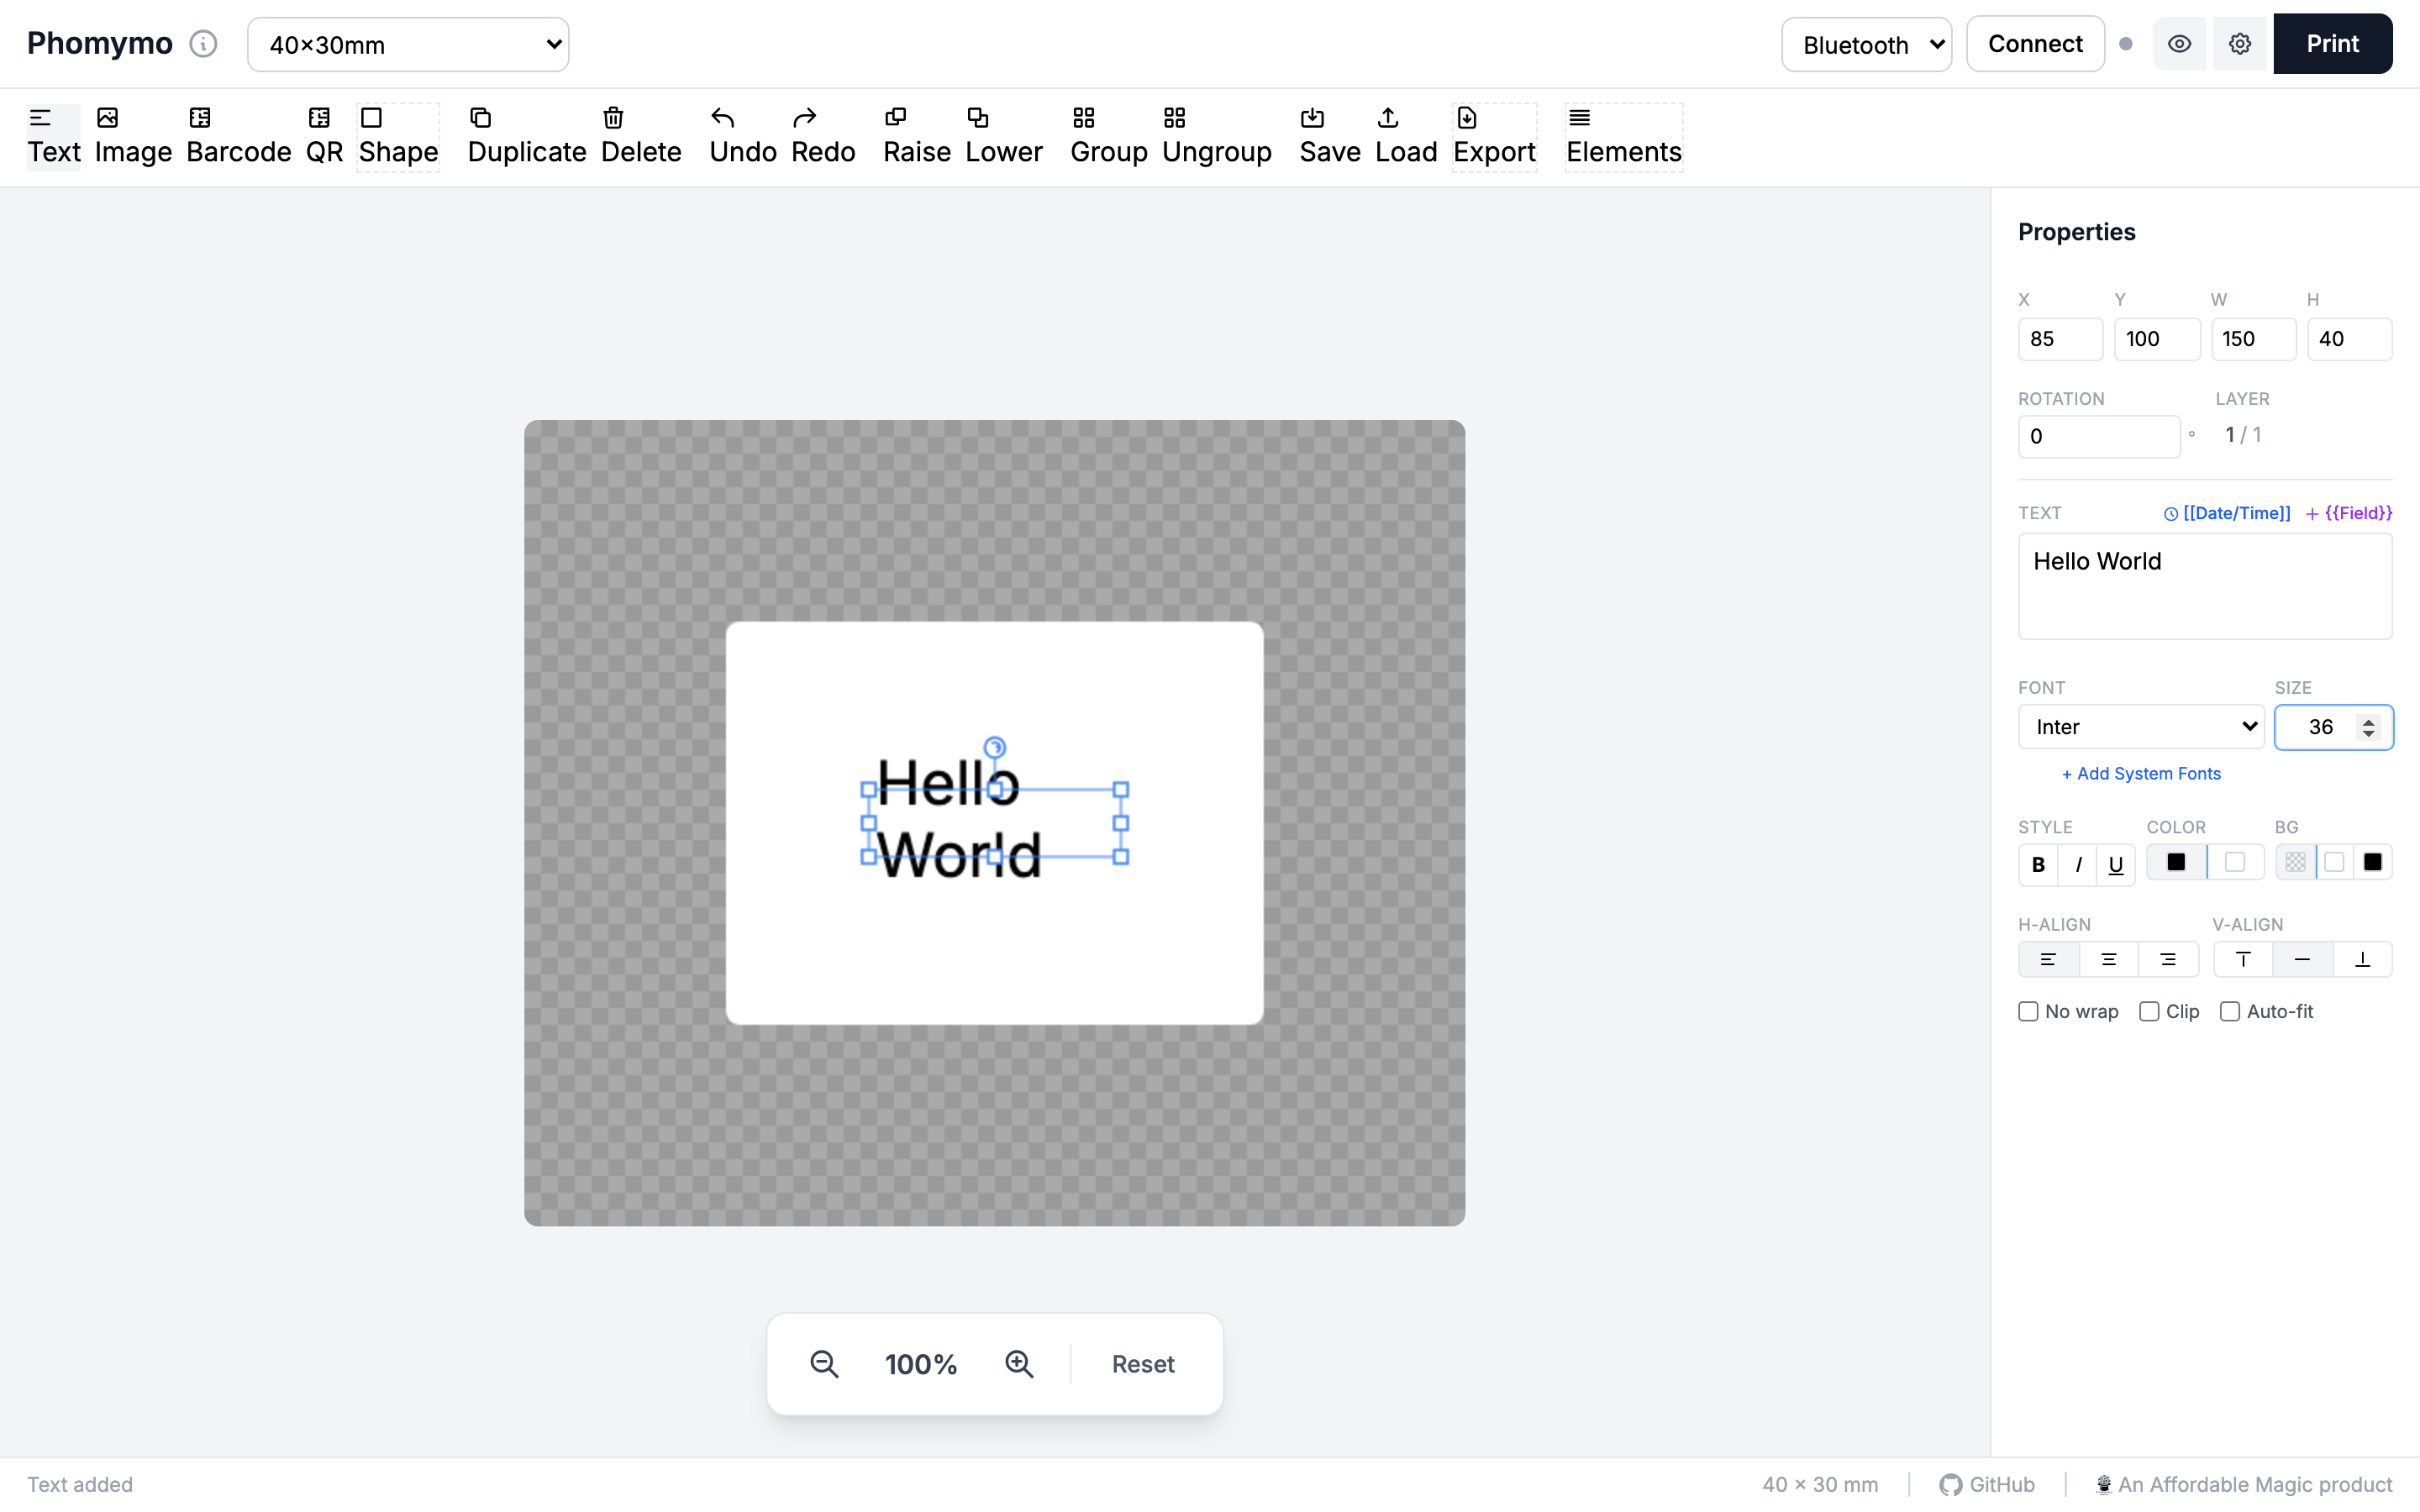
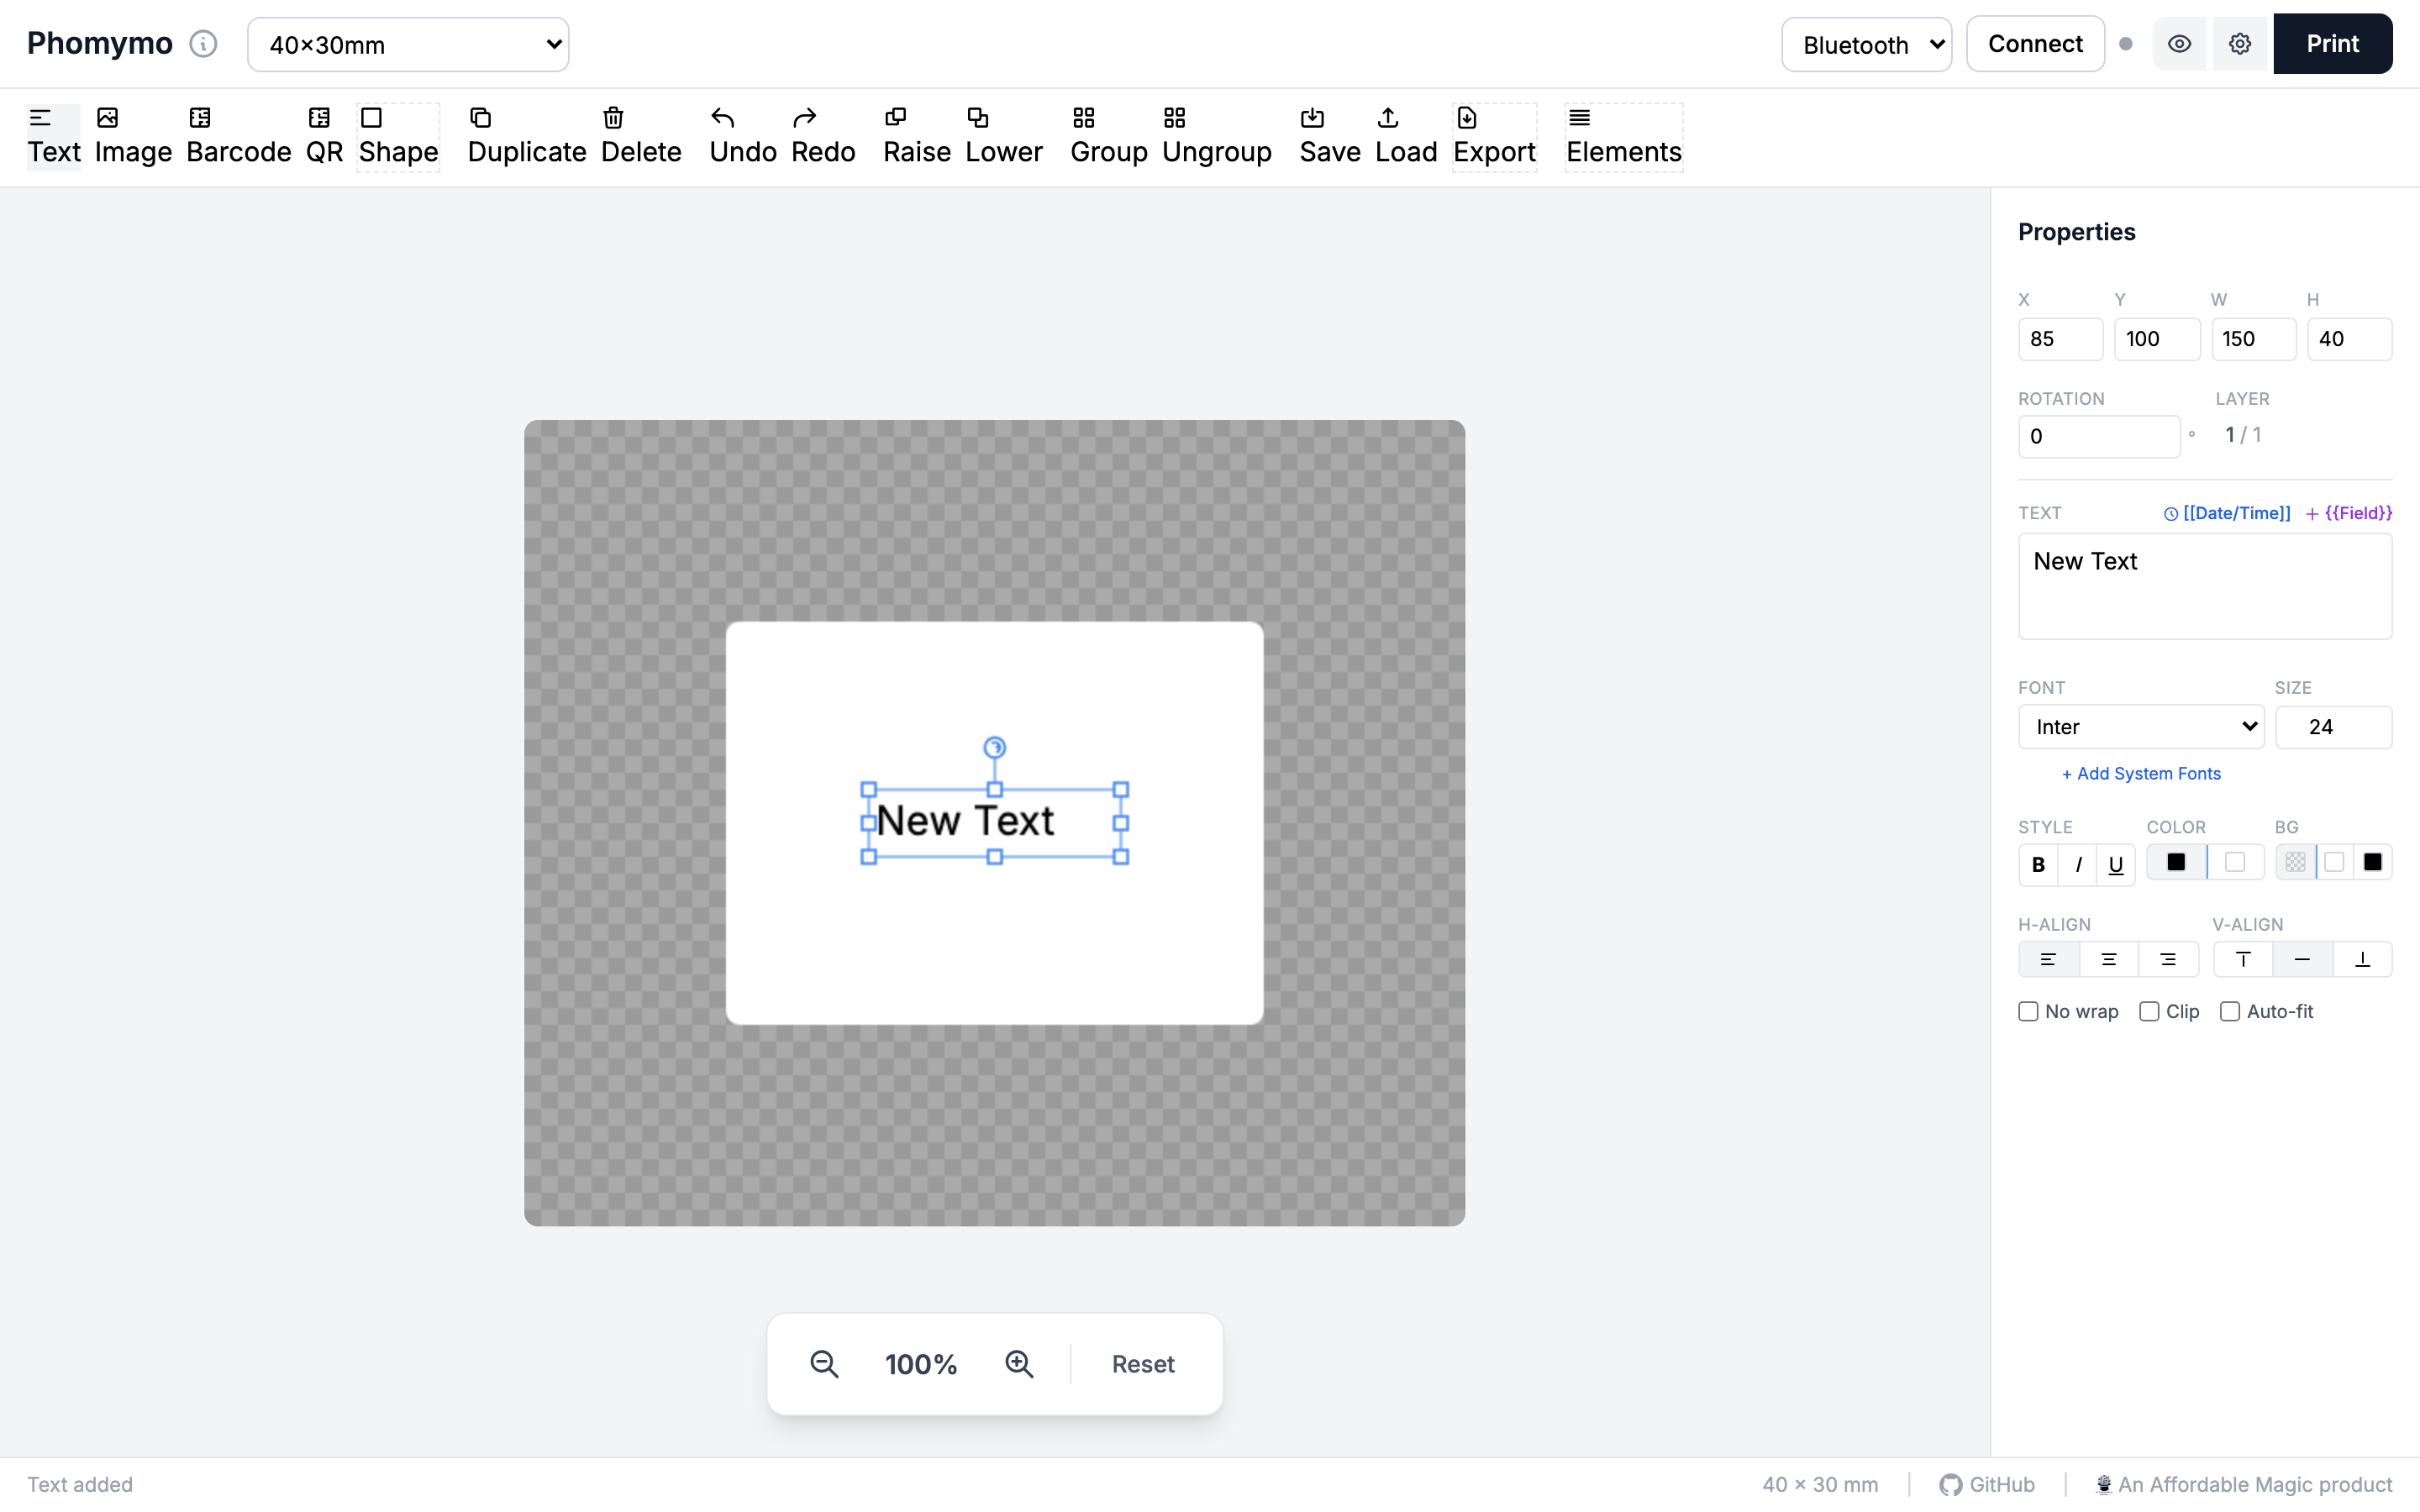
Click Text to add a text element. It starts in inline edit mode - type your text and click outside to finish.

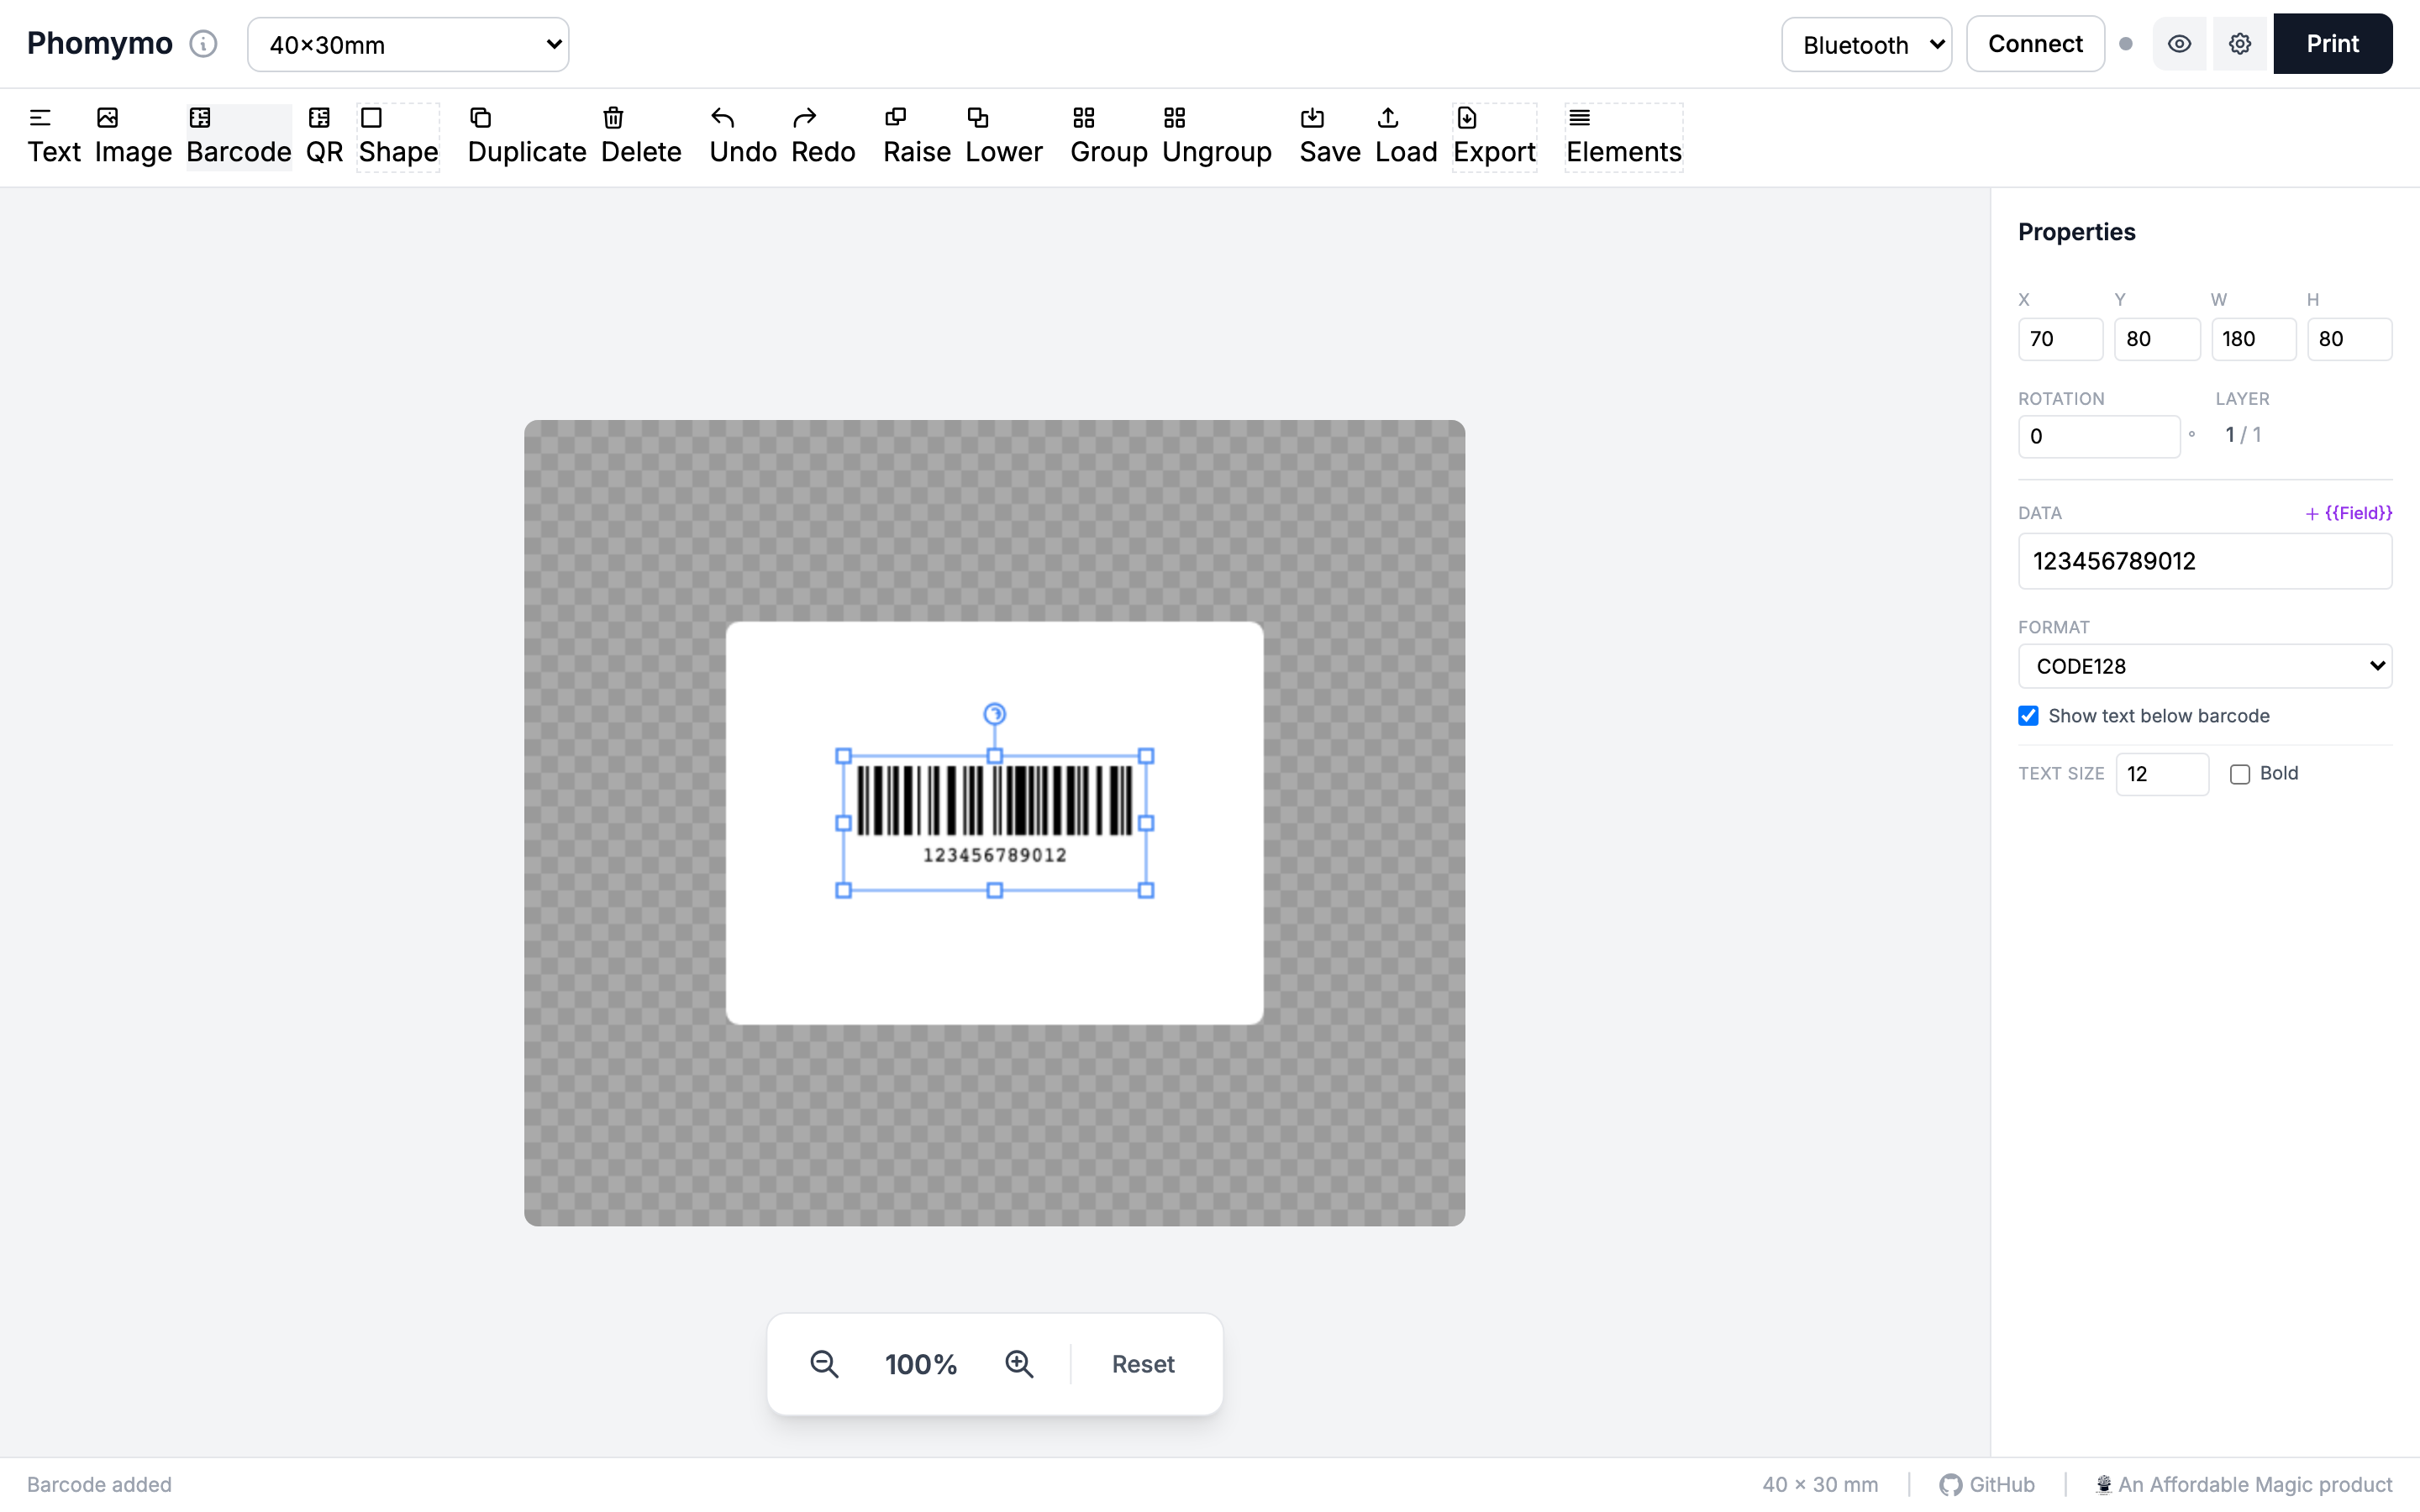
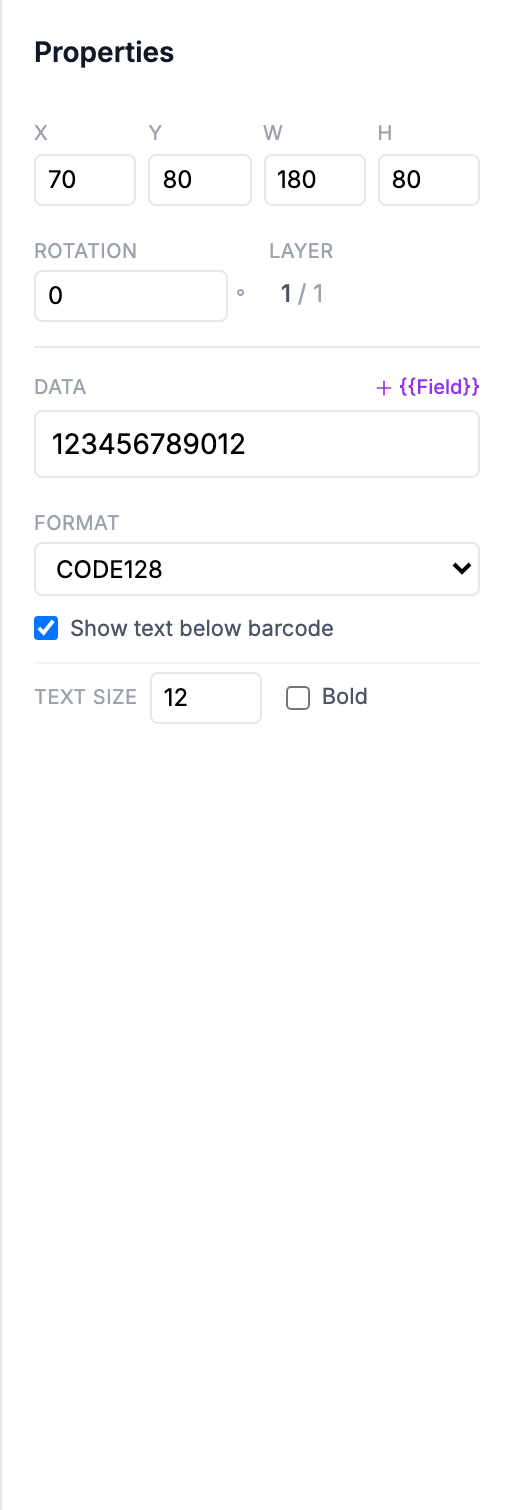
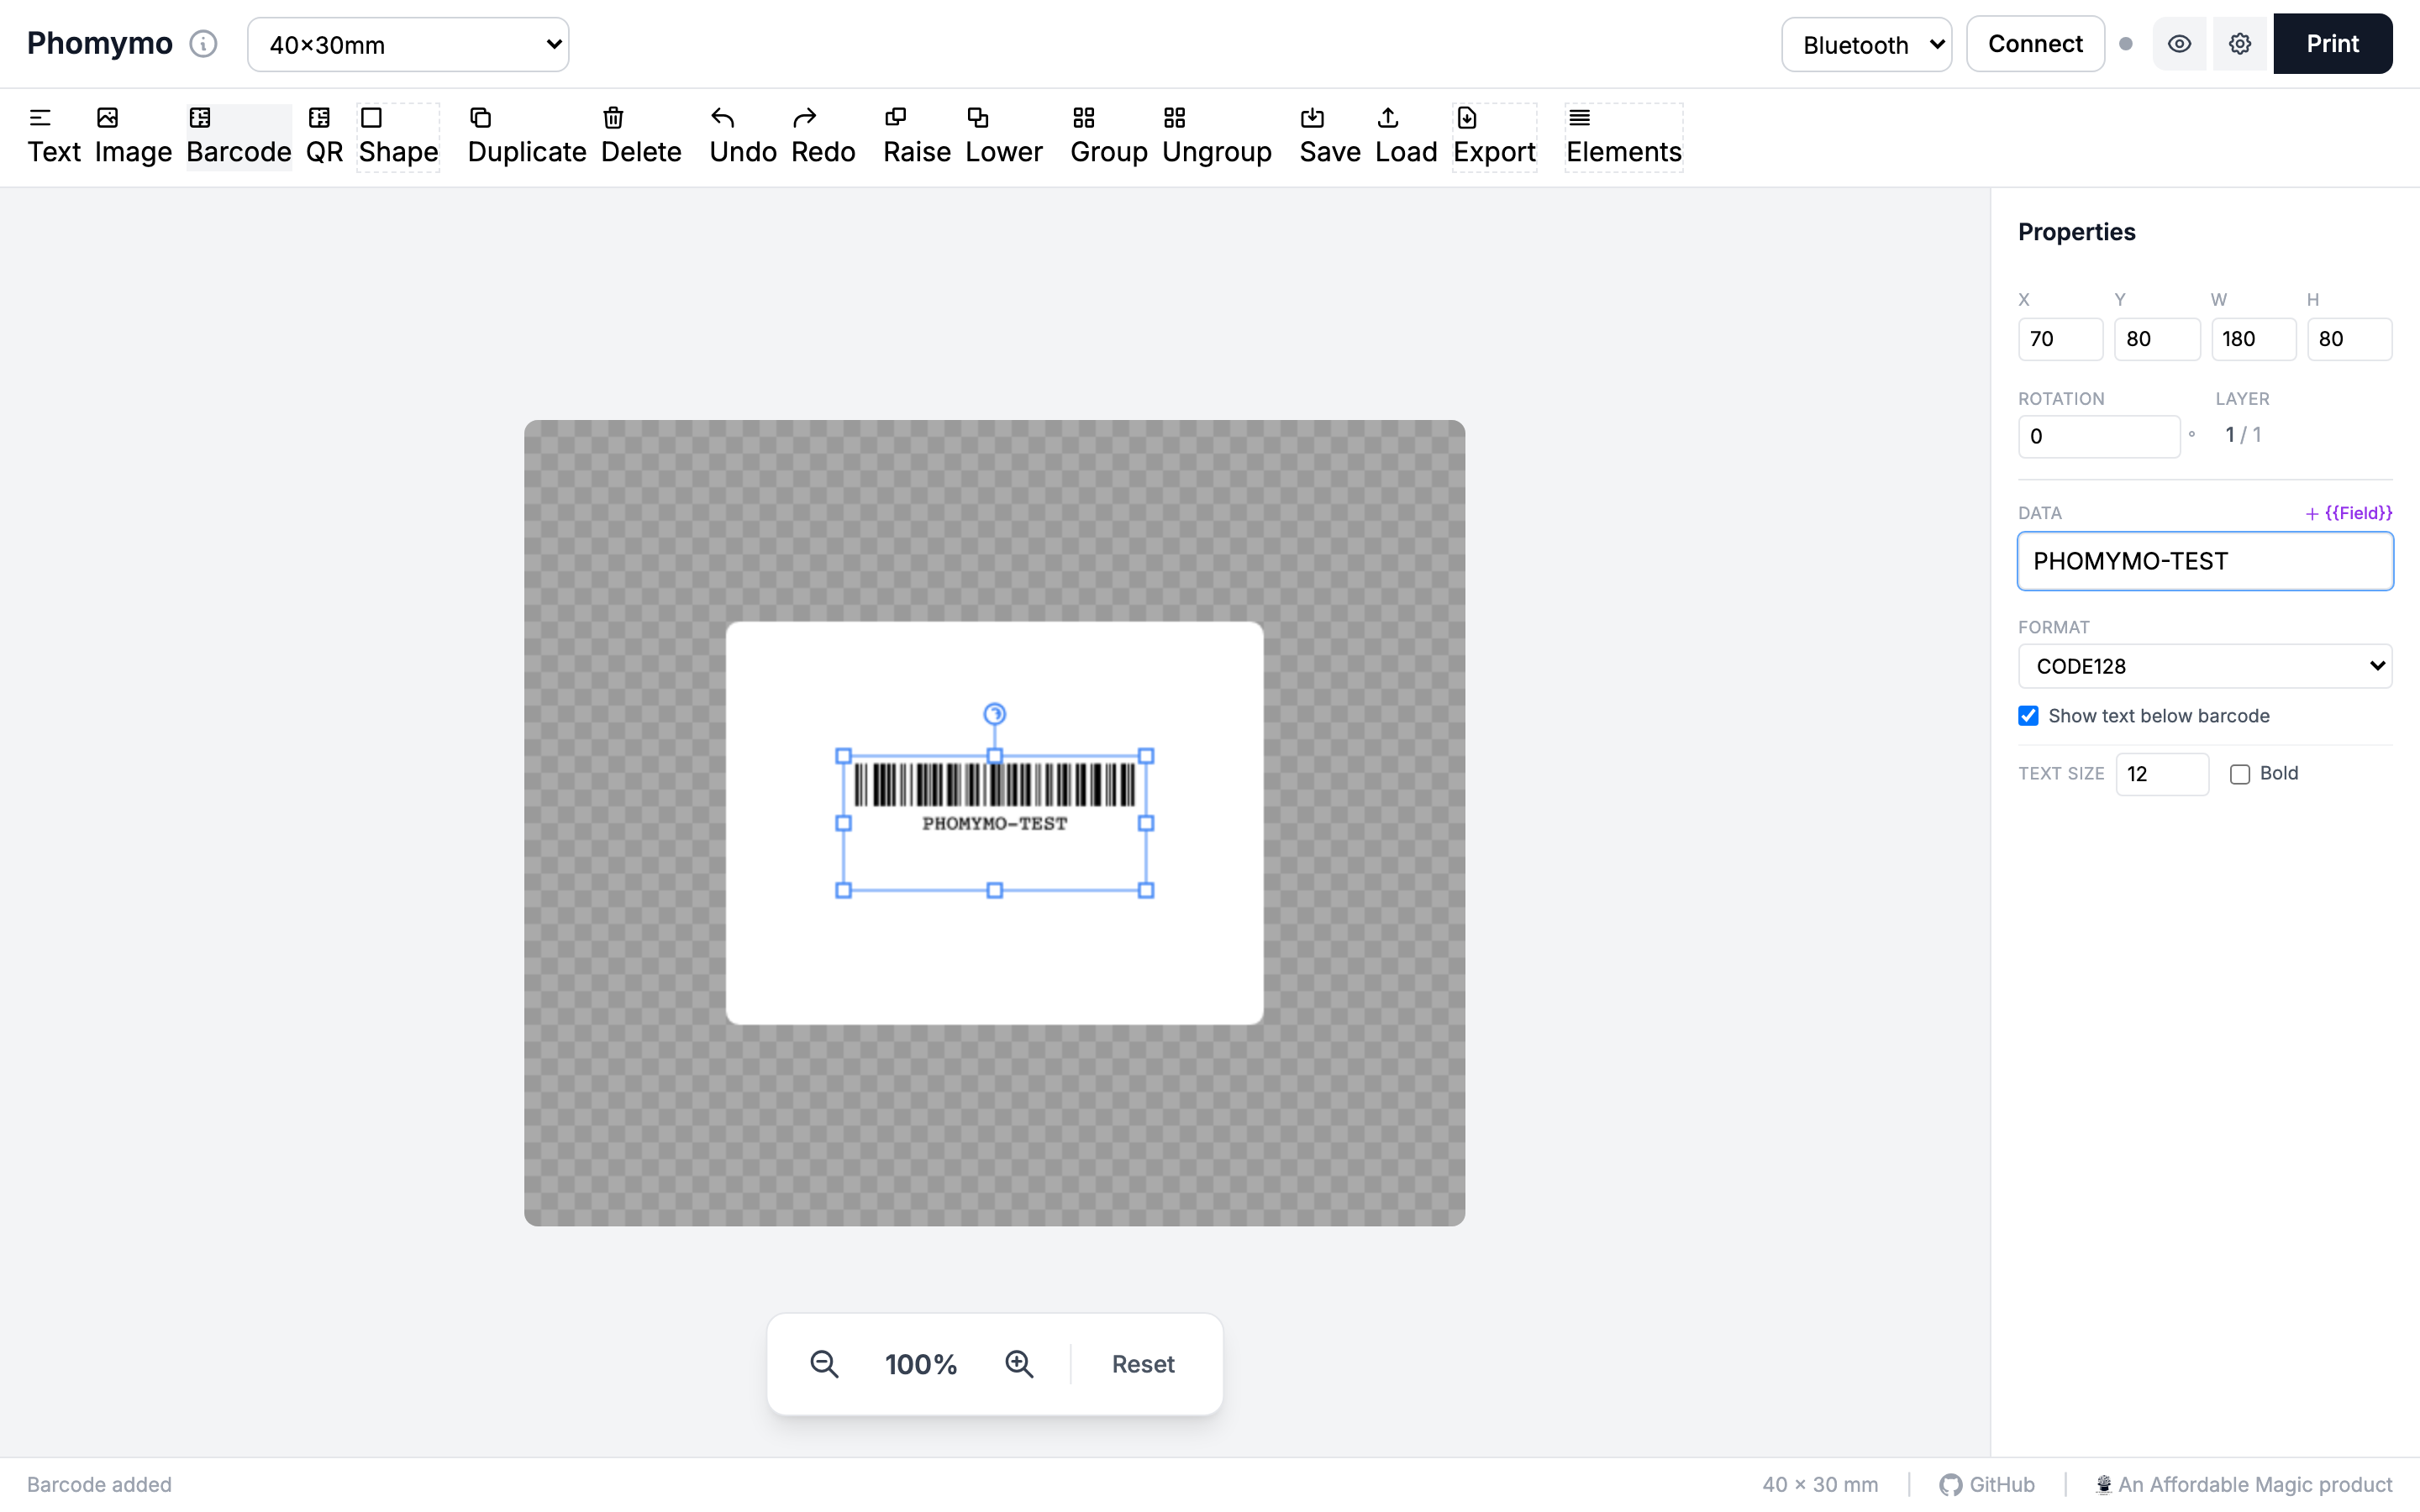
Click Barcode to add a barcode. The default format is Code 128 - change it in the properties panel.
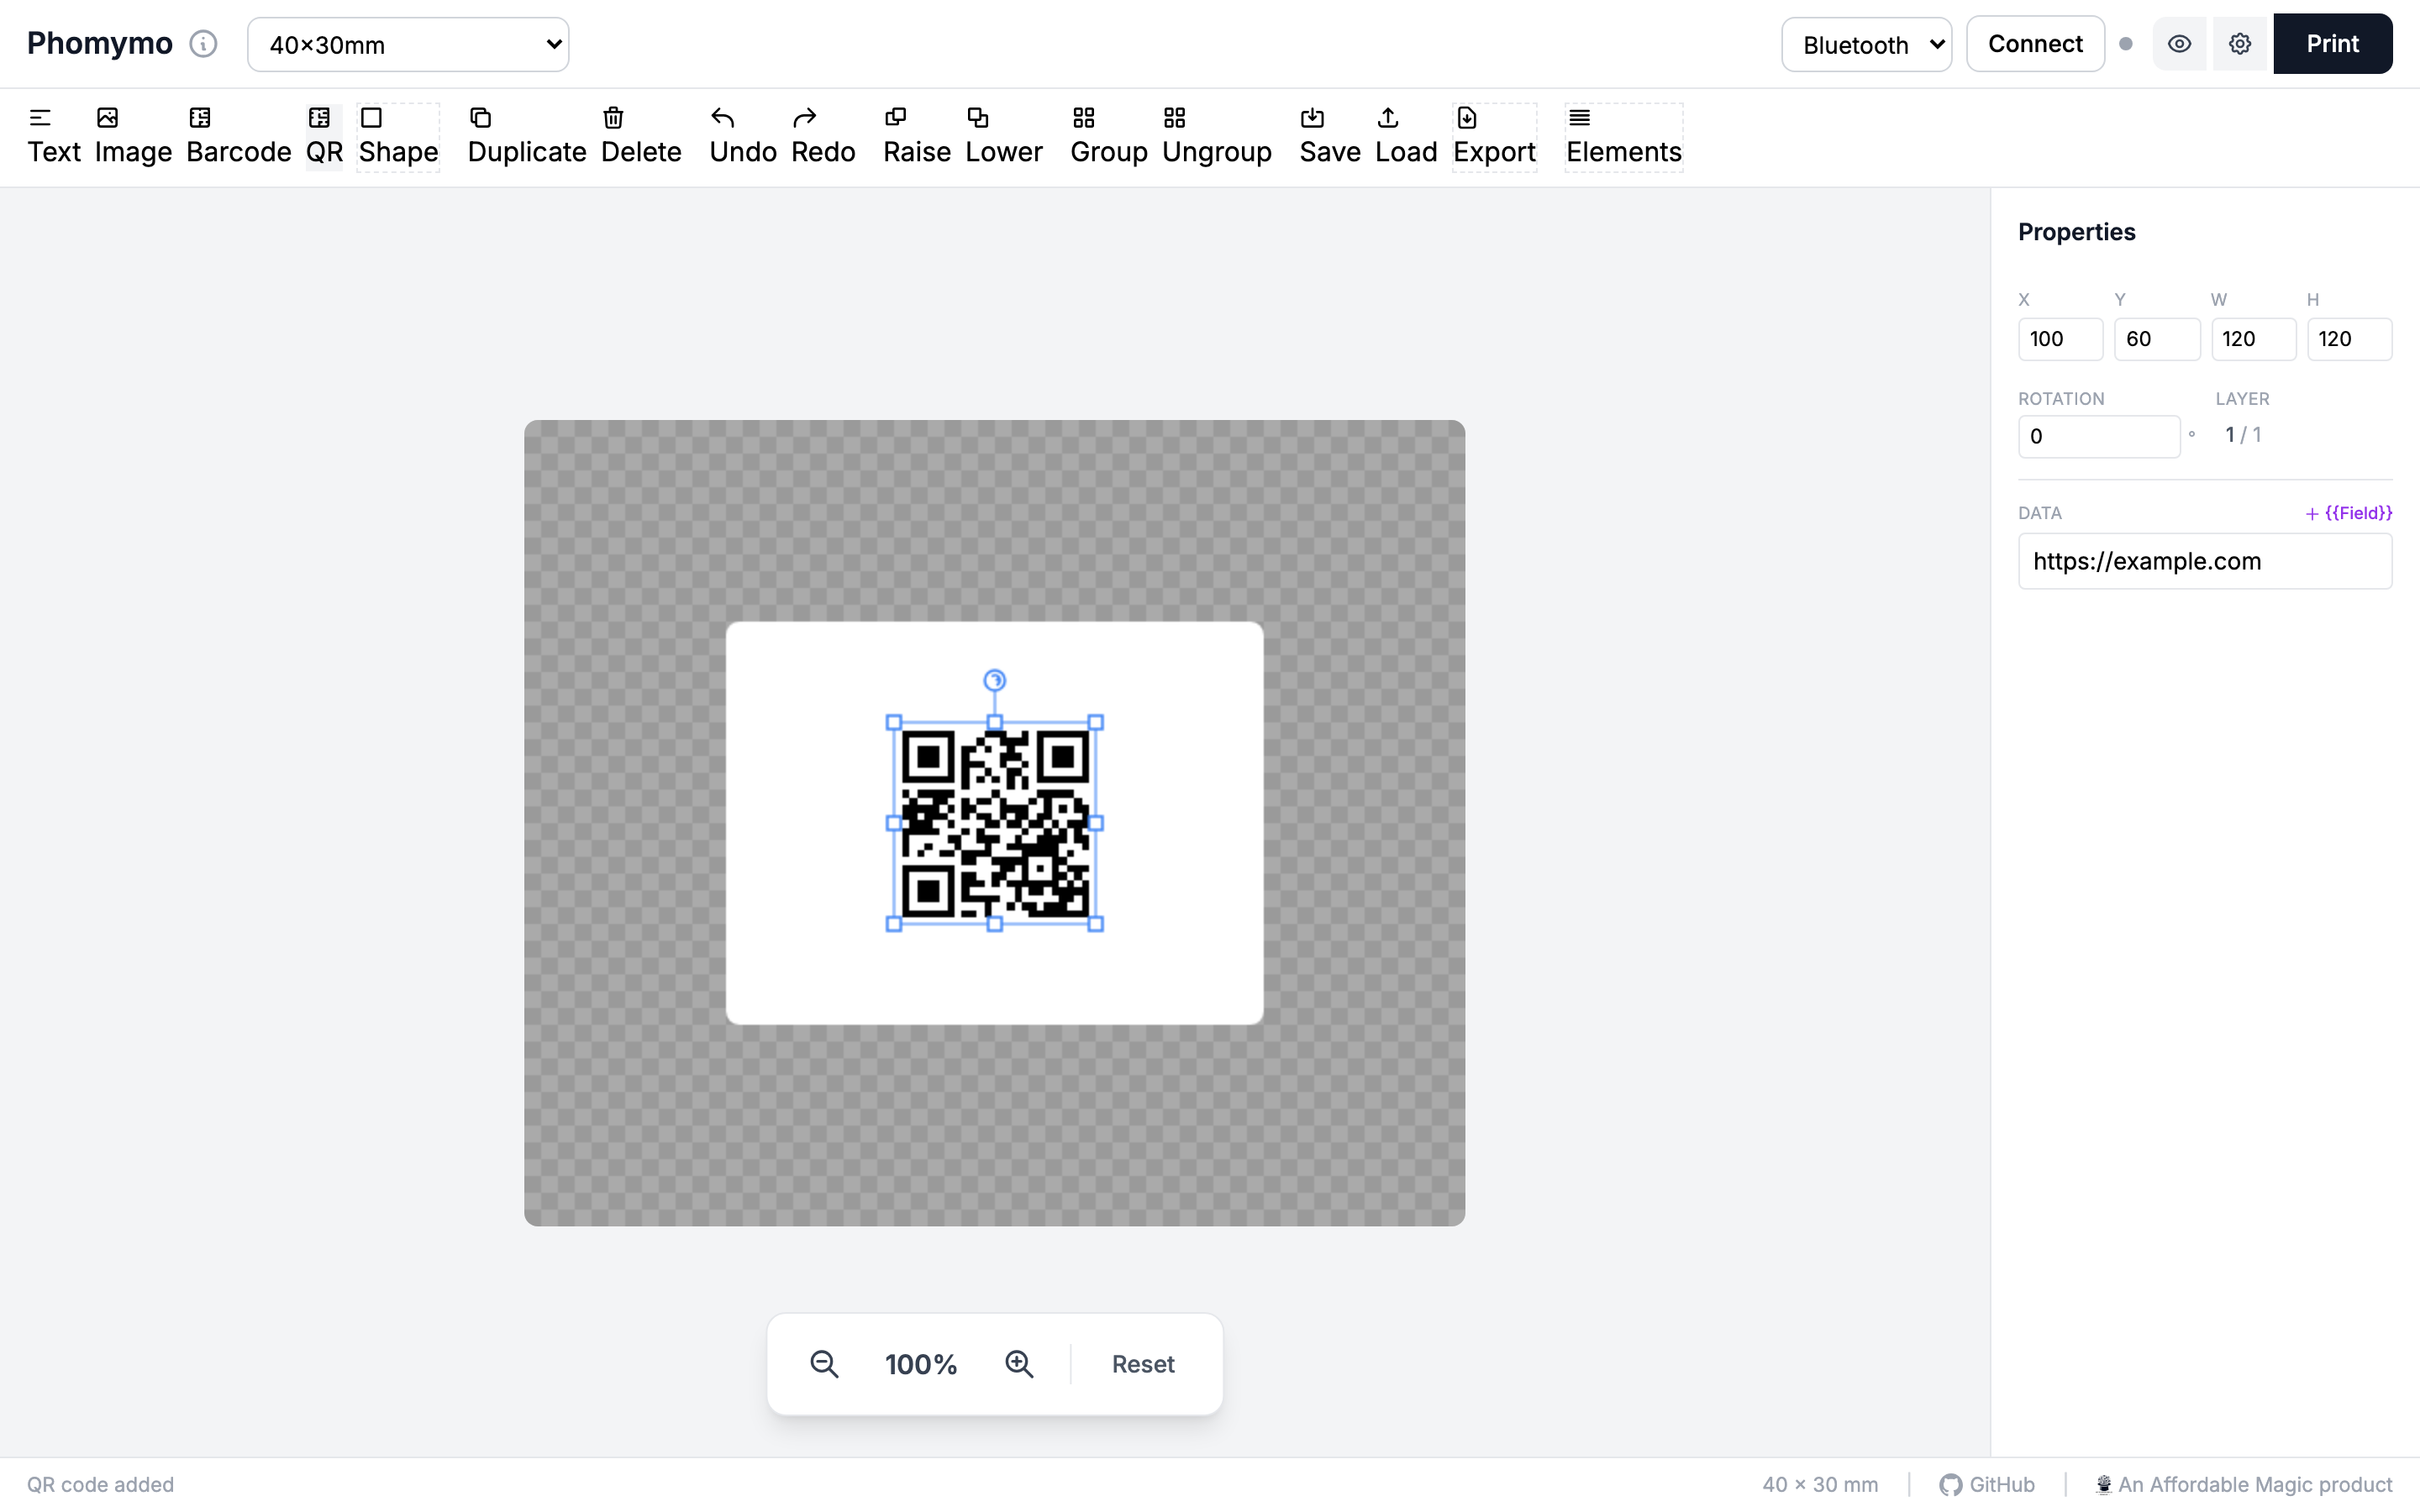
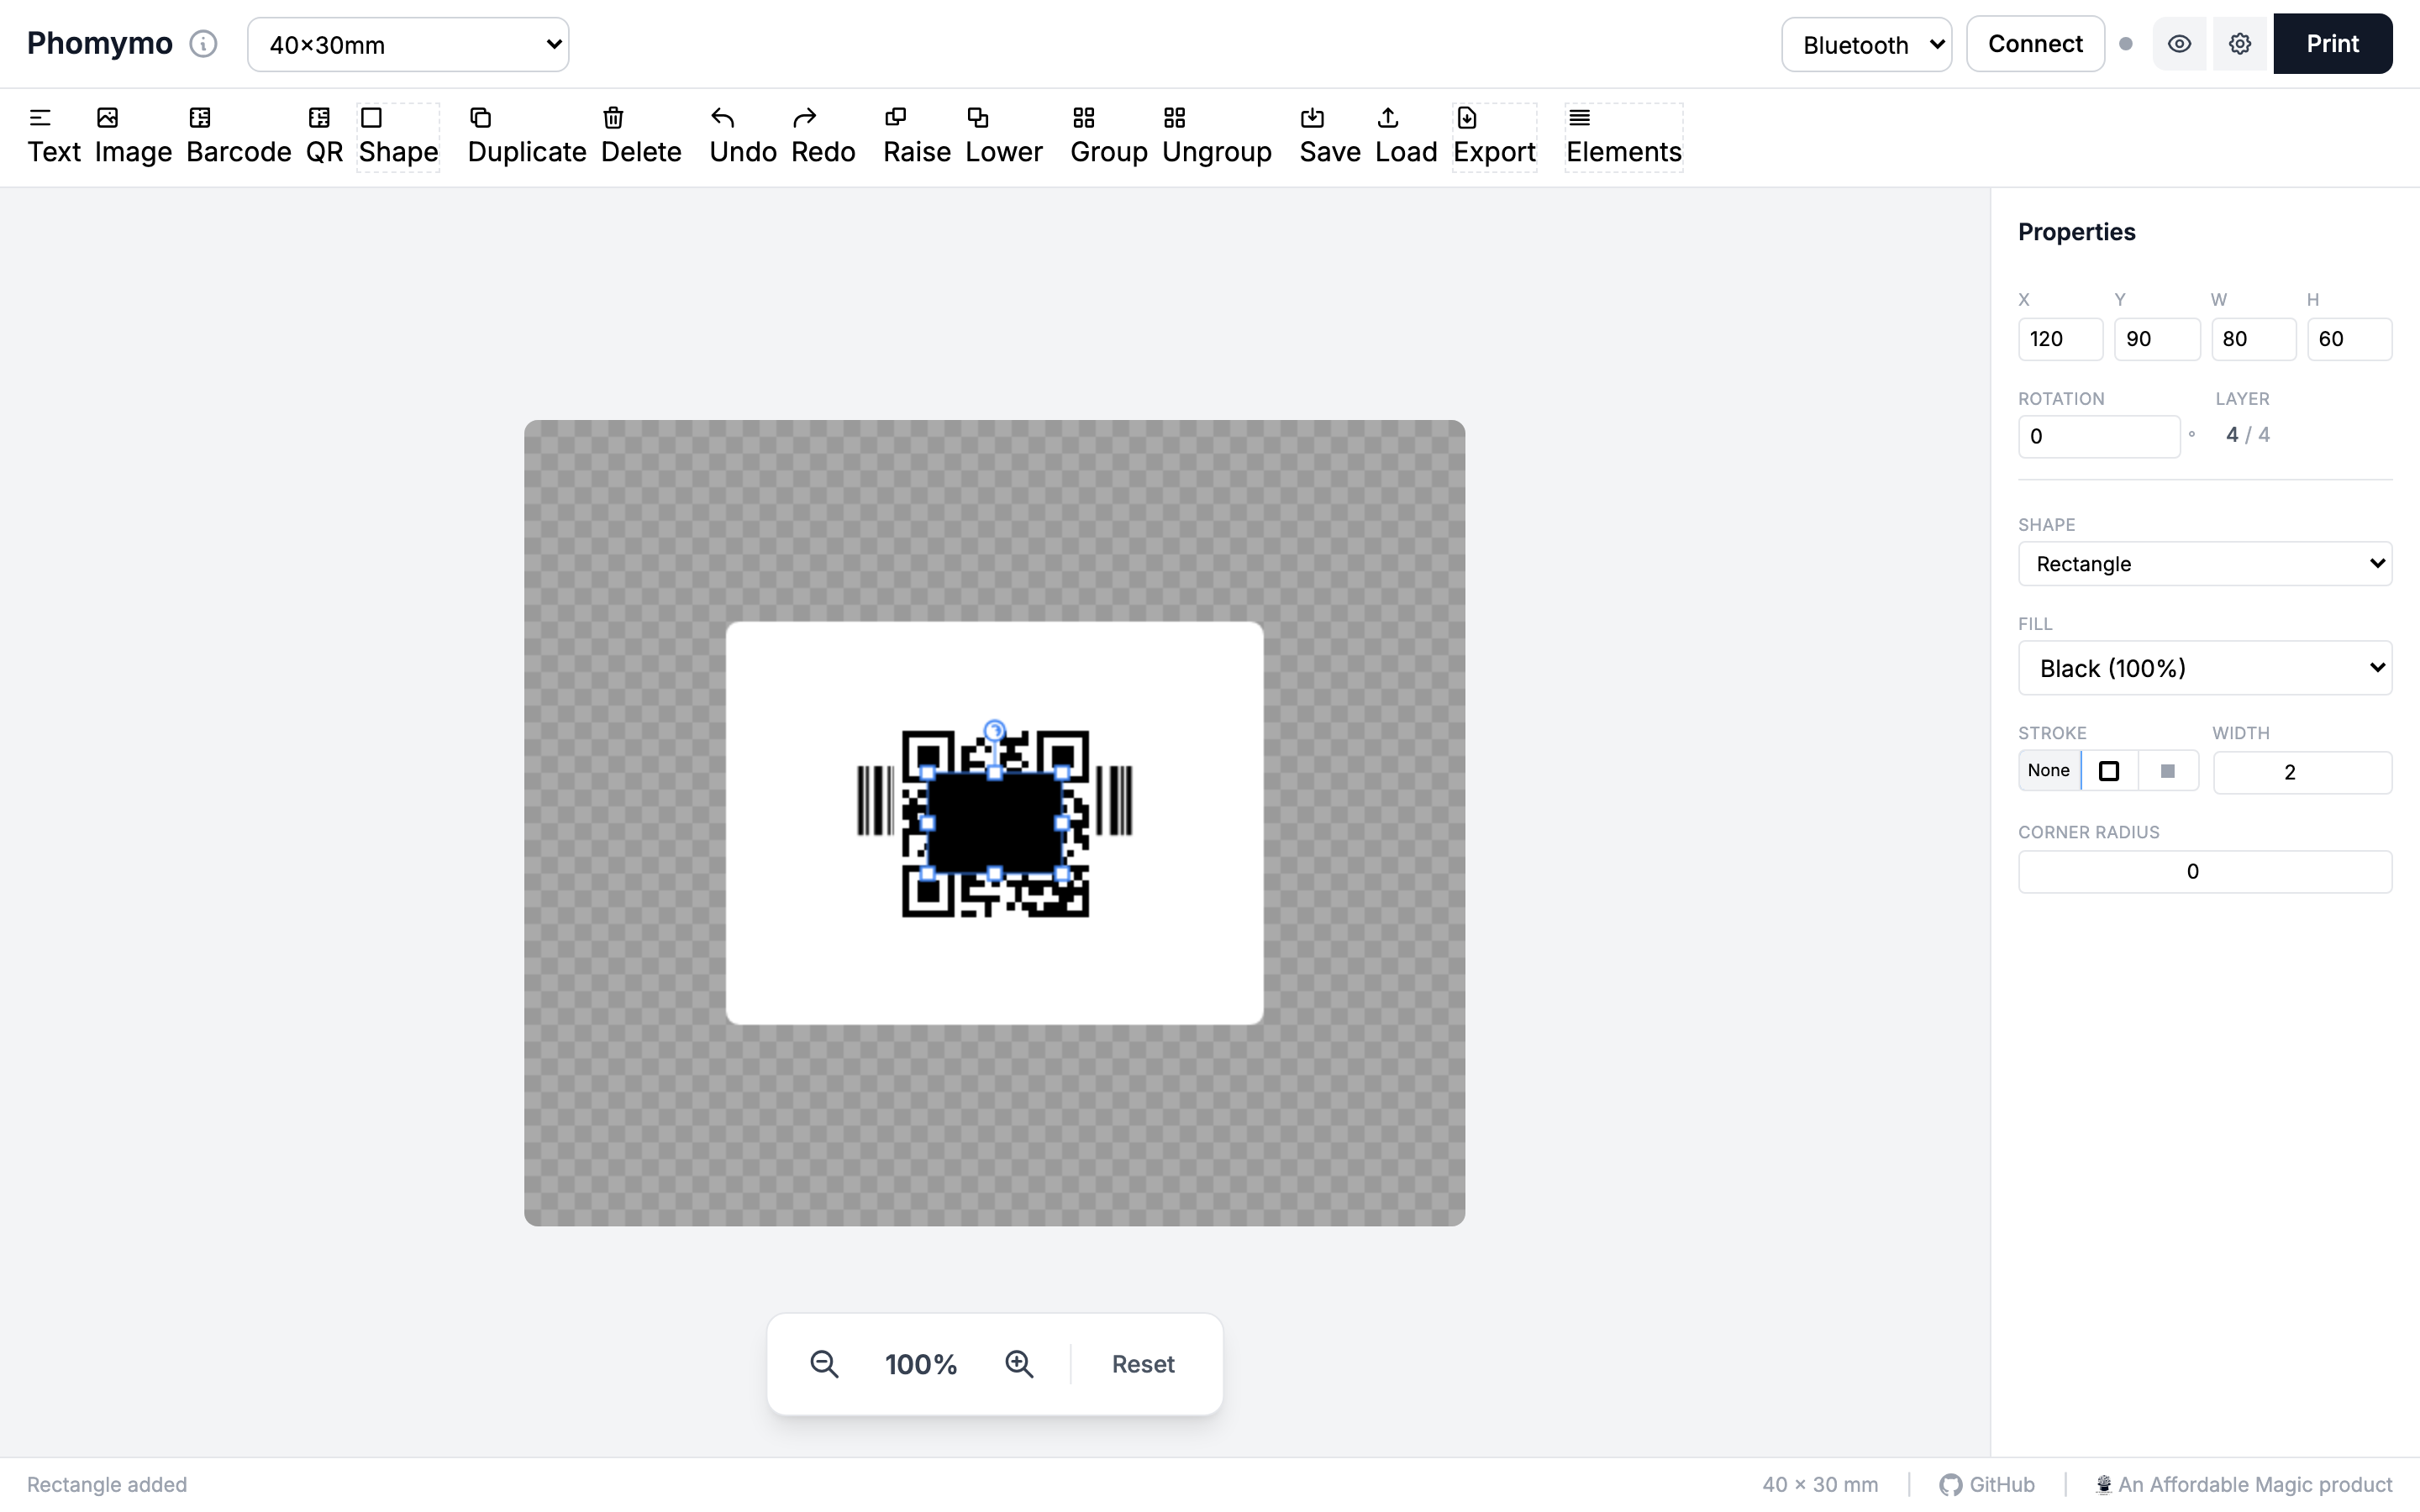
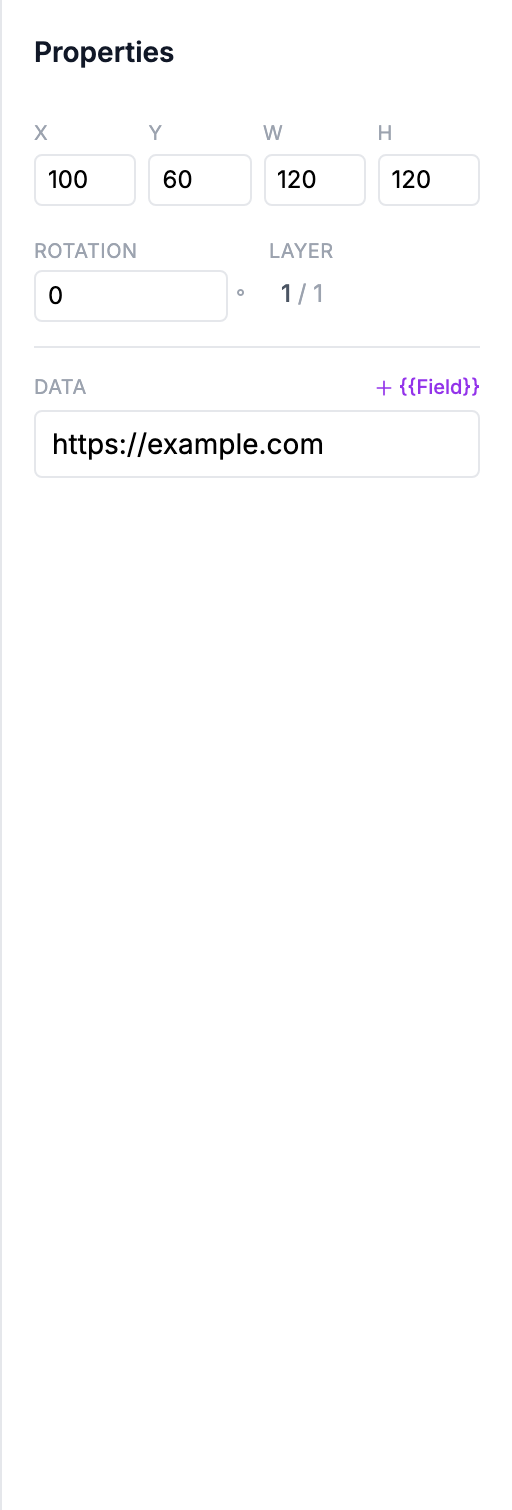
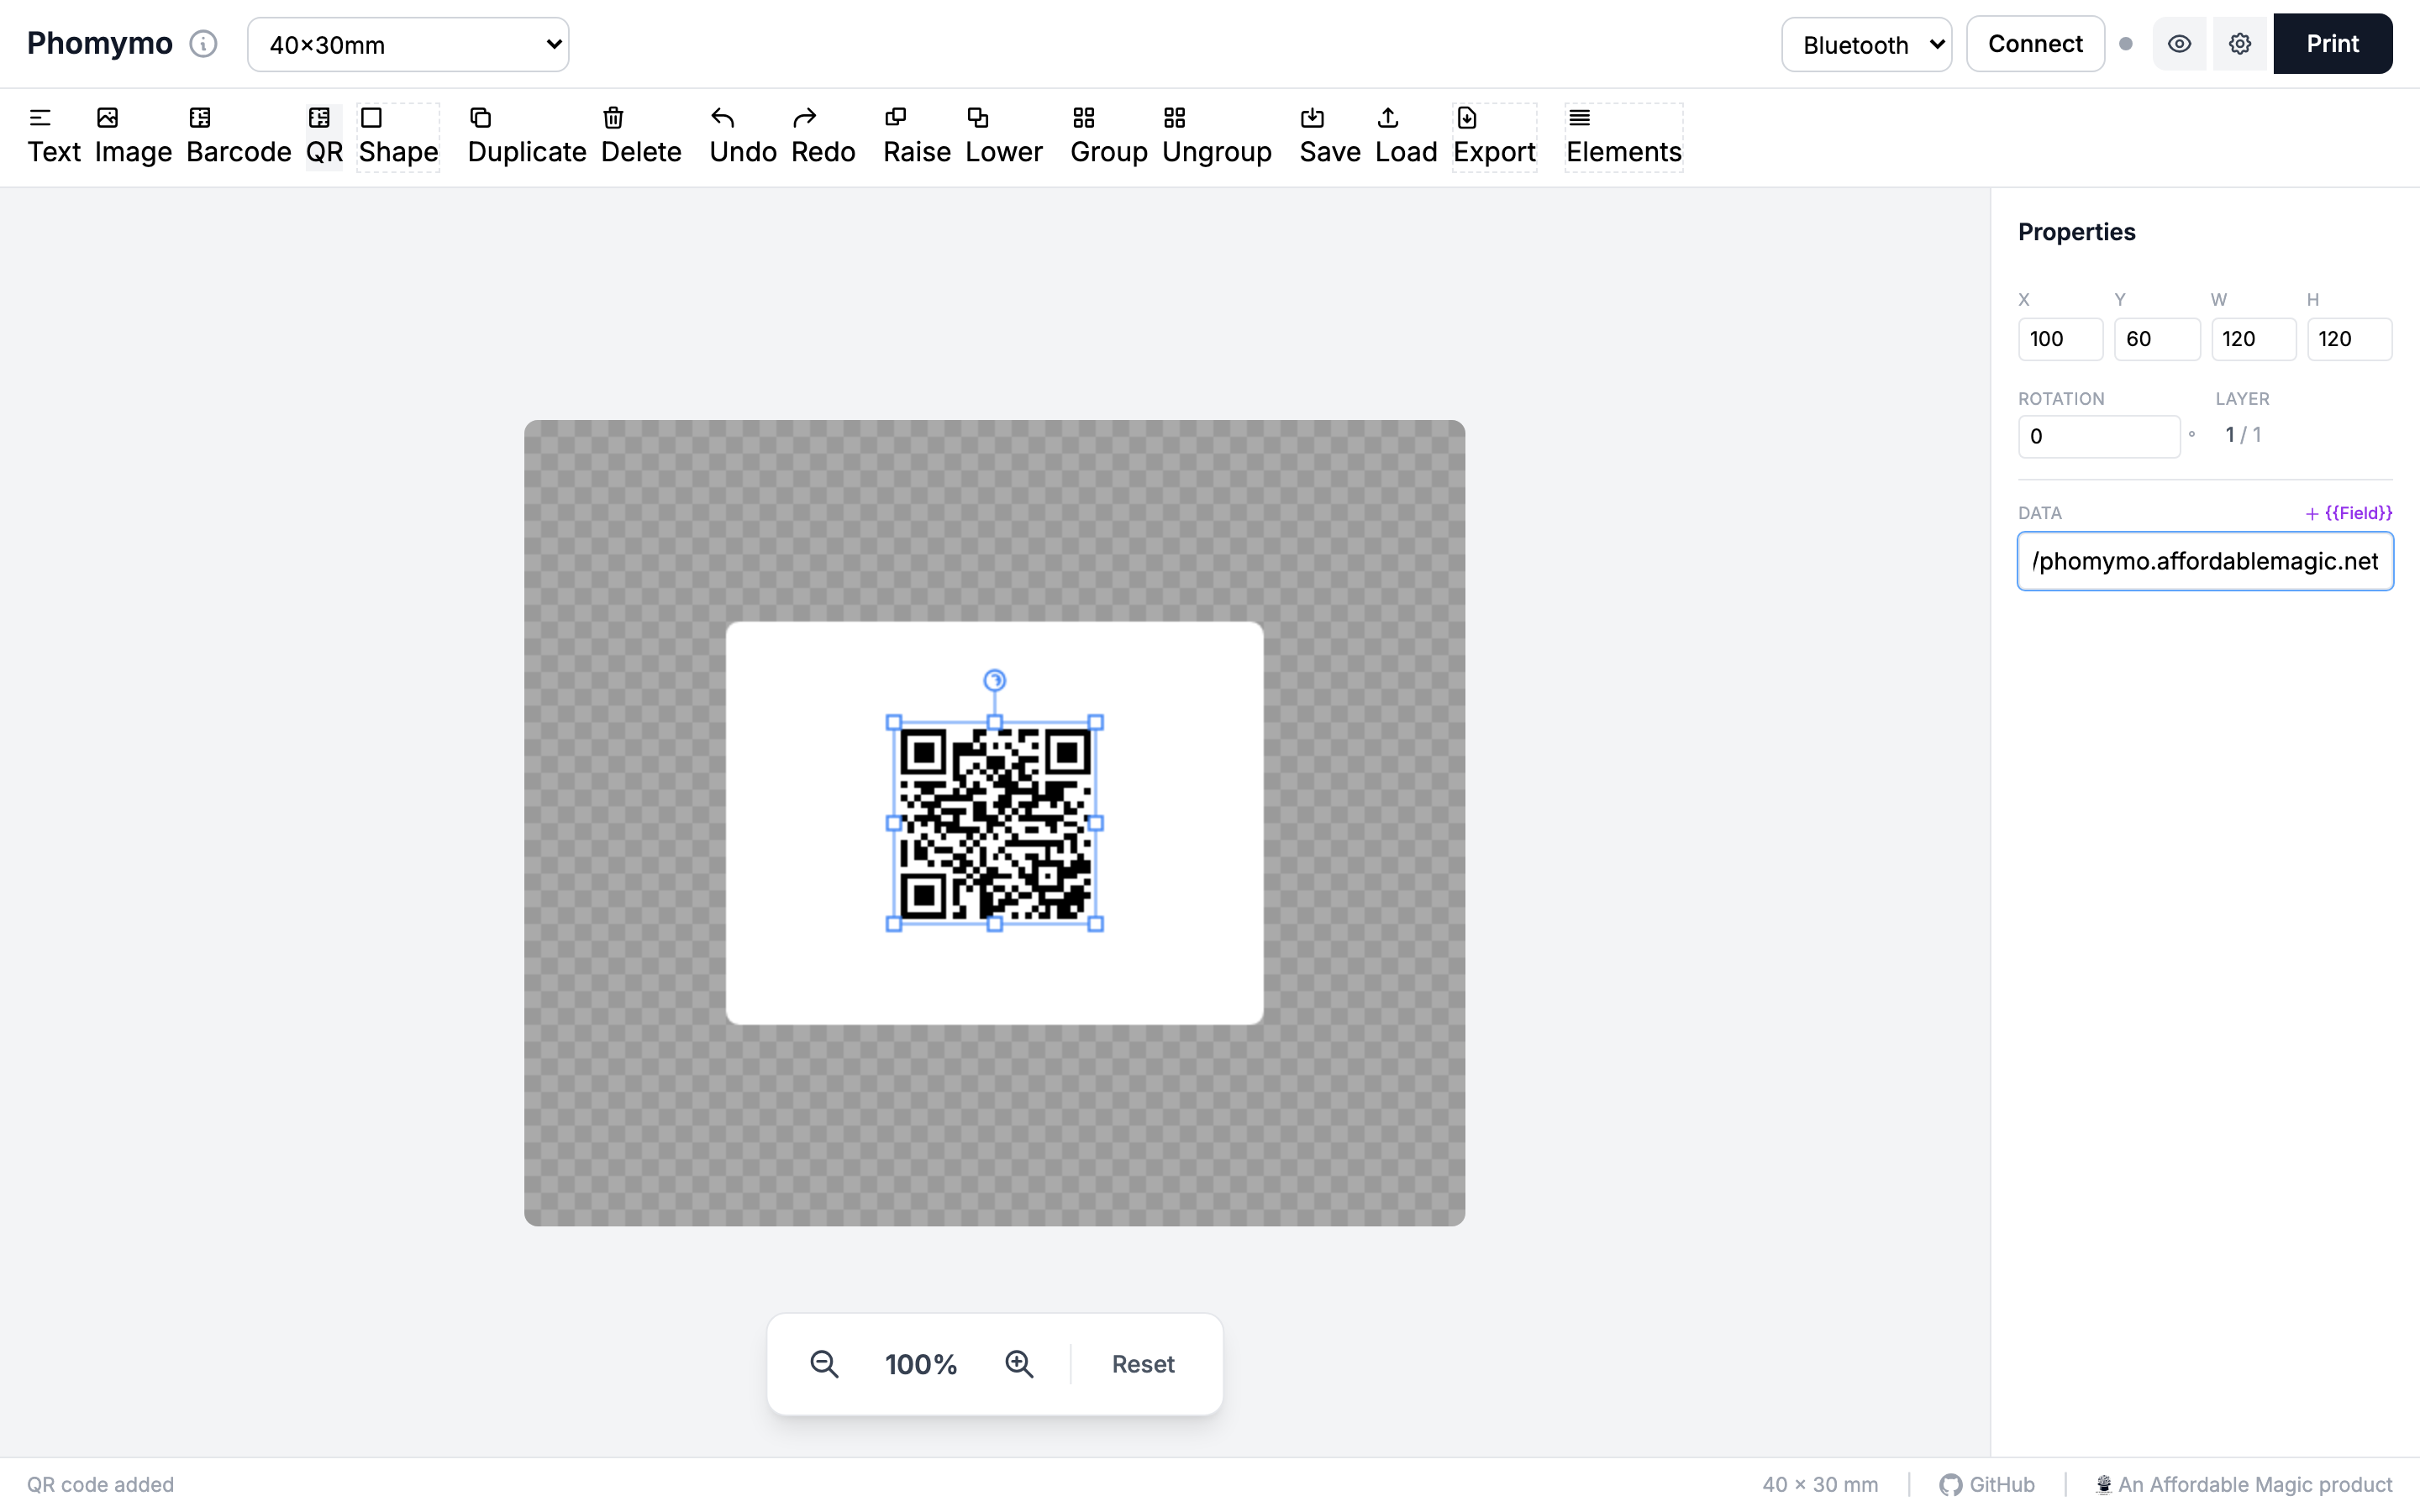
Click QR to add a QR code. Enter any text or URL in the properties panel.
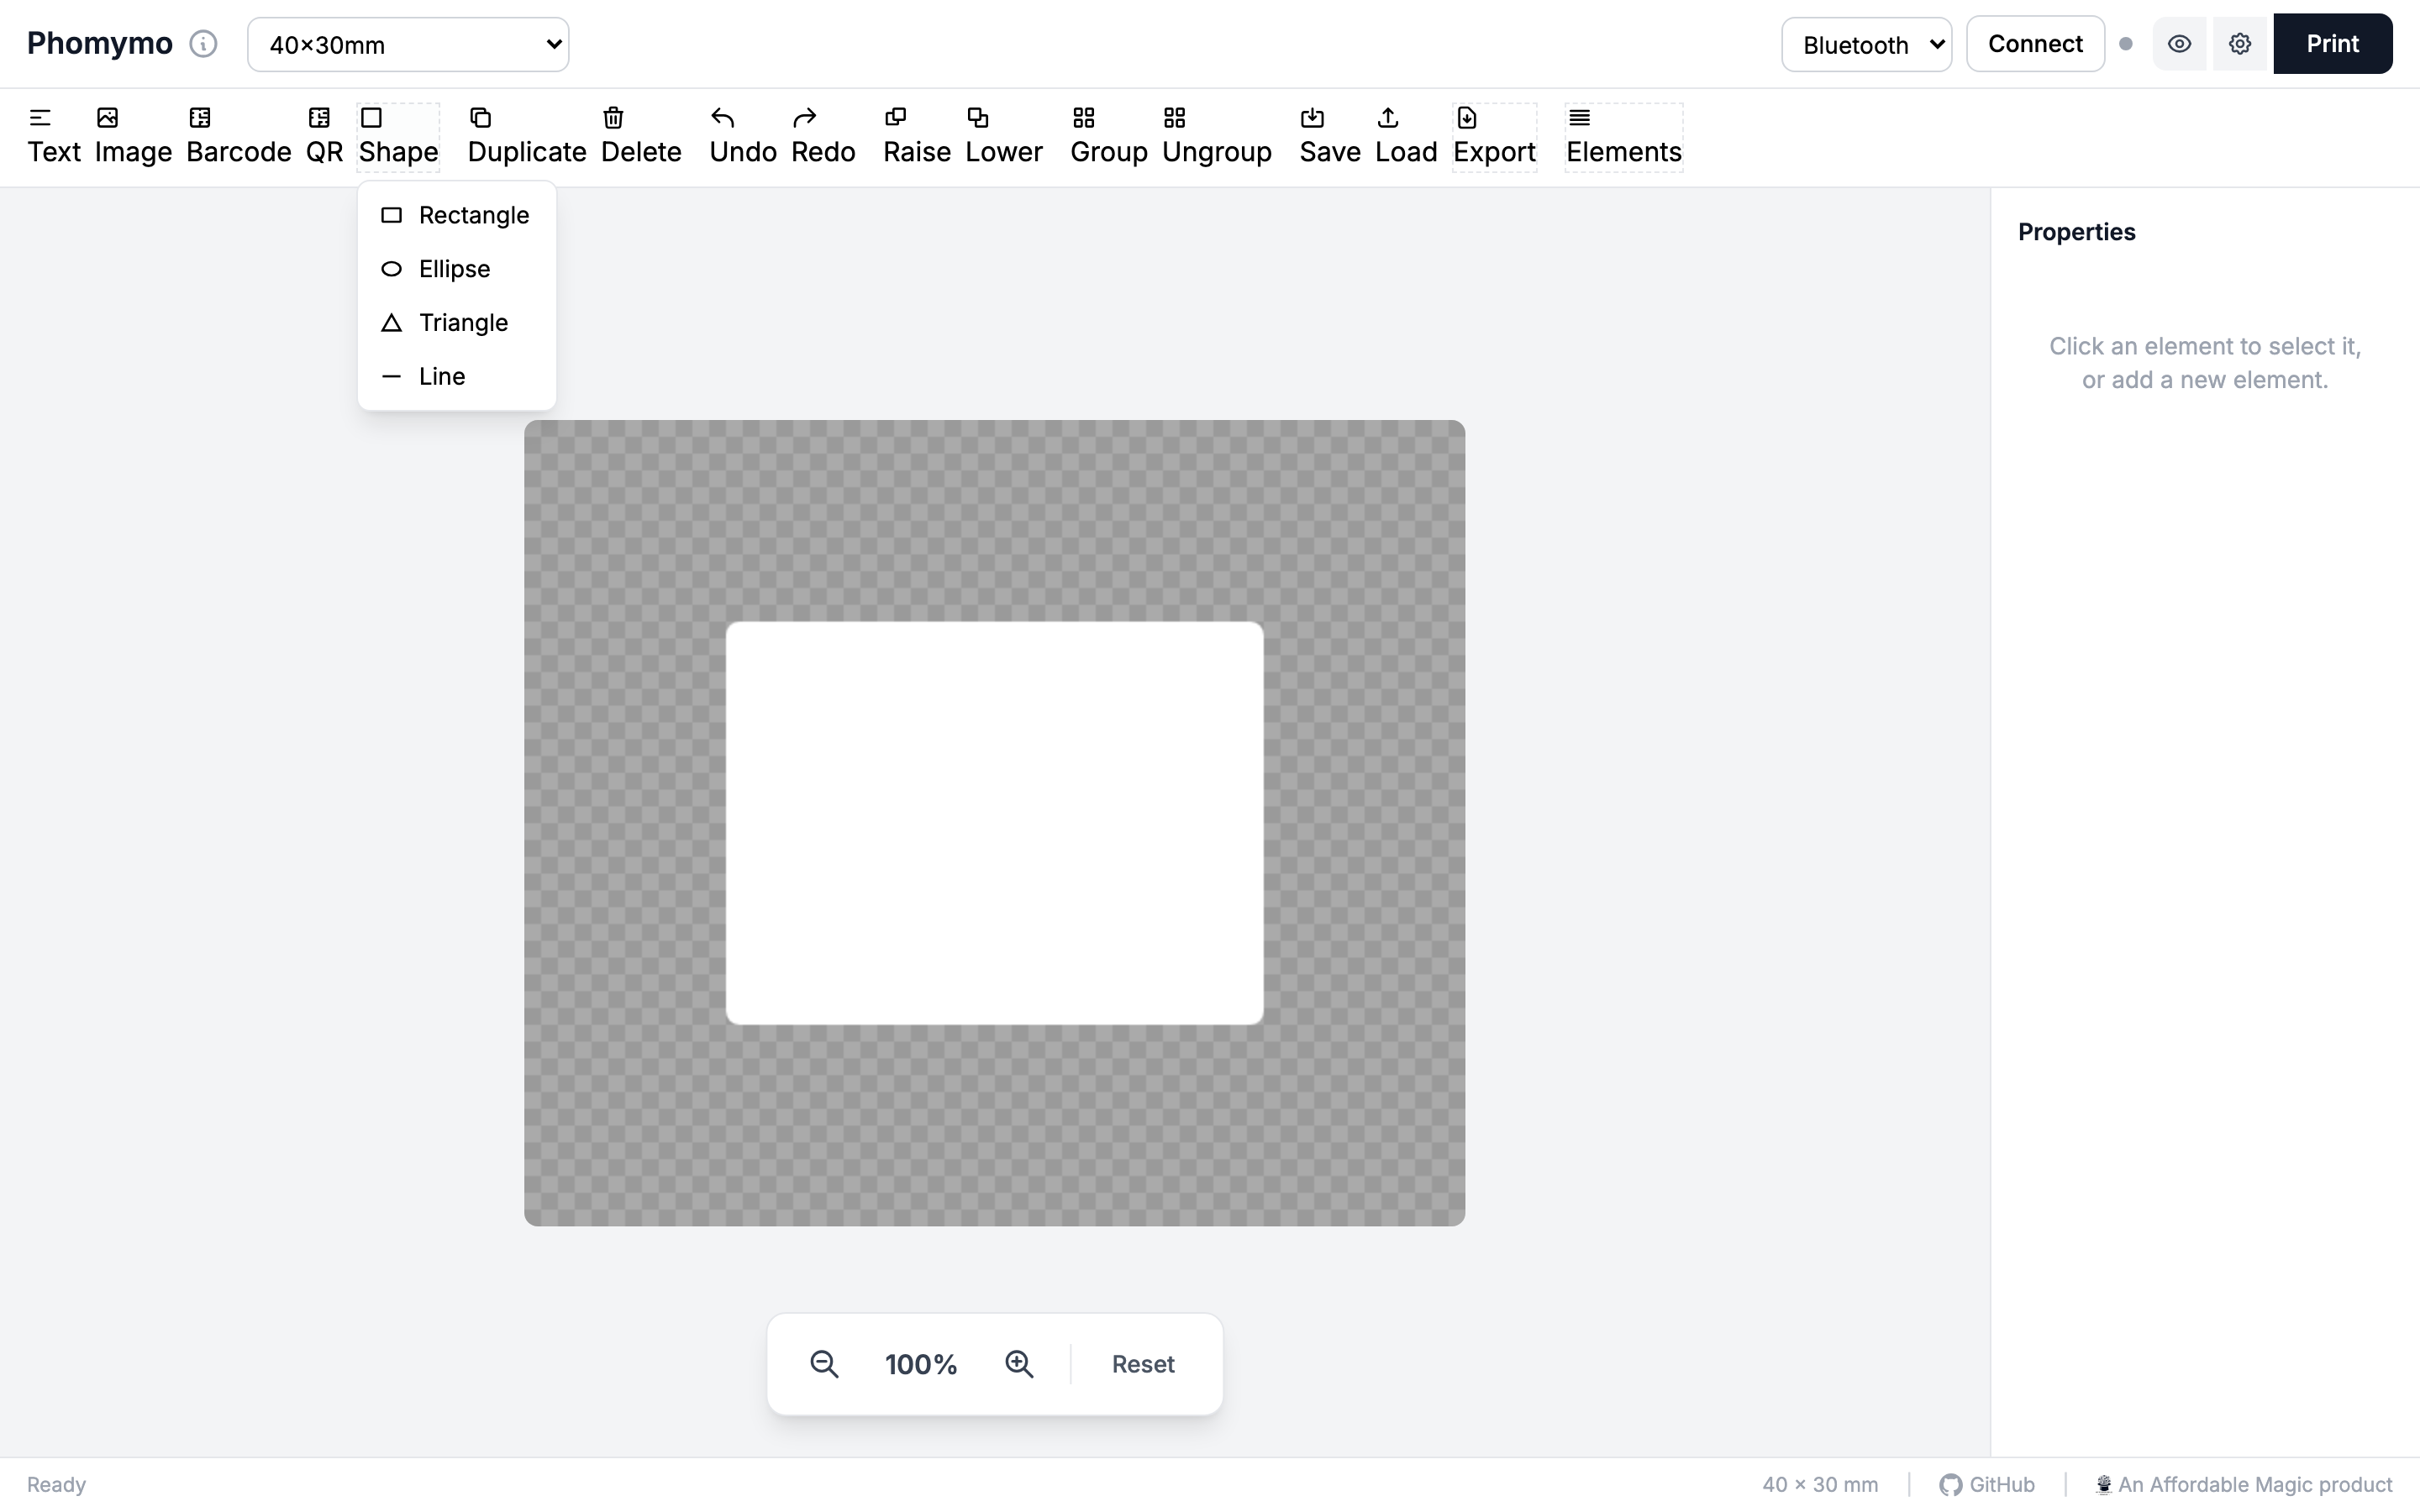
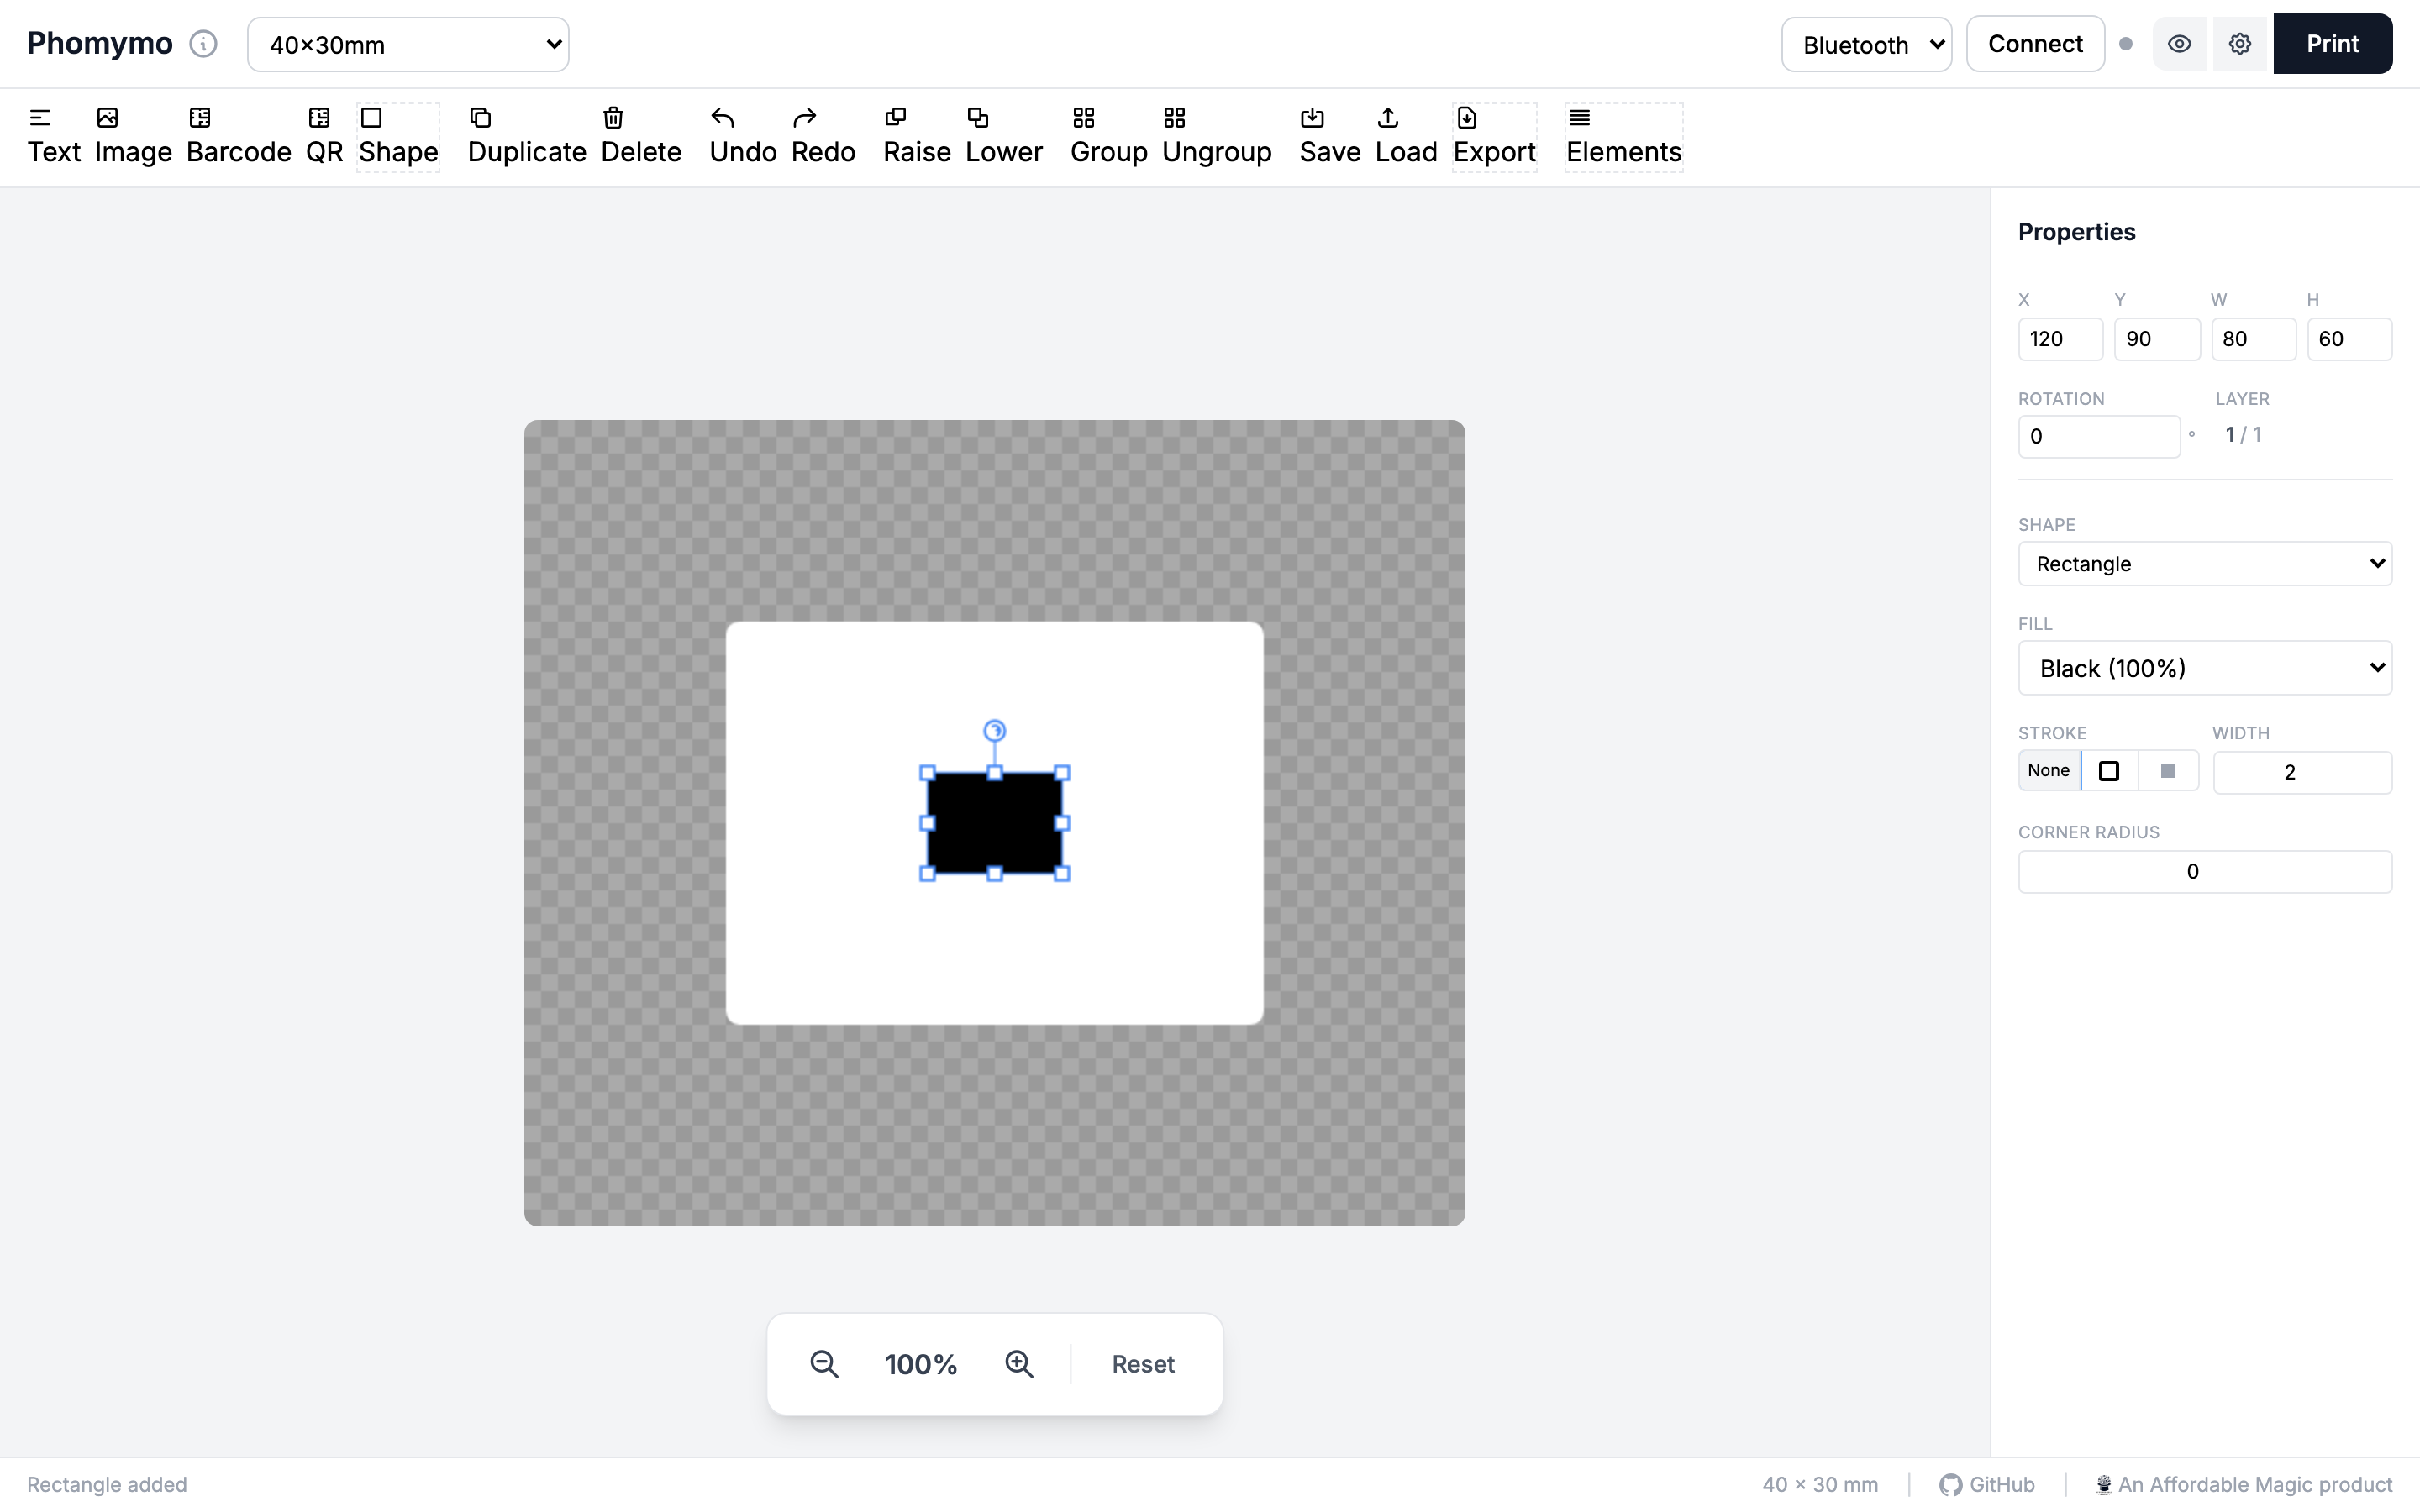
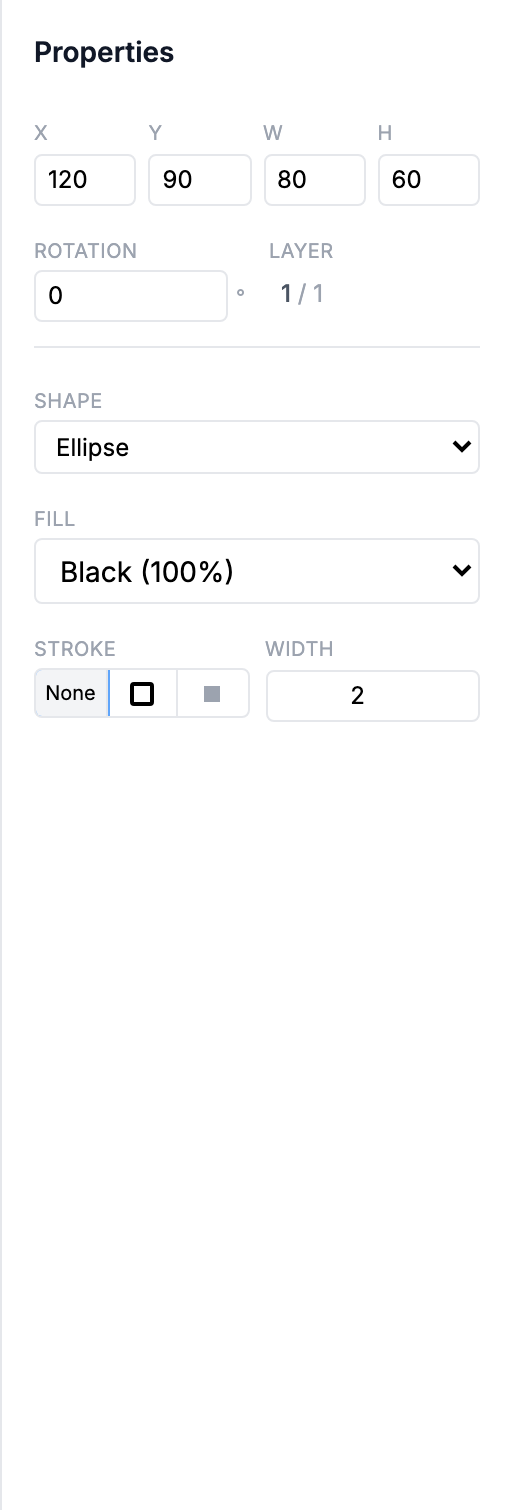
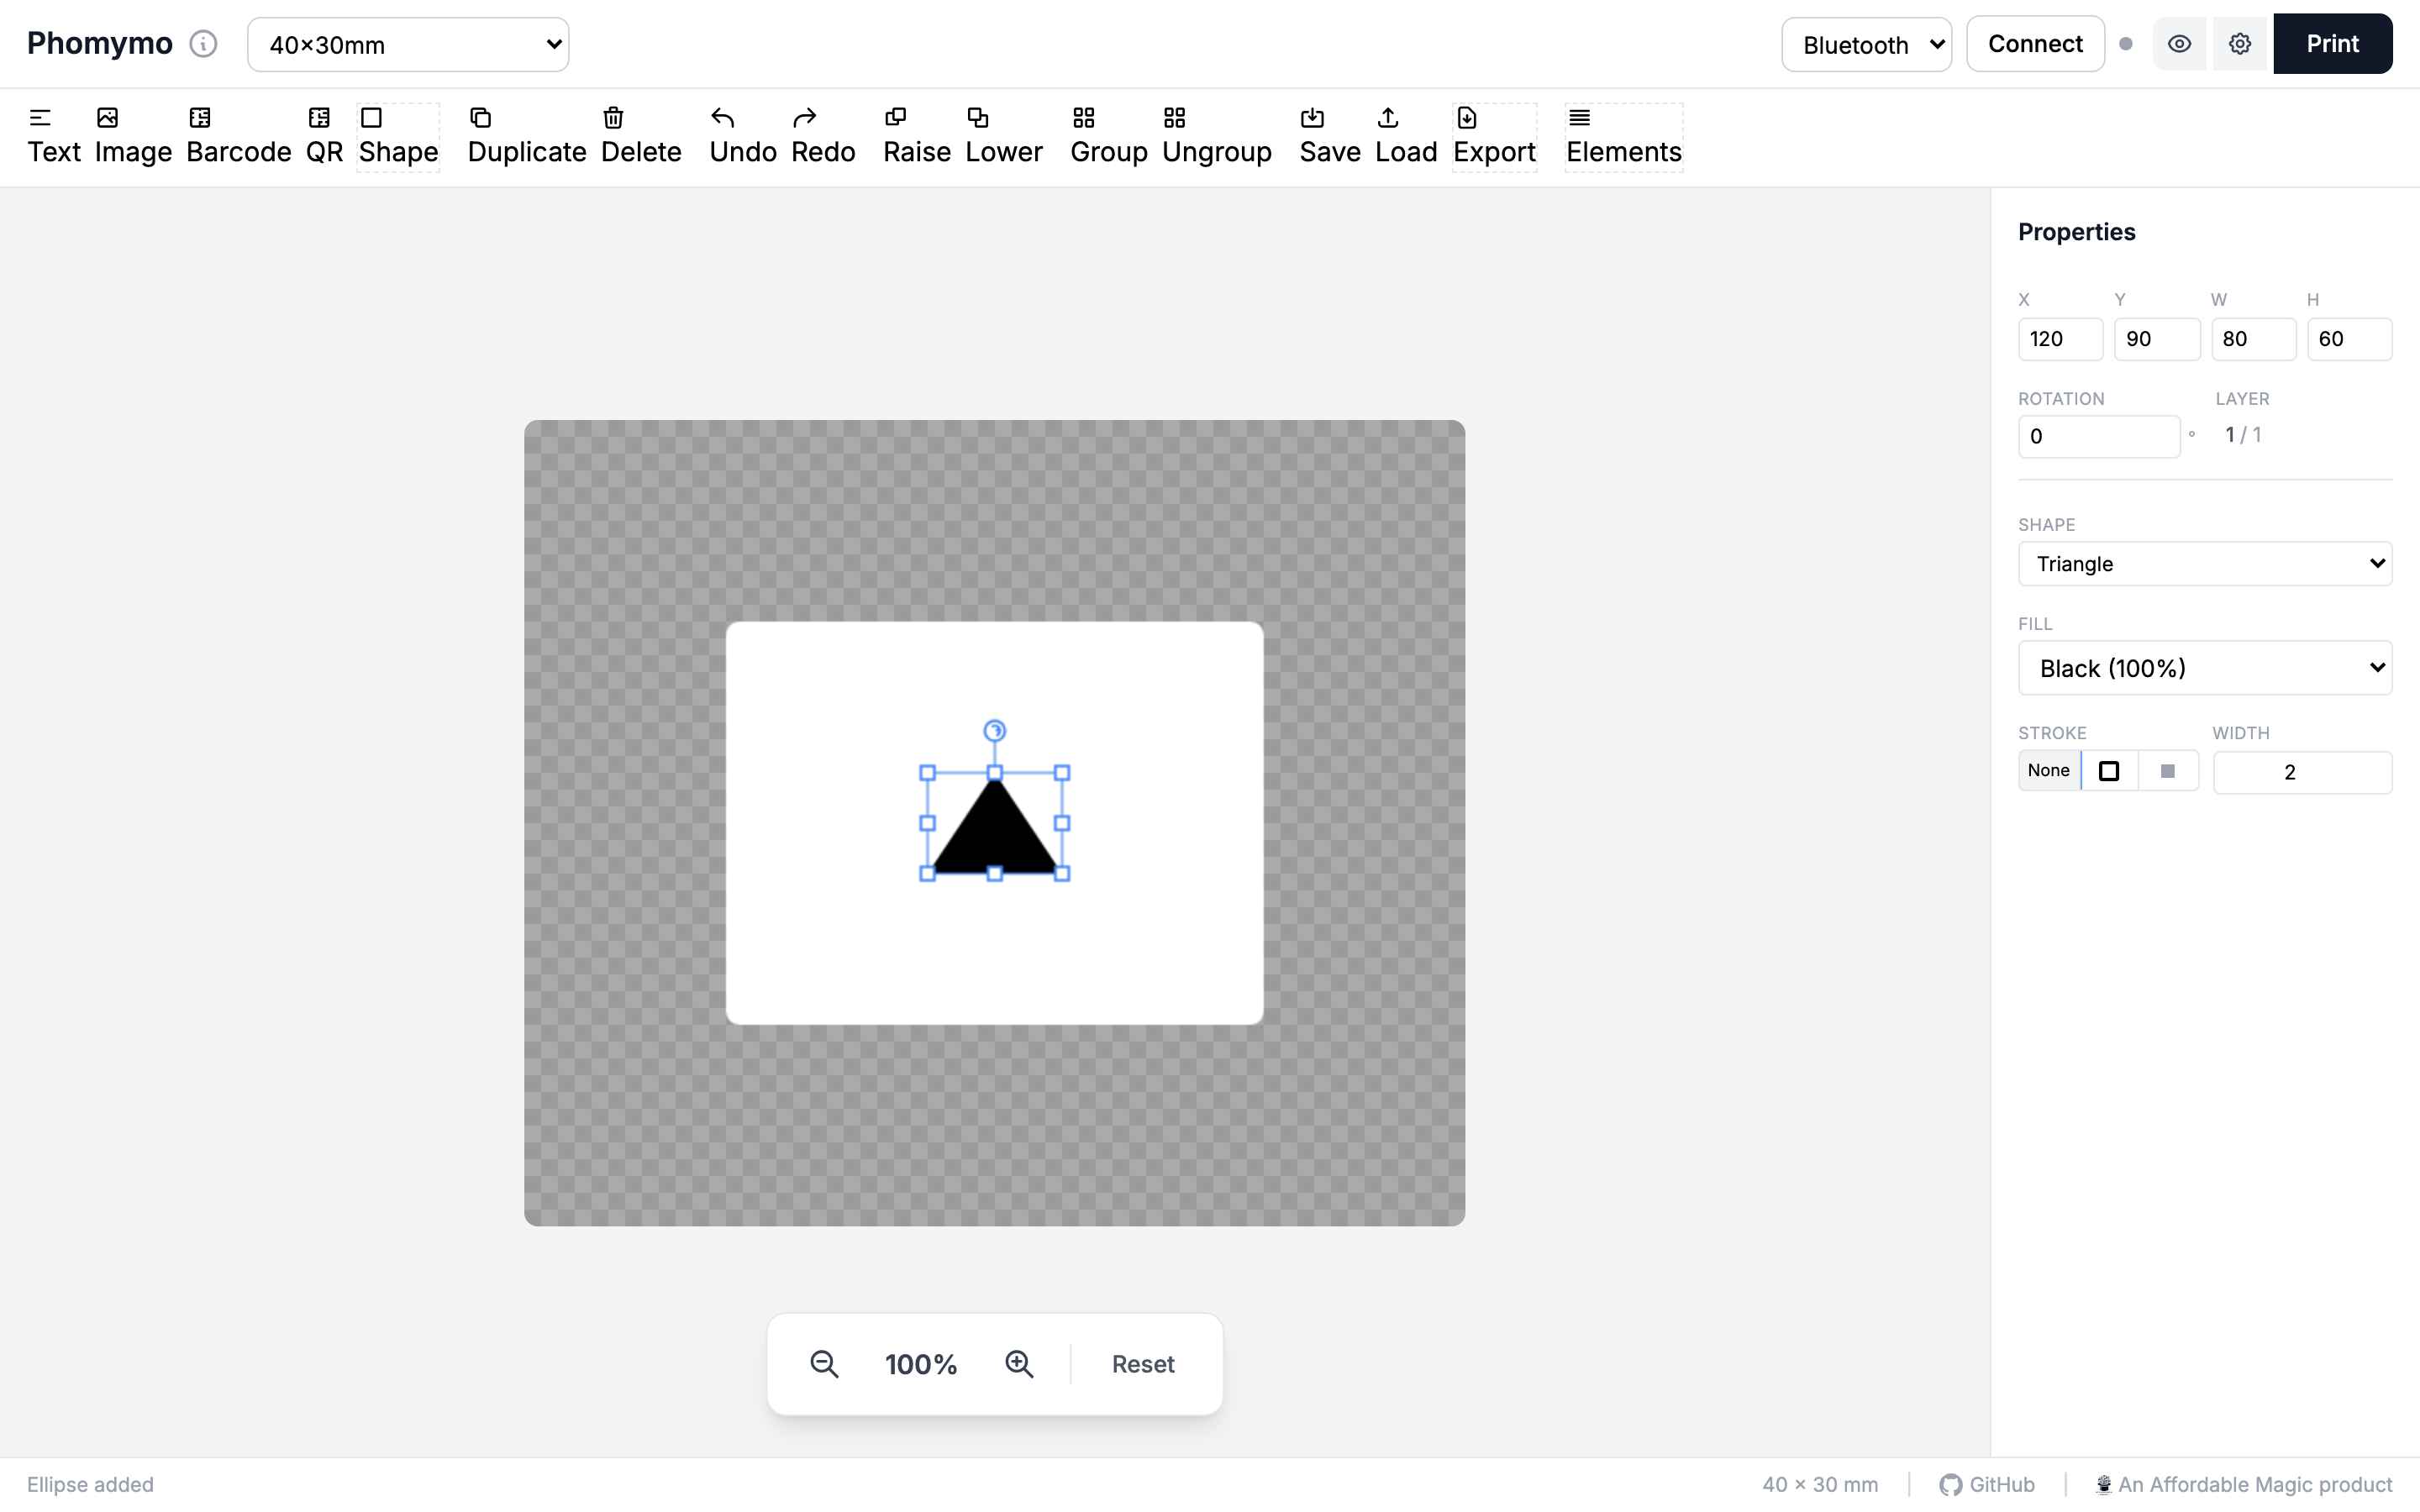
Click Shape to open the shape menu, then pick from rectangle, ellipse, triangle, or line.
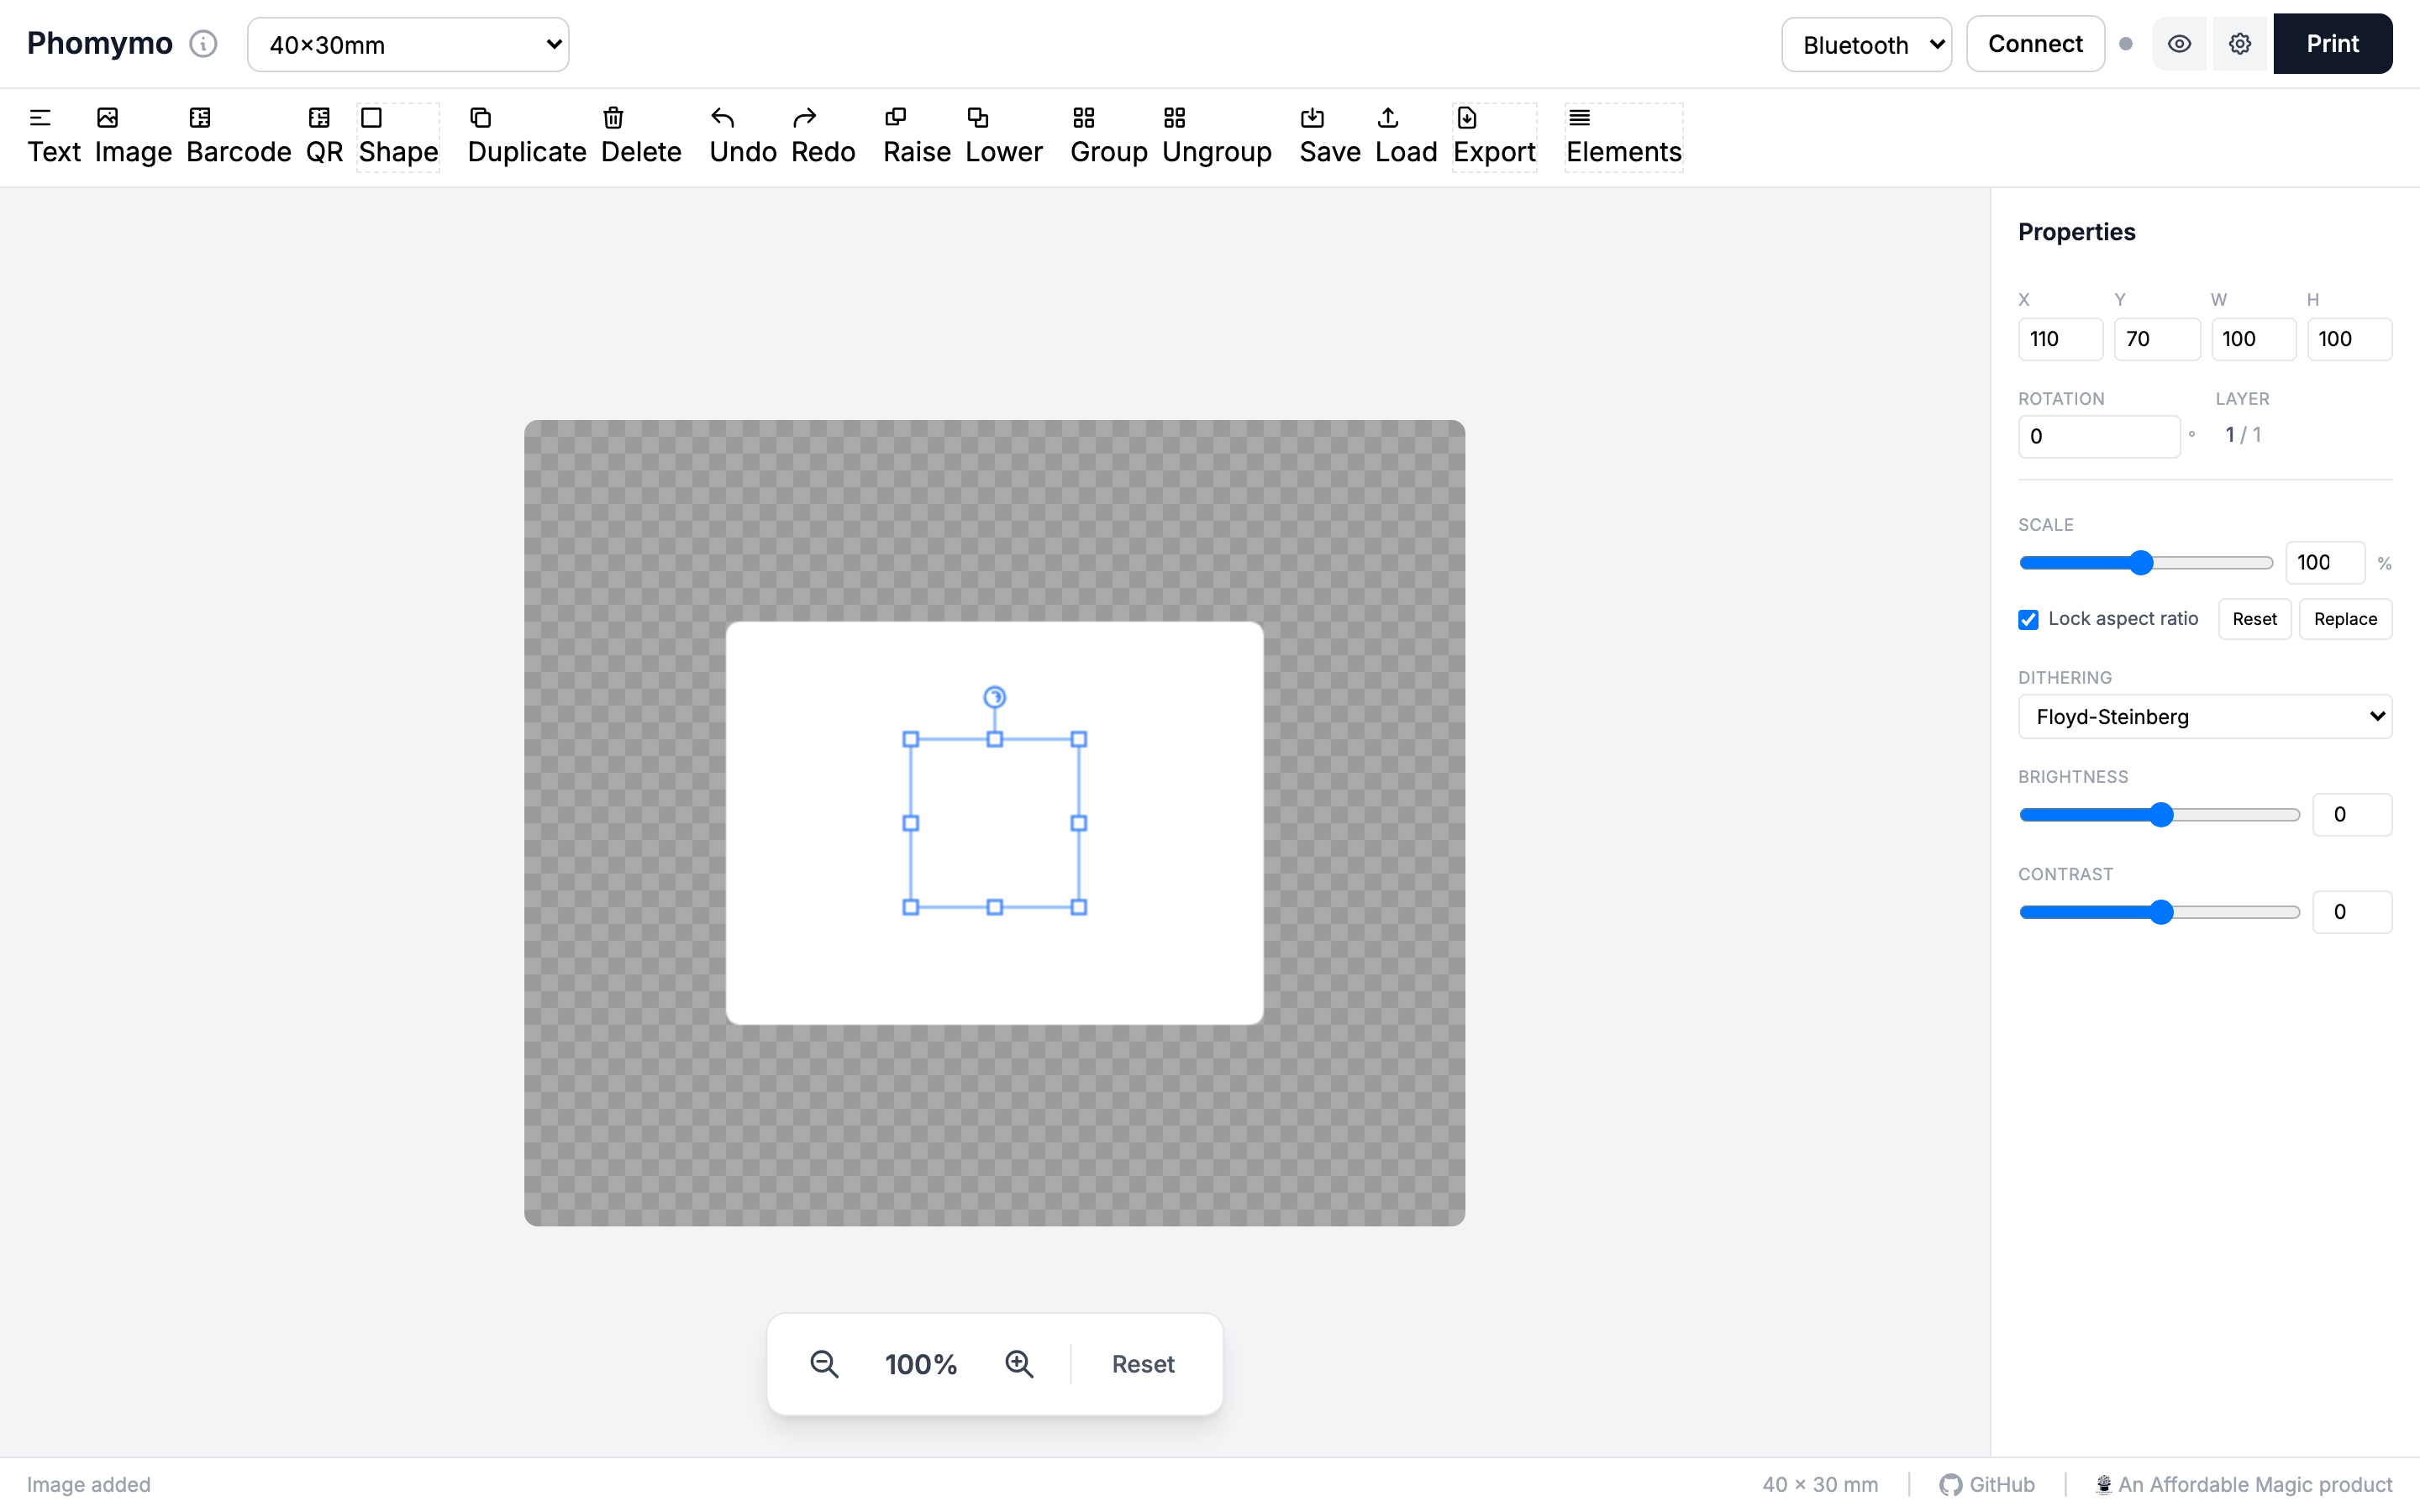
Click Image to import a picture from your device. Images can be scaled, cropped, and dithered for thermal printing.
You can add as many elements as you need. Use the layer buttons (Raise/Lower) to control which elements appear on top.
Click any element on the canvas to select it. The properties panel on the right updates to show that element’s settings.
Text elements have the most options: font family, size, bold/italic/underline, text color, background color, horizontal and vertical alignment, word wrap, and auto-scale.
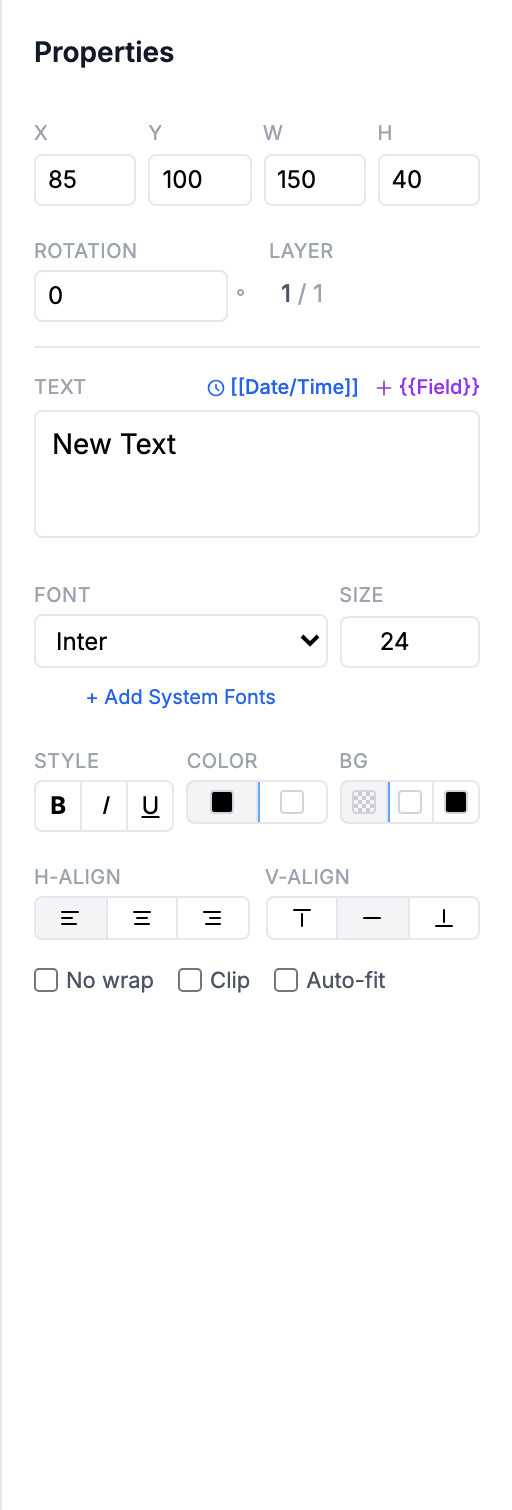
Change the text content in the textarea and adjust styling with the buttons and inputs below.
Set the barcode data and format (Code 128, EAN-13, UPC-A, or Code 39). You can toggle the text display below the barcode.
Enter the data to encode. The QR code auto-sizes based on content length.
Choose the shape type, fill style (solid, dithered grayscale, or none), stroke color, stroke width, and corner radius (rectangles only).
All elements share position (X, Y), size (Width, Height), and rotation controls at the top of the properties panel. You can type exact values or drag elements on the canvas.
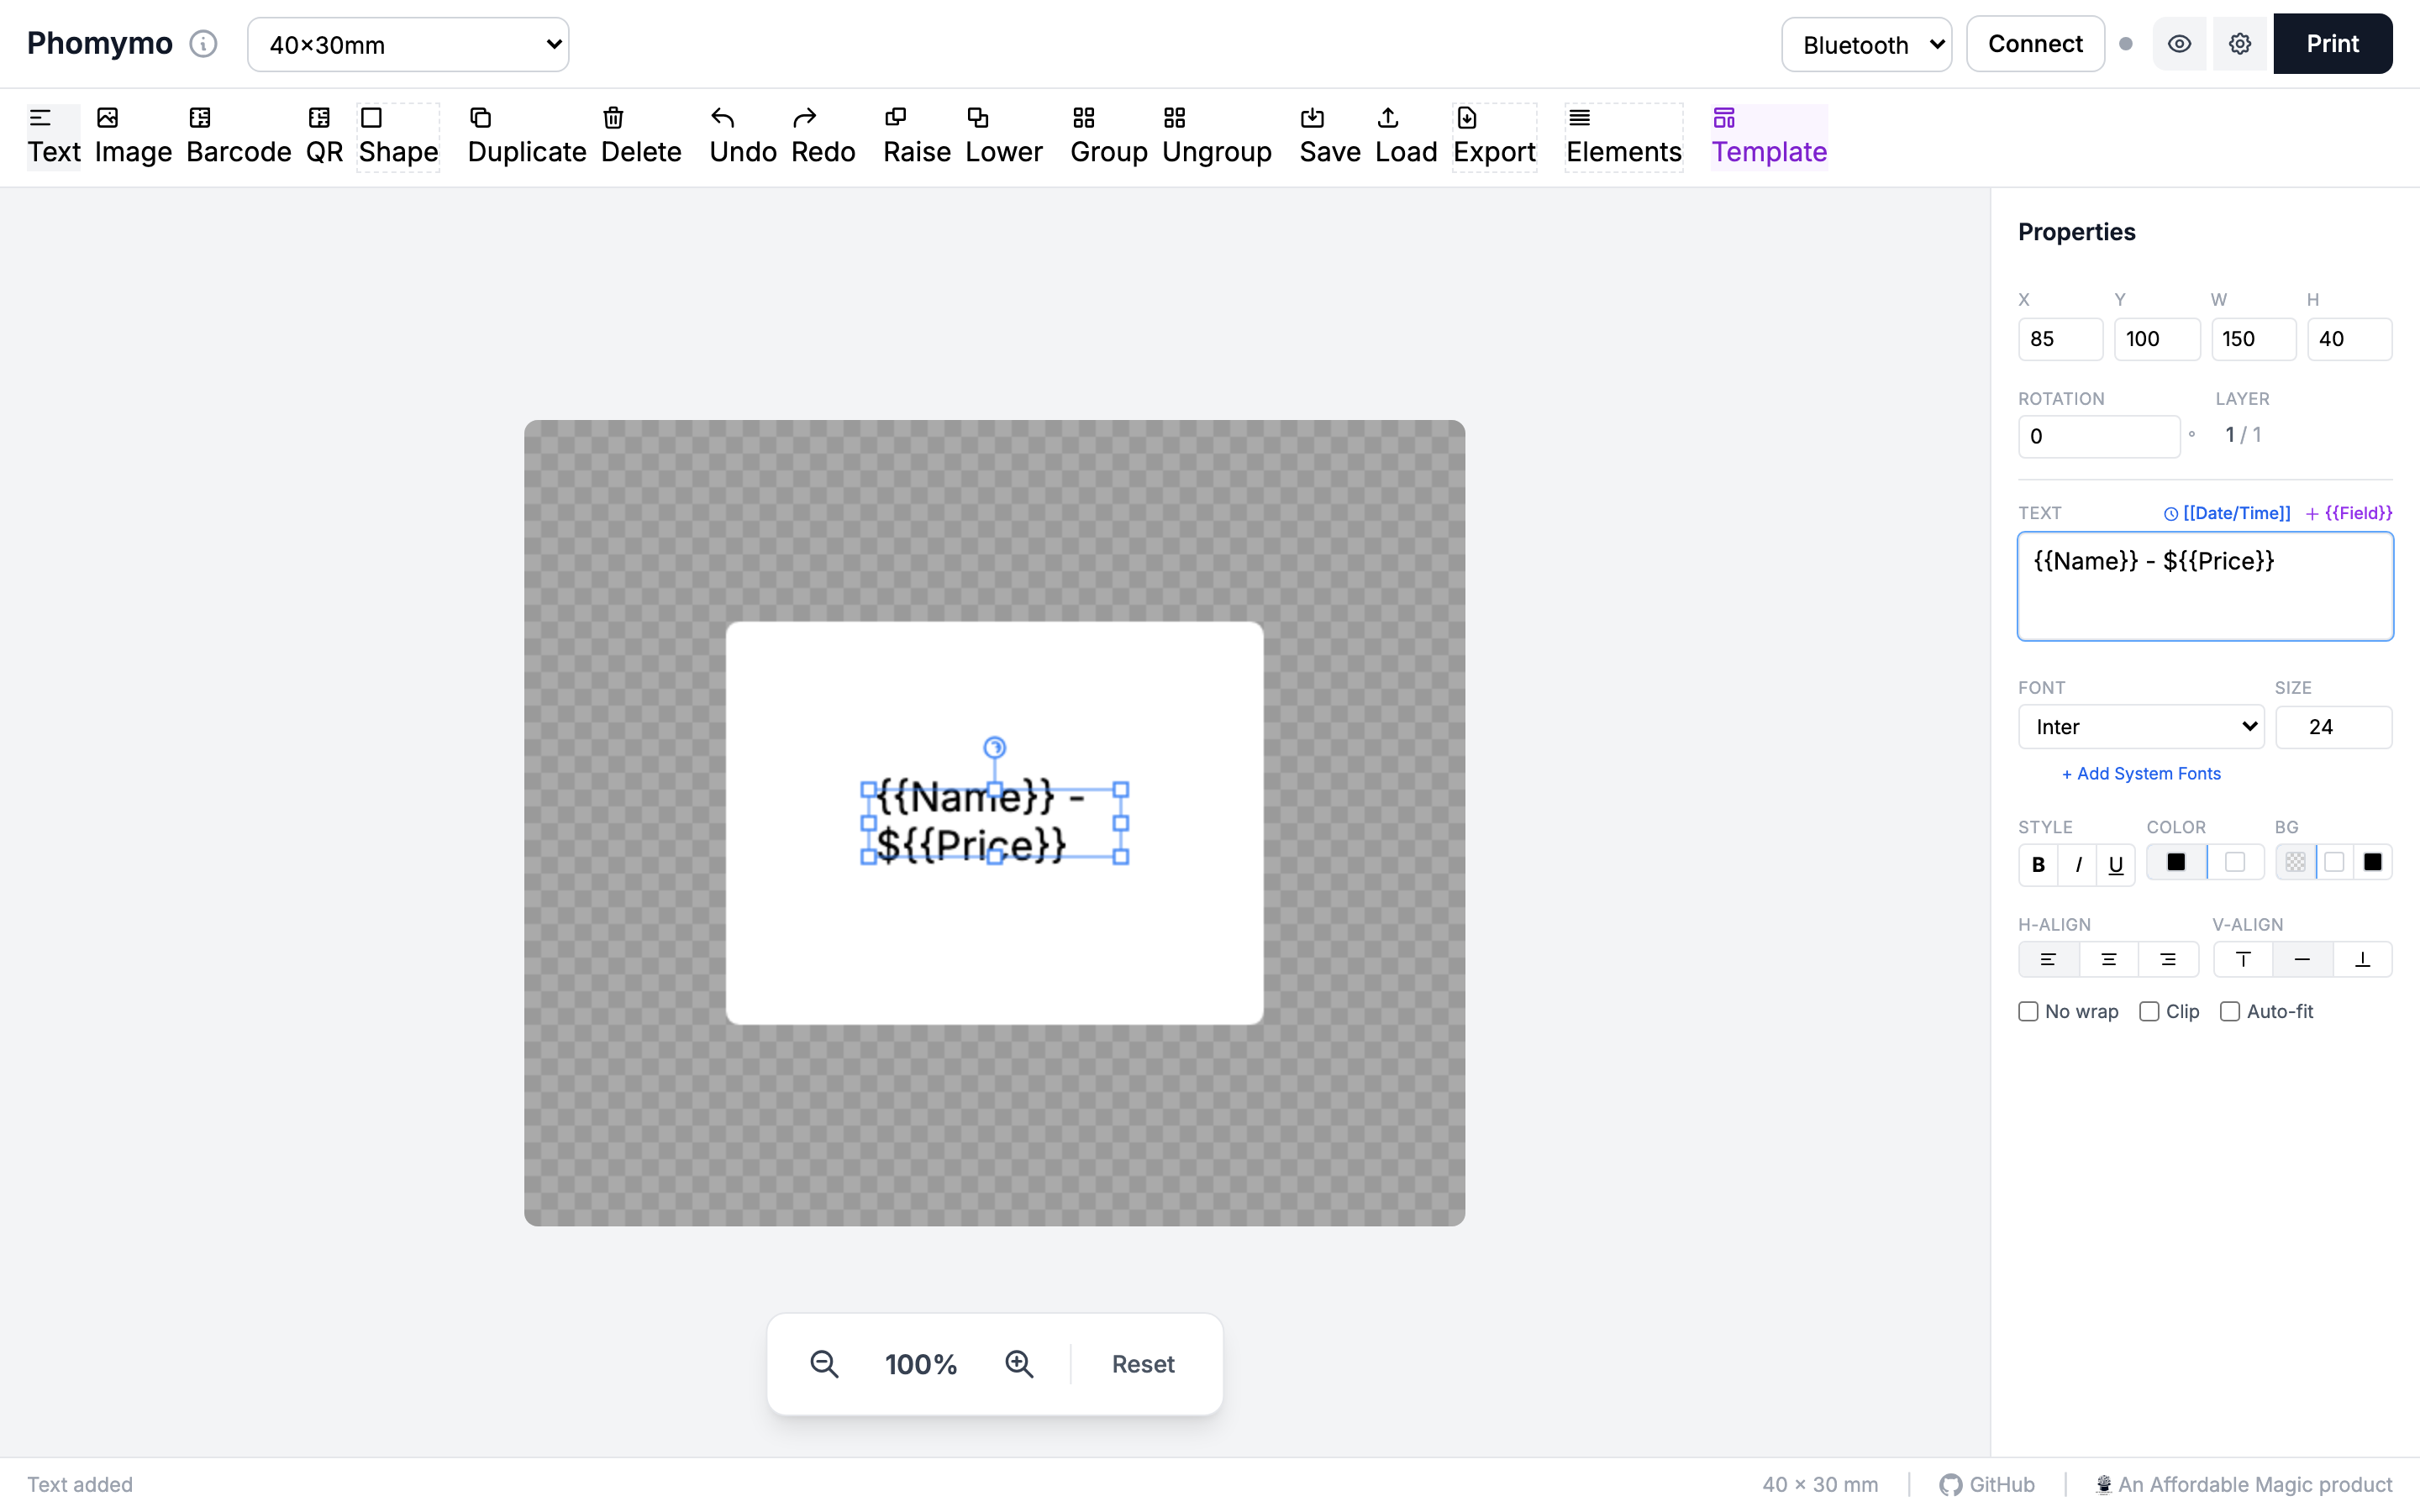
Templates let you print multiple labels with different data - like name badges, product labels, or address labels.
Use {{FieldName}} syntax in any text, barcode, or QR
code element. For example, type {{Name}} - ${{Price}} in a
text element.
When template fields are detected, a purple Template button appears in the toolbar.
Click the template button to open the template panel, which shows your detected fields and data management options.
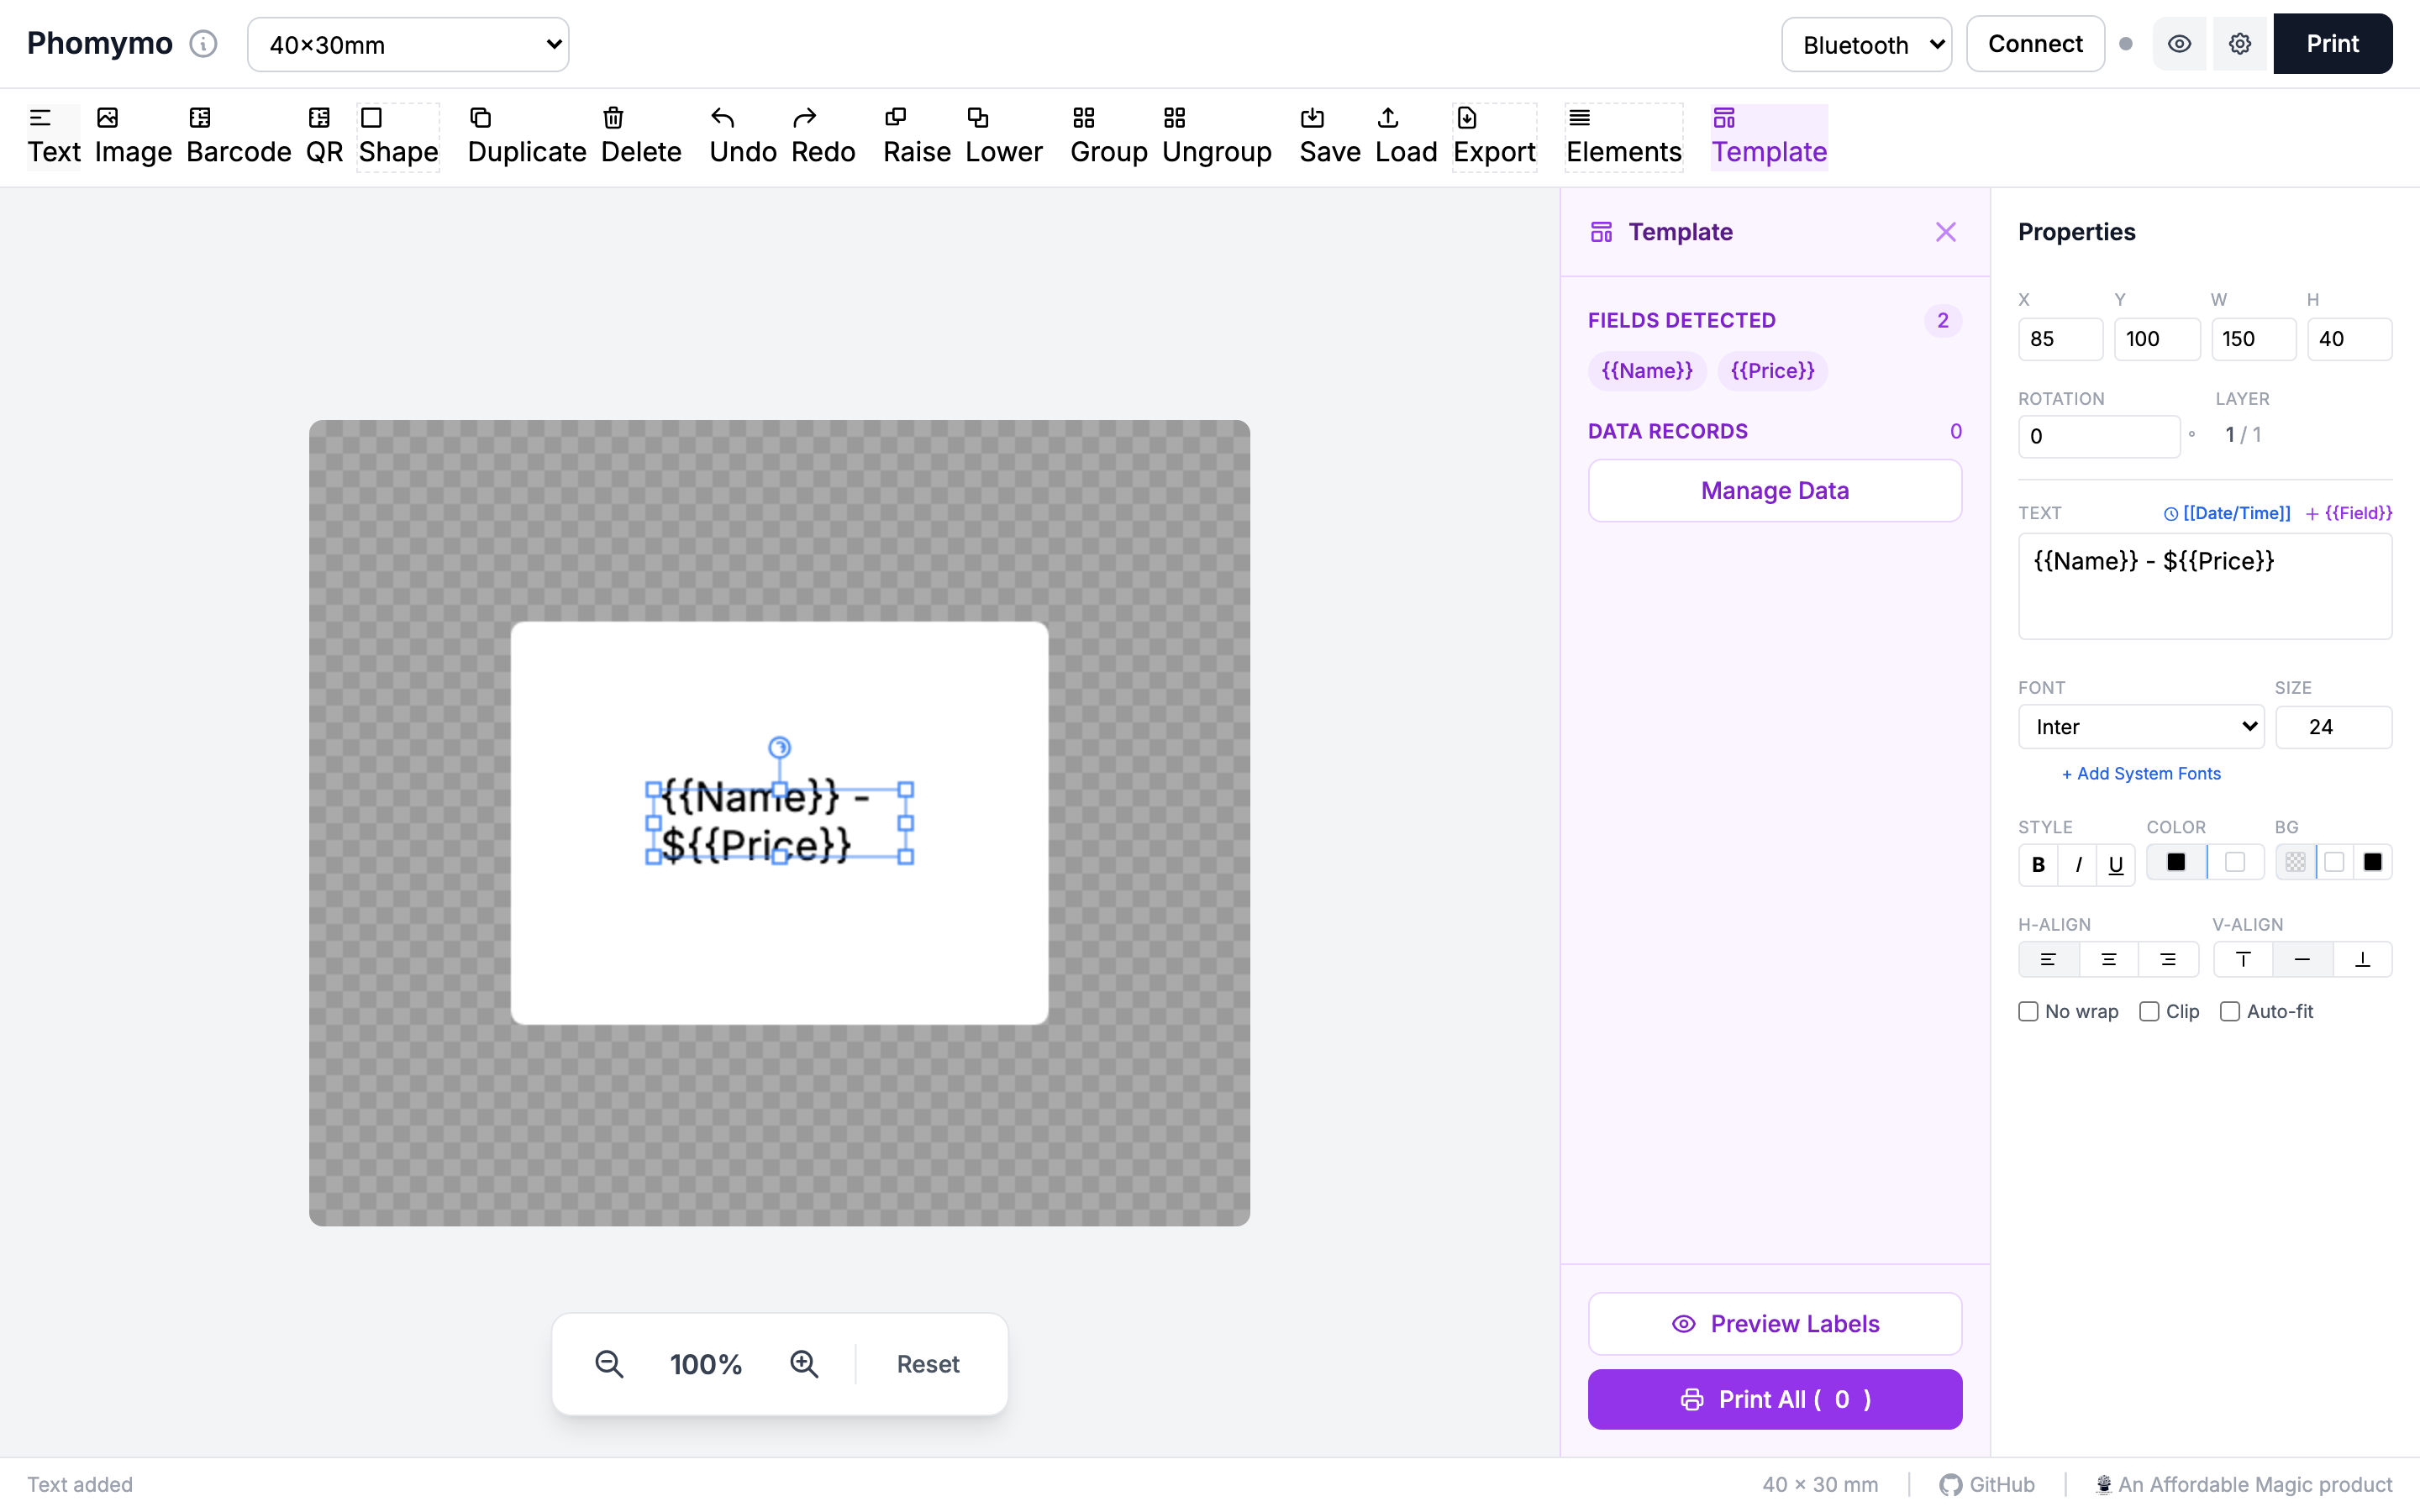
Click Manage Data to open the data dialog. You can import a CSV file or manually add rows.
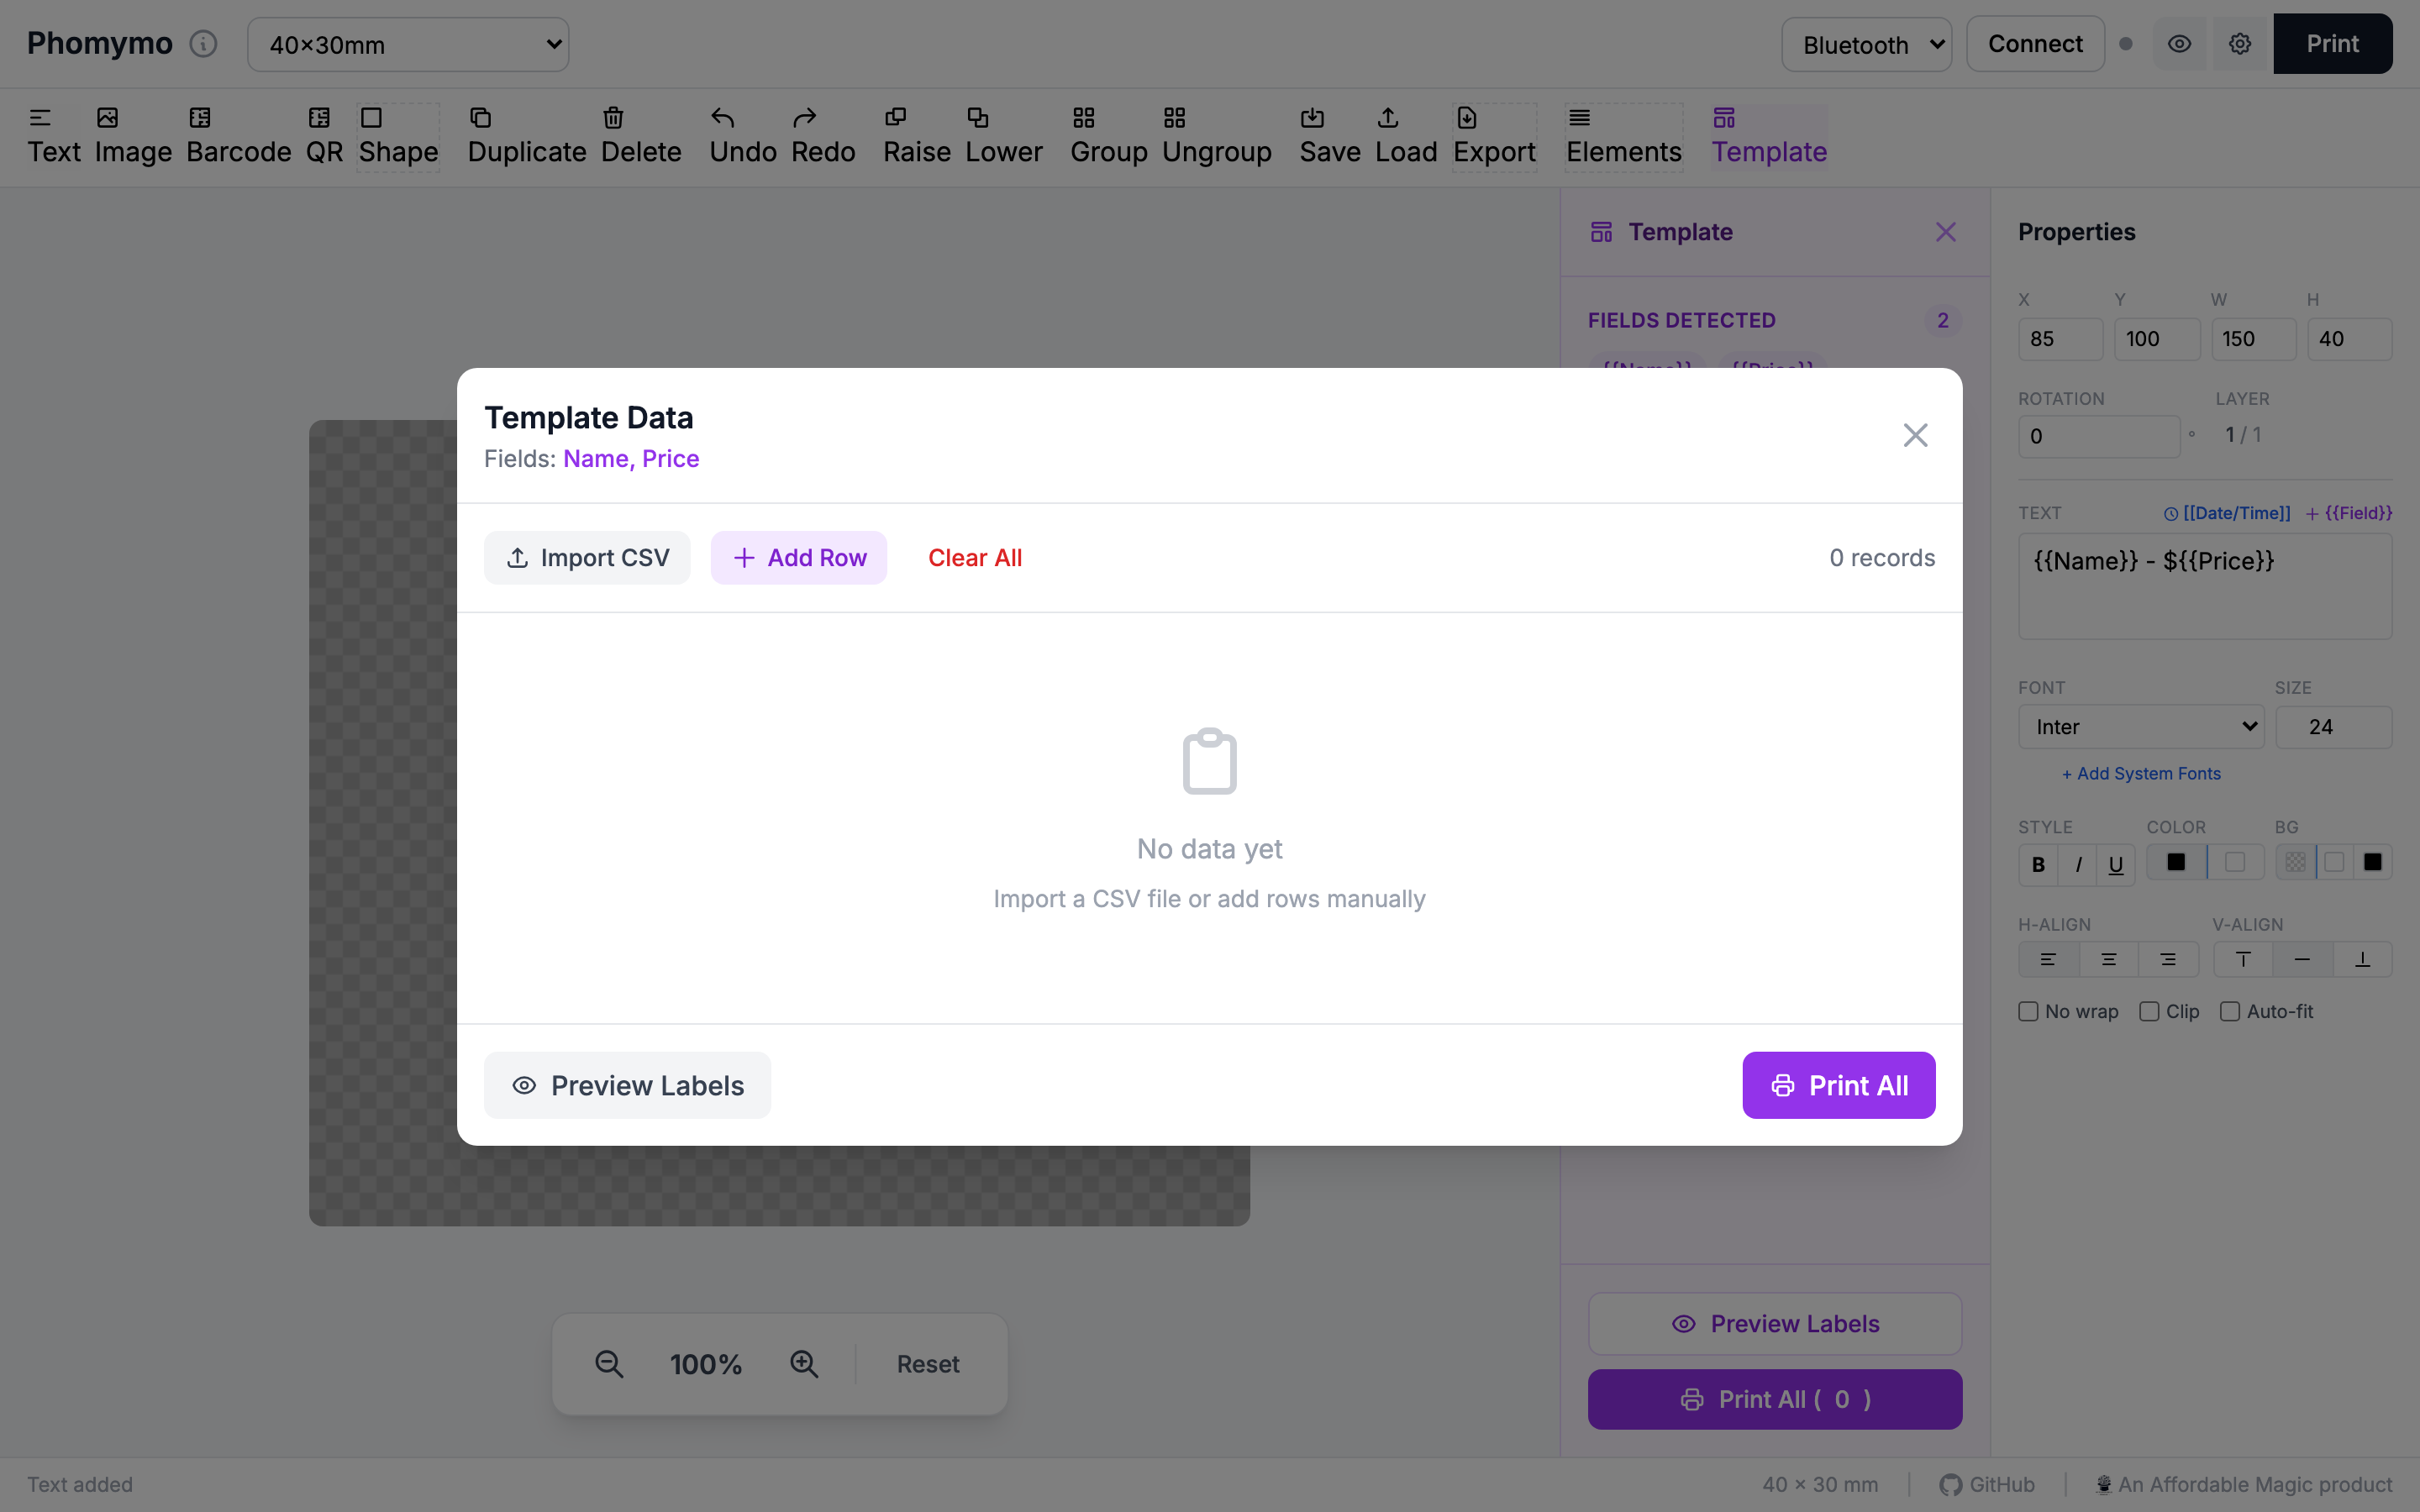
Click Import CSV and select your file. The CSV
headers should match your field names (e.g.,
Name,Price).
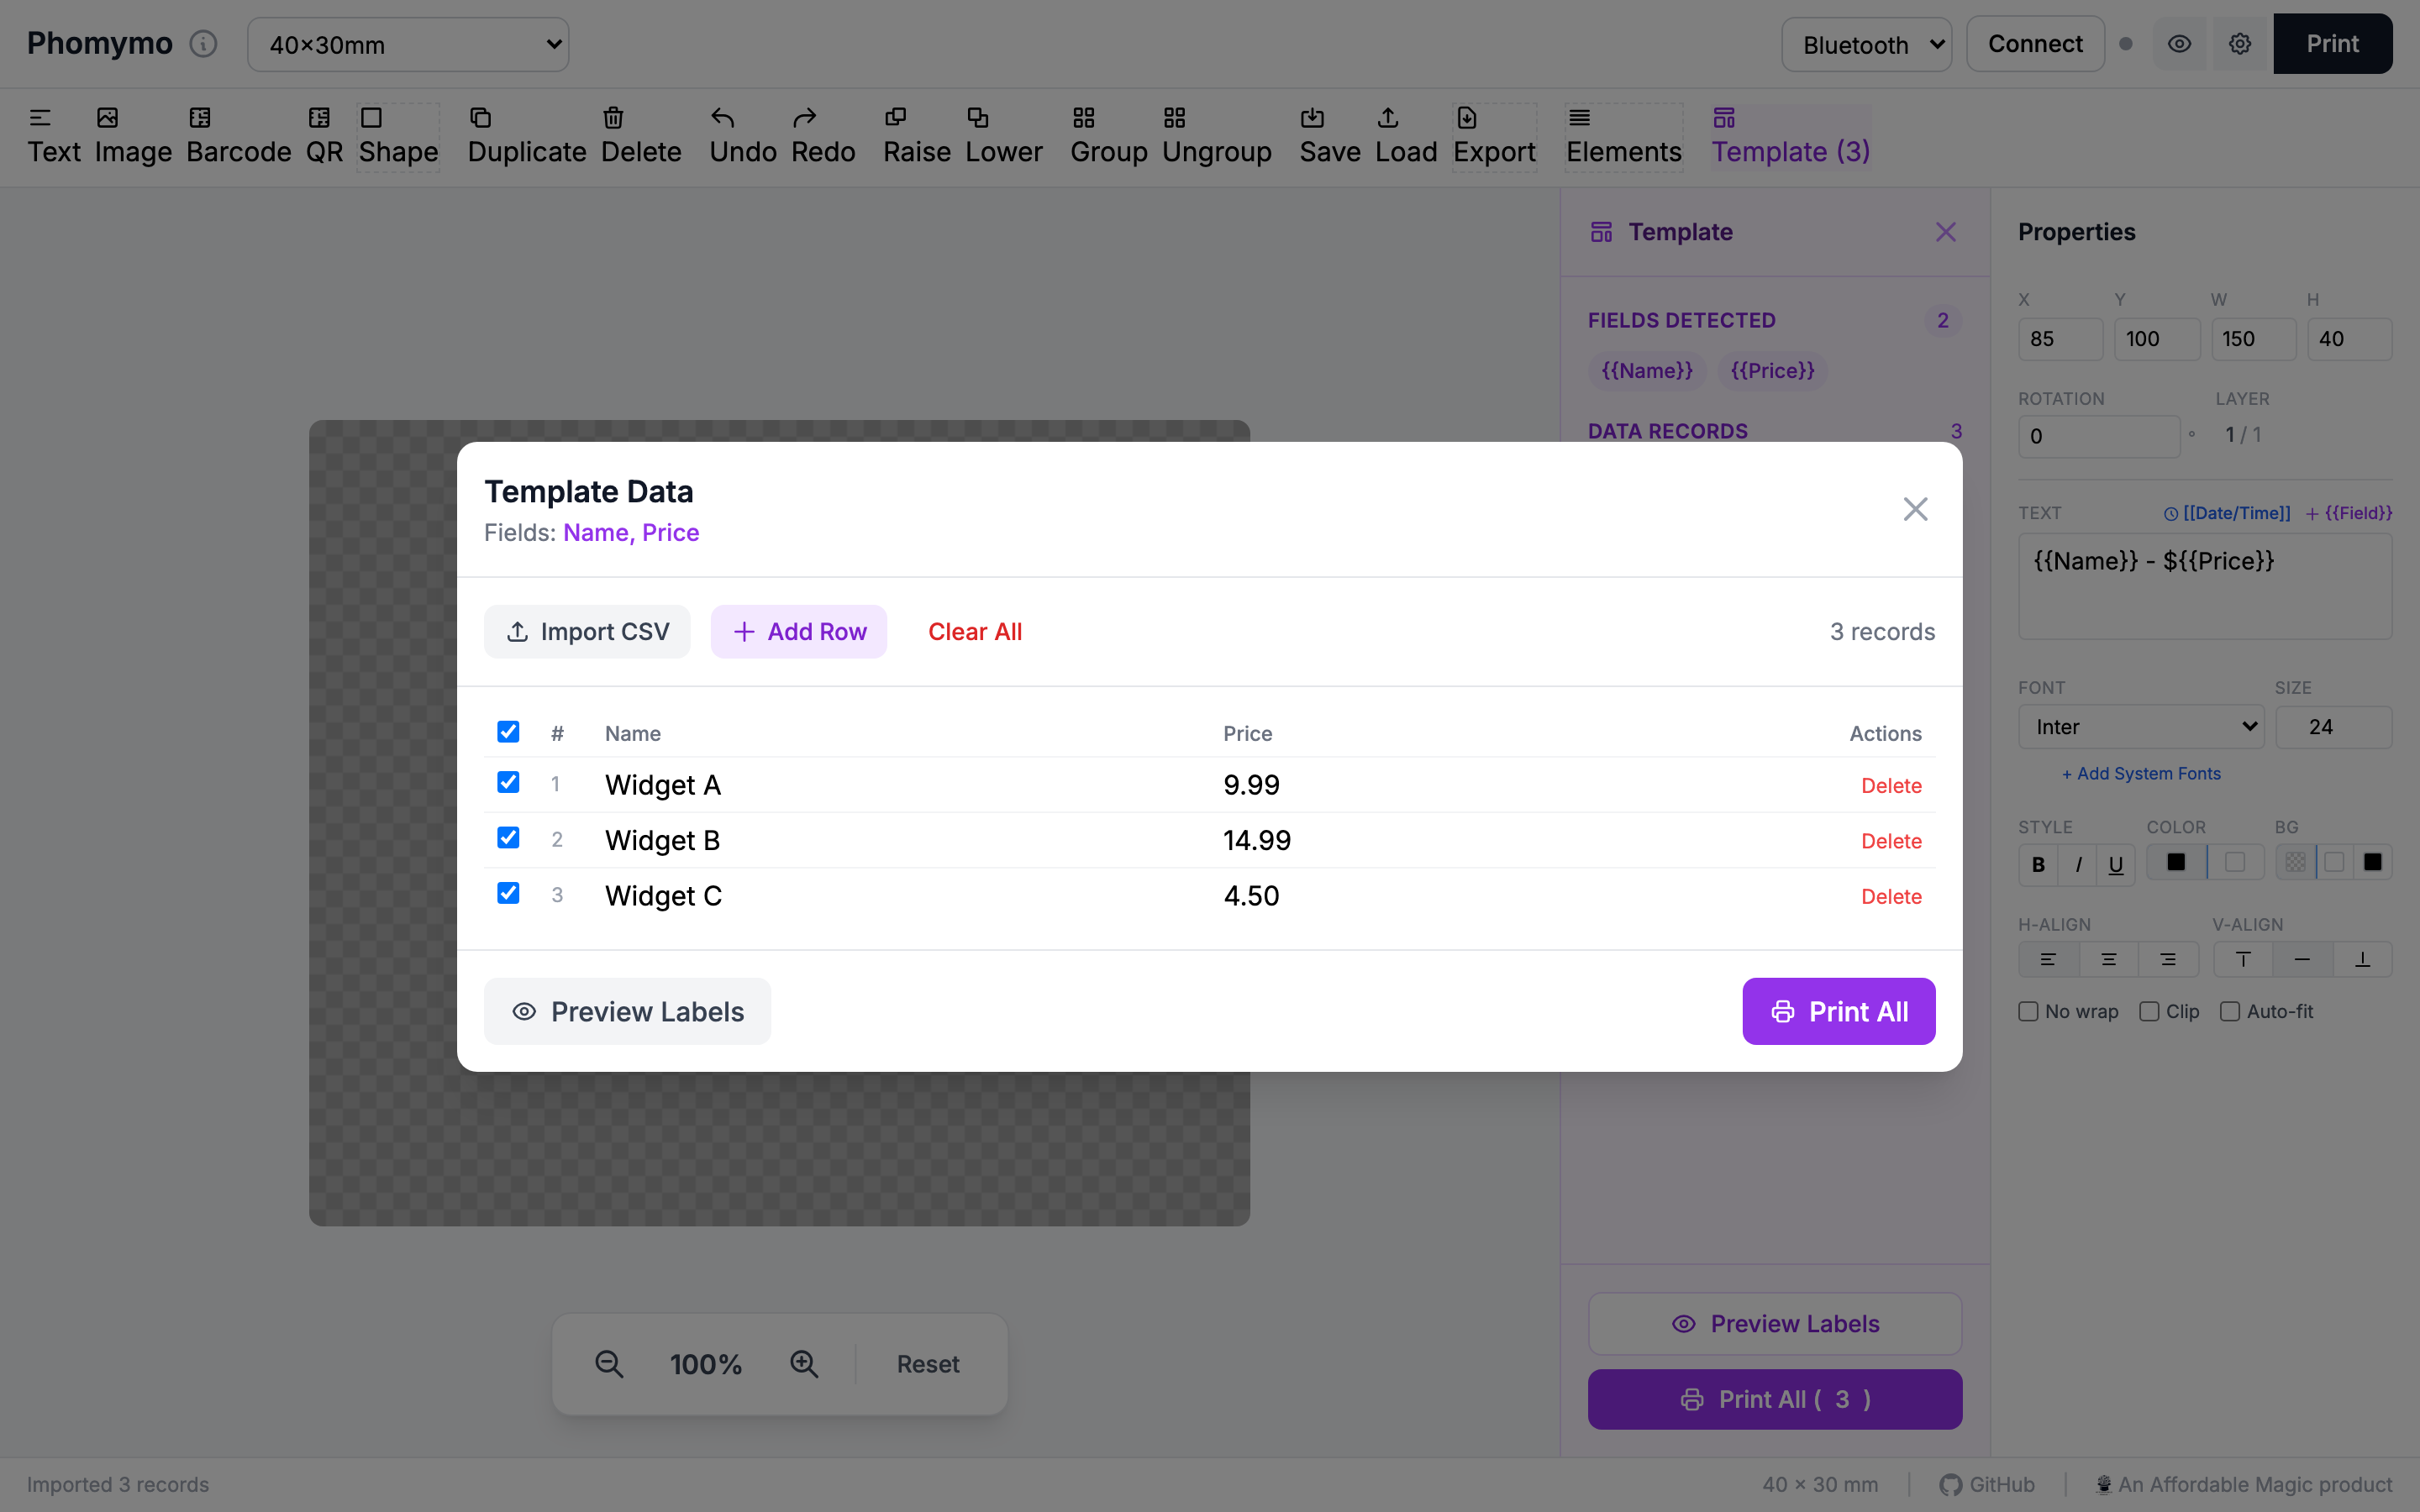
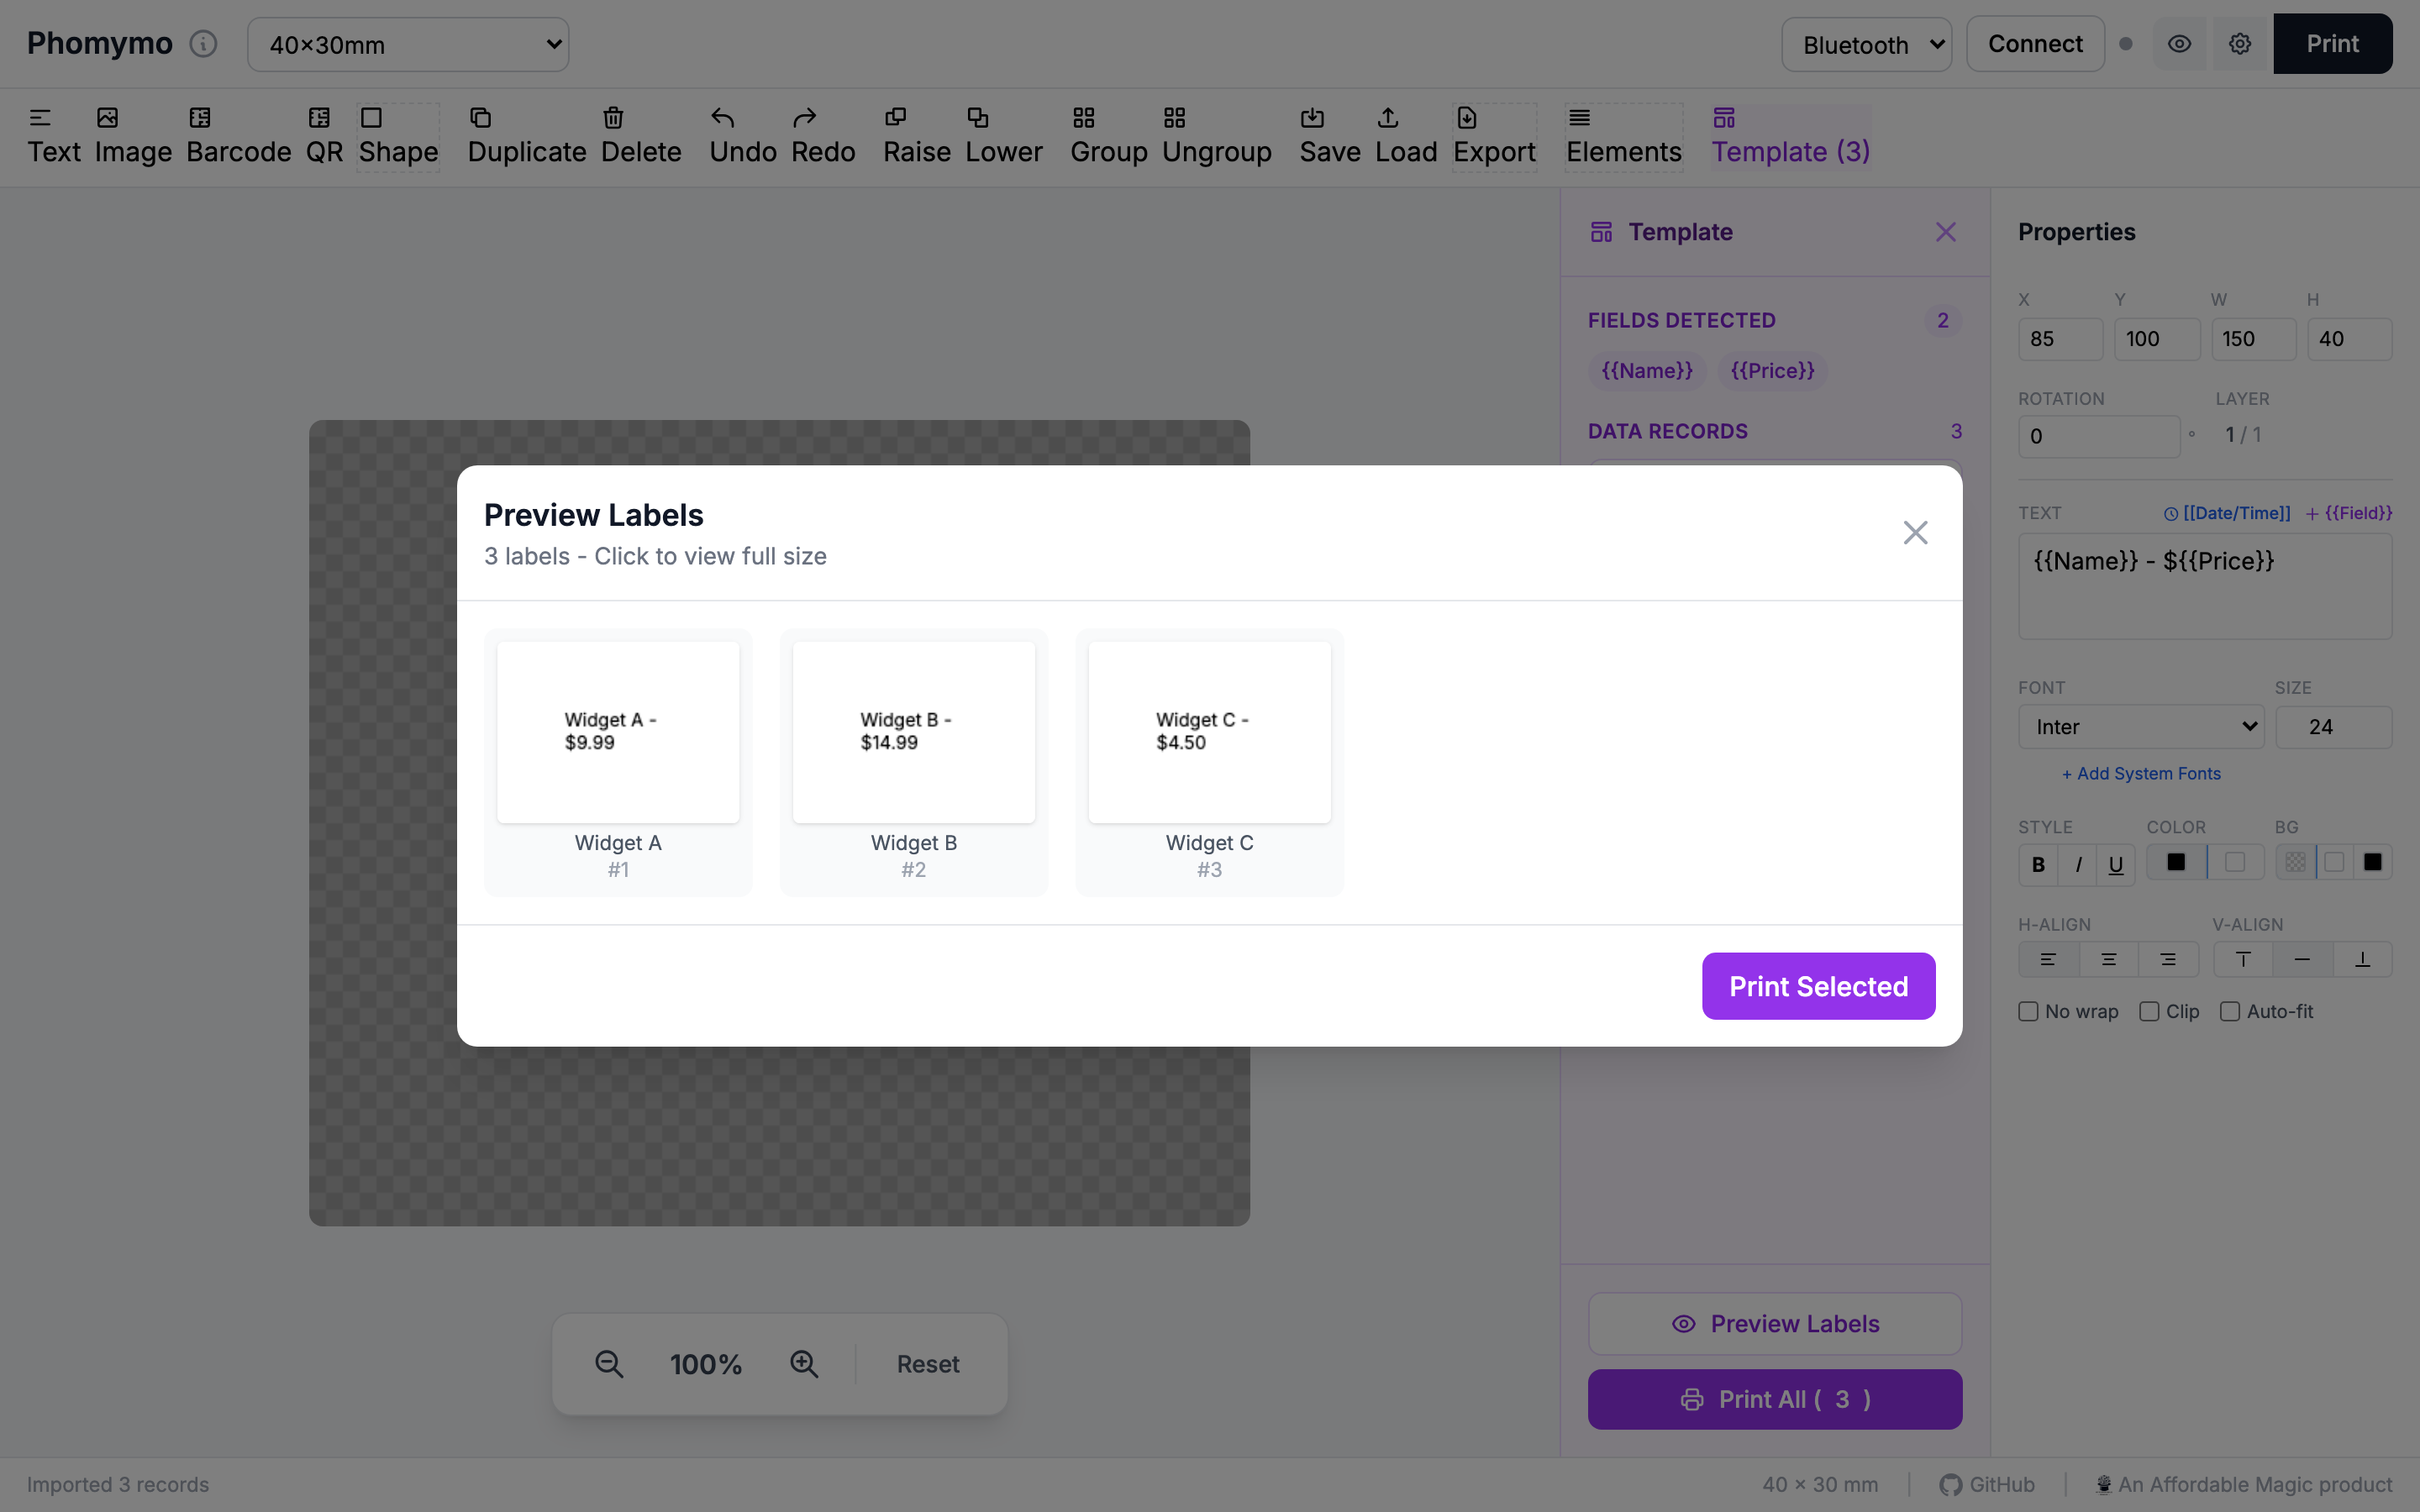
Click Preview to see all your labels rendered with the data. Click any thumbnail to see it full-size.
Click Print All to print every label in sequence. A progress indicator shows the current label being printed. You can cancel at any time.
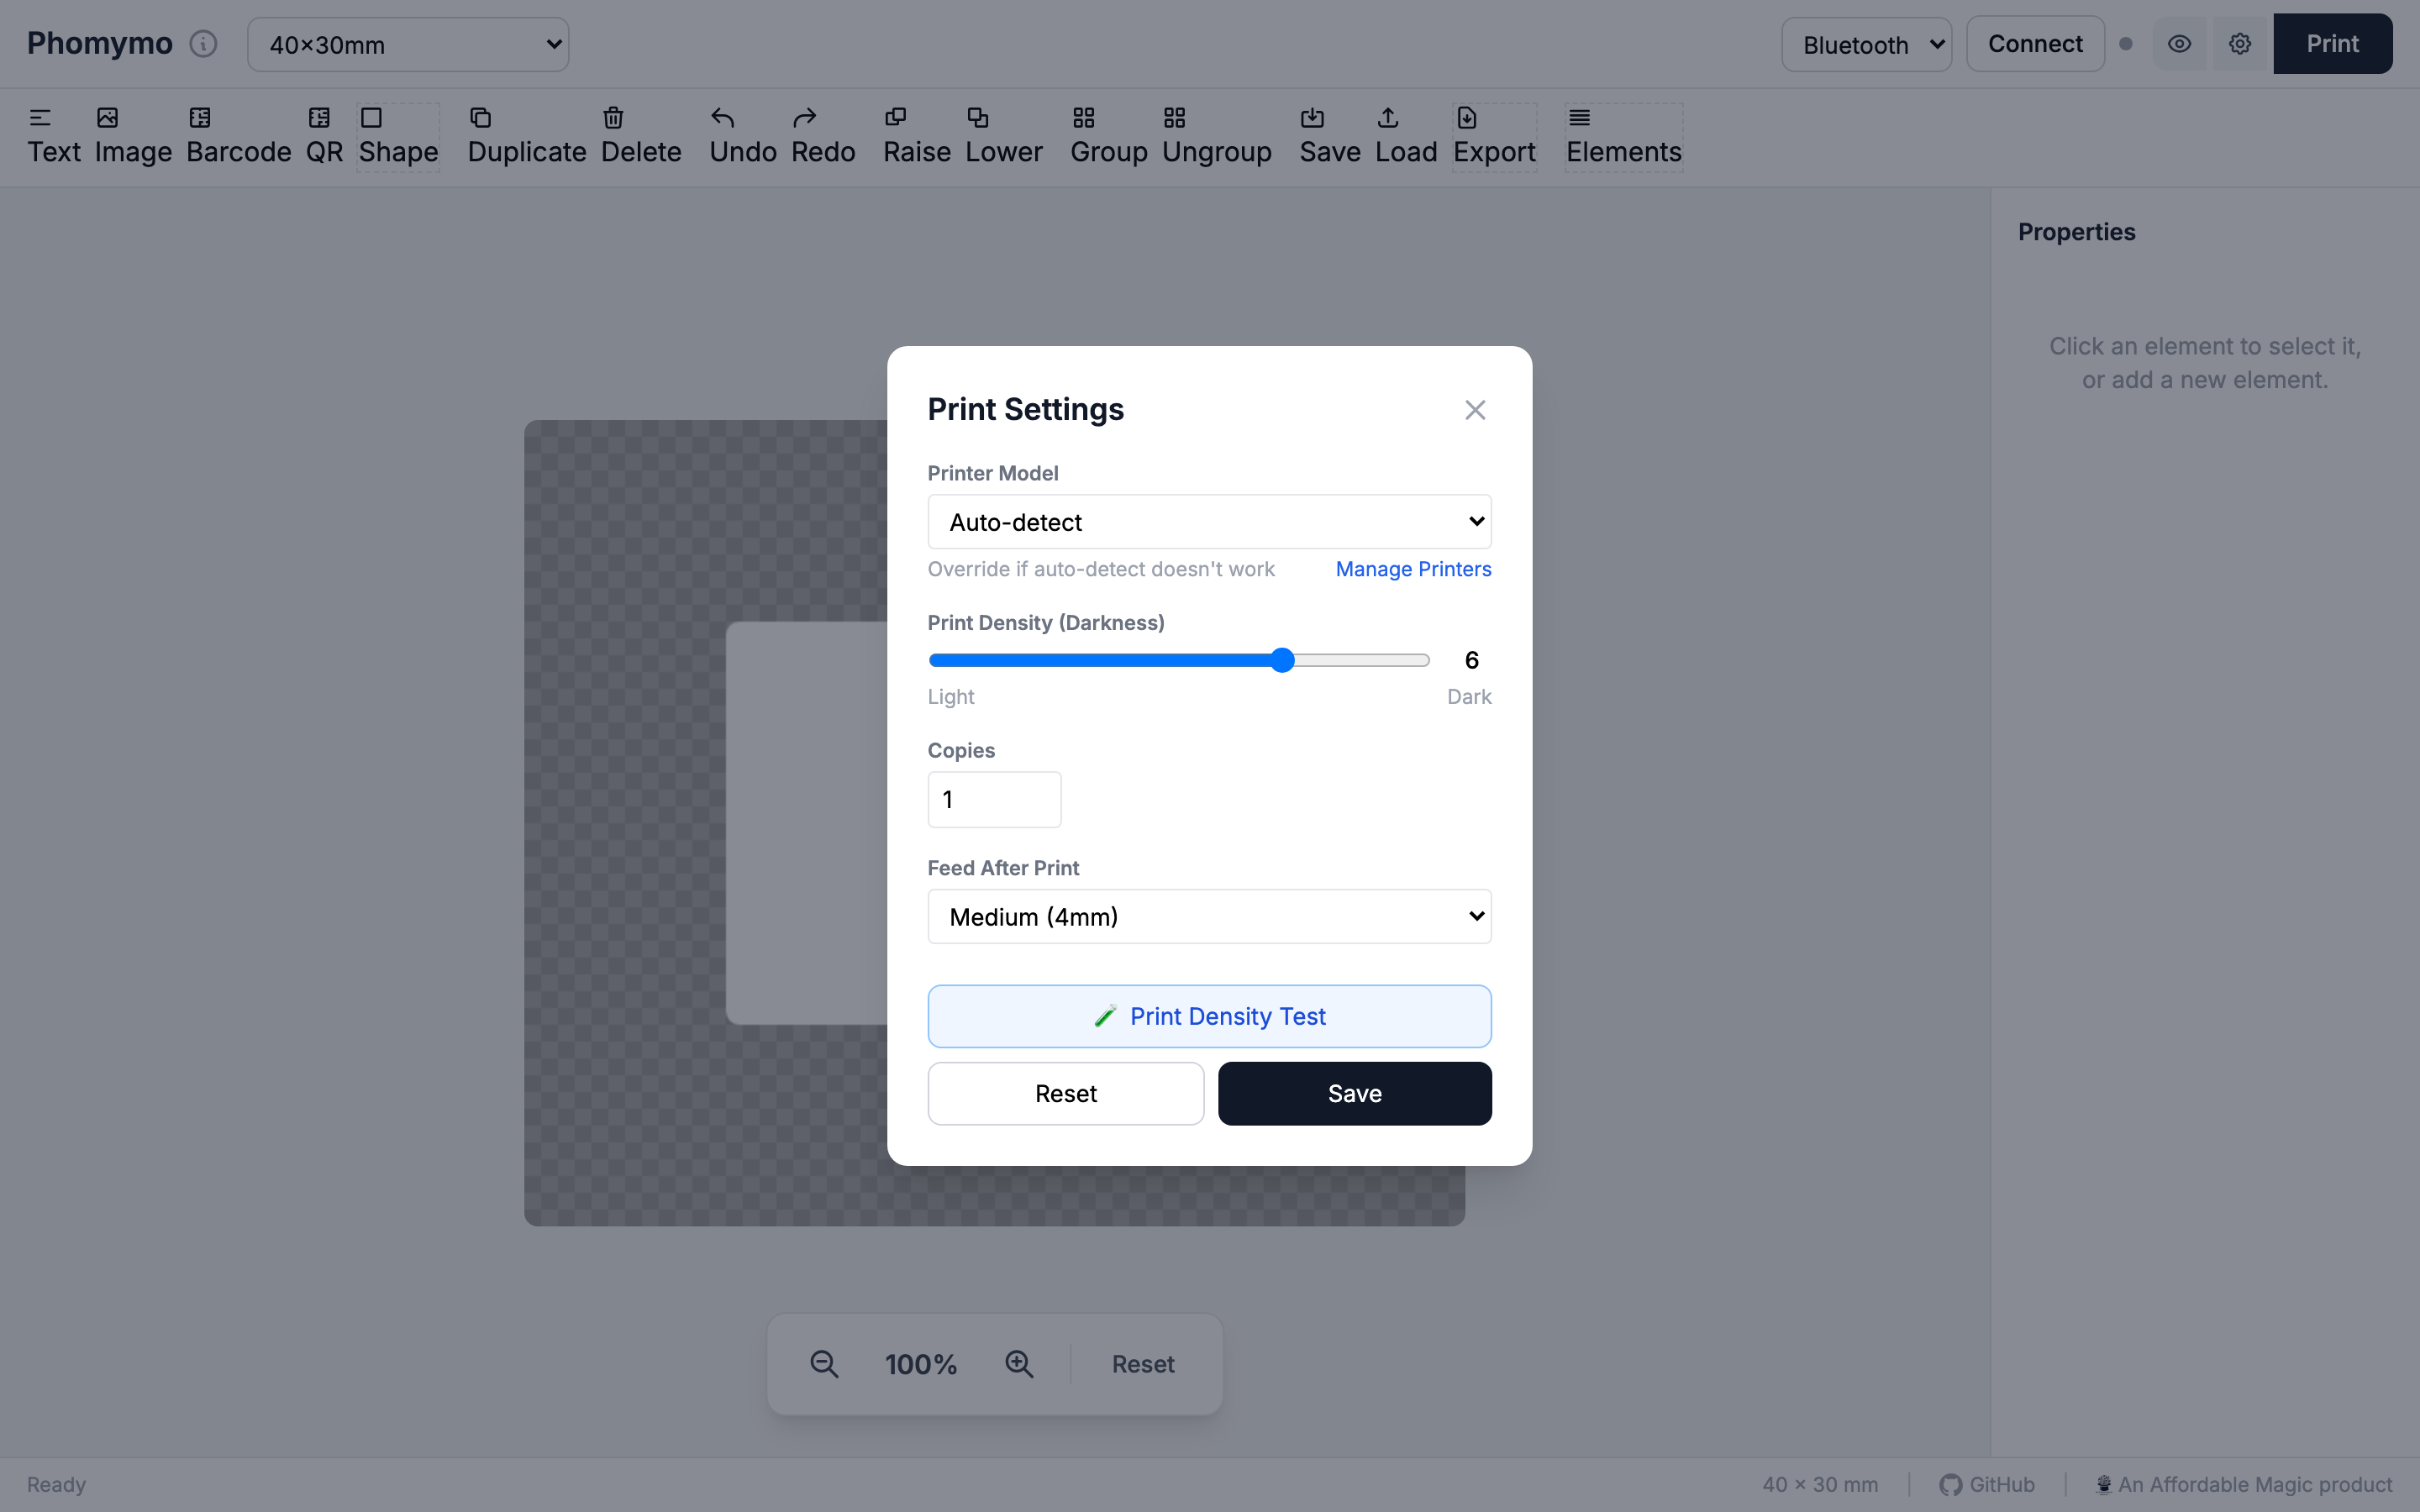
Click the gear icon in the toolbar to open print settings.
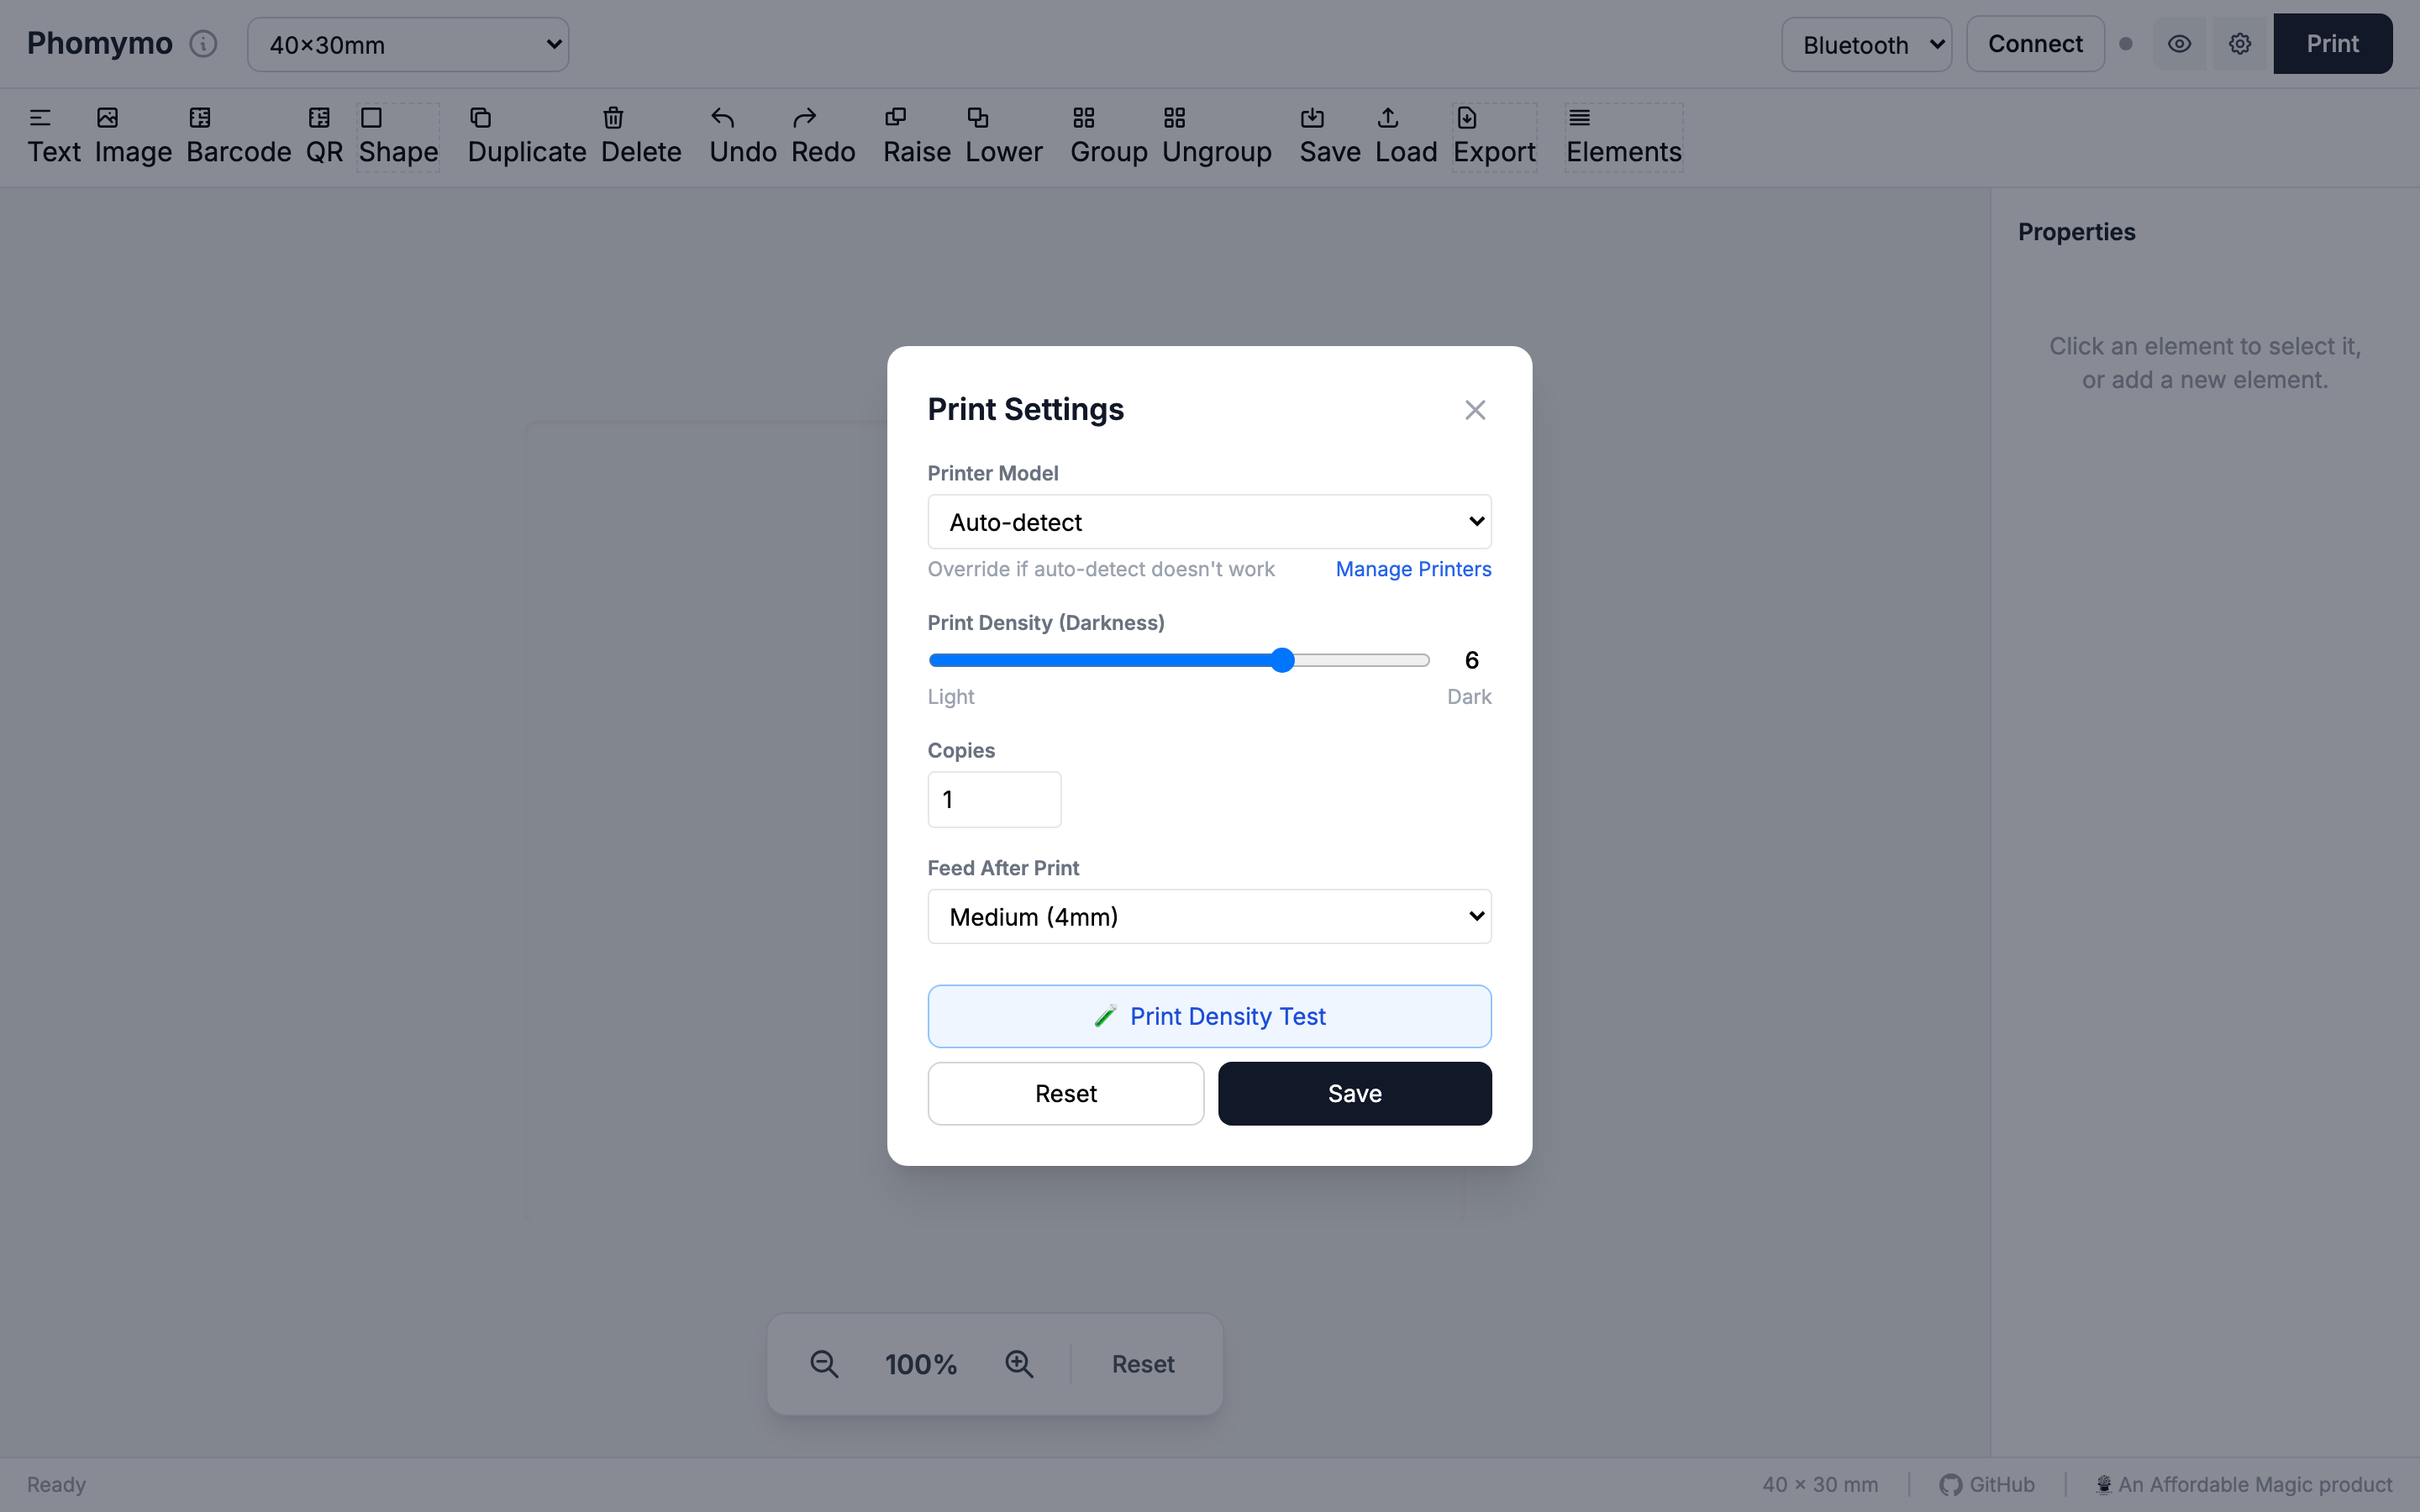
The Printer Model dropdown lists all supported printers. The default is Auto-detect, which identifies your printer from its Bluetooth name.
If auto-detection doesn’t work (e.g., your printer broadcasts a serial number instead of a model name), select your model manually.

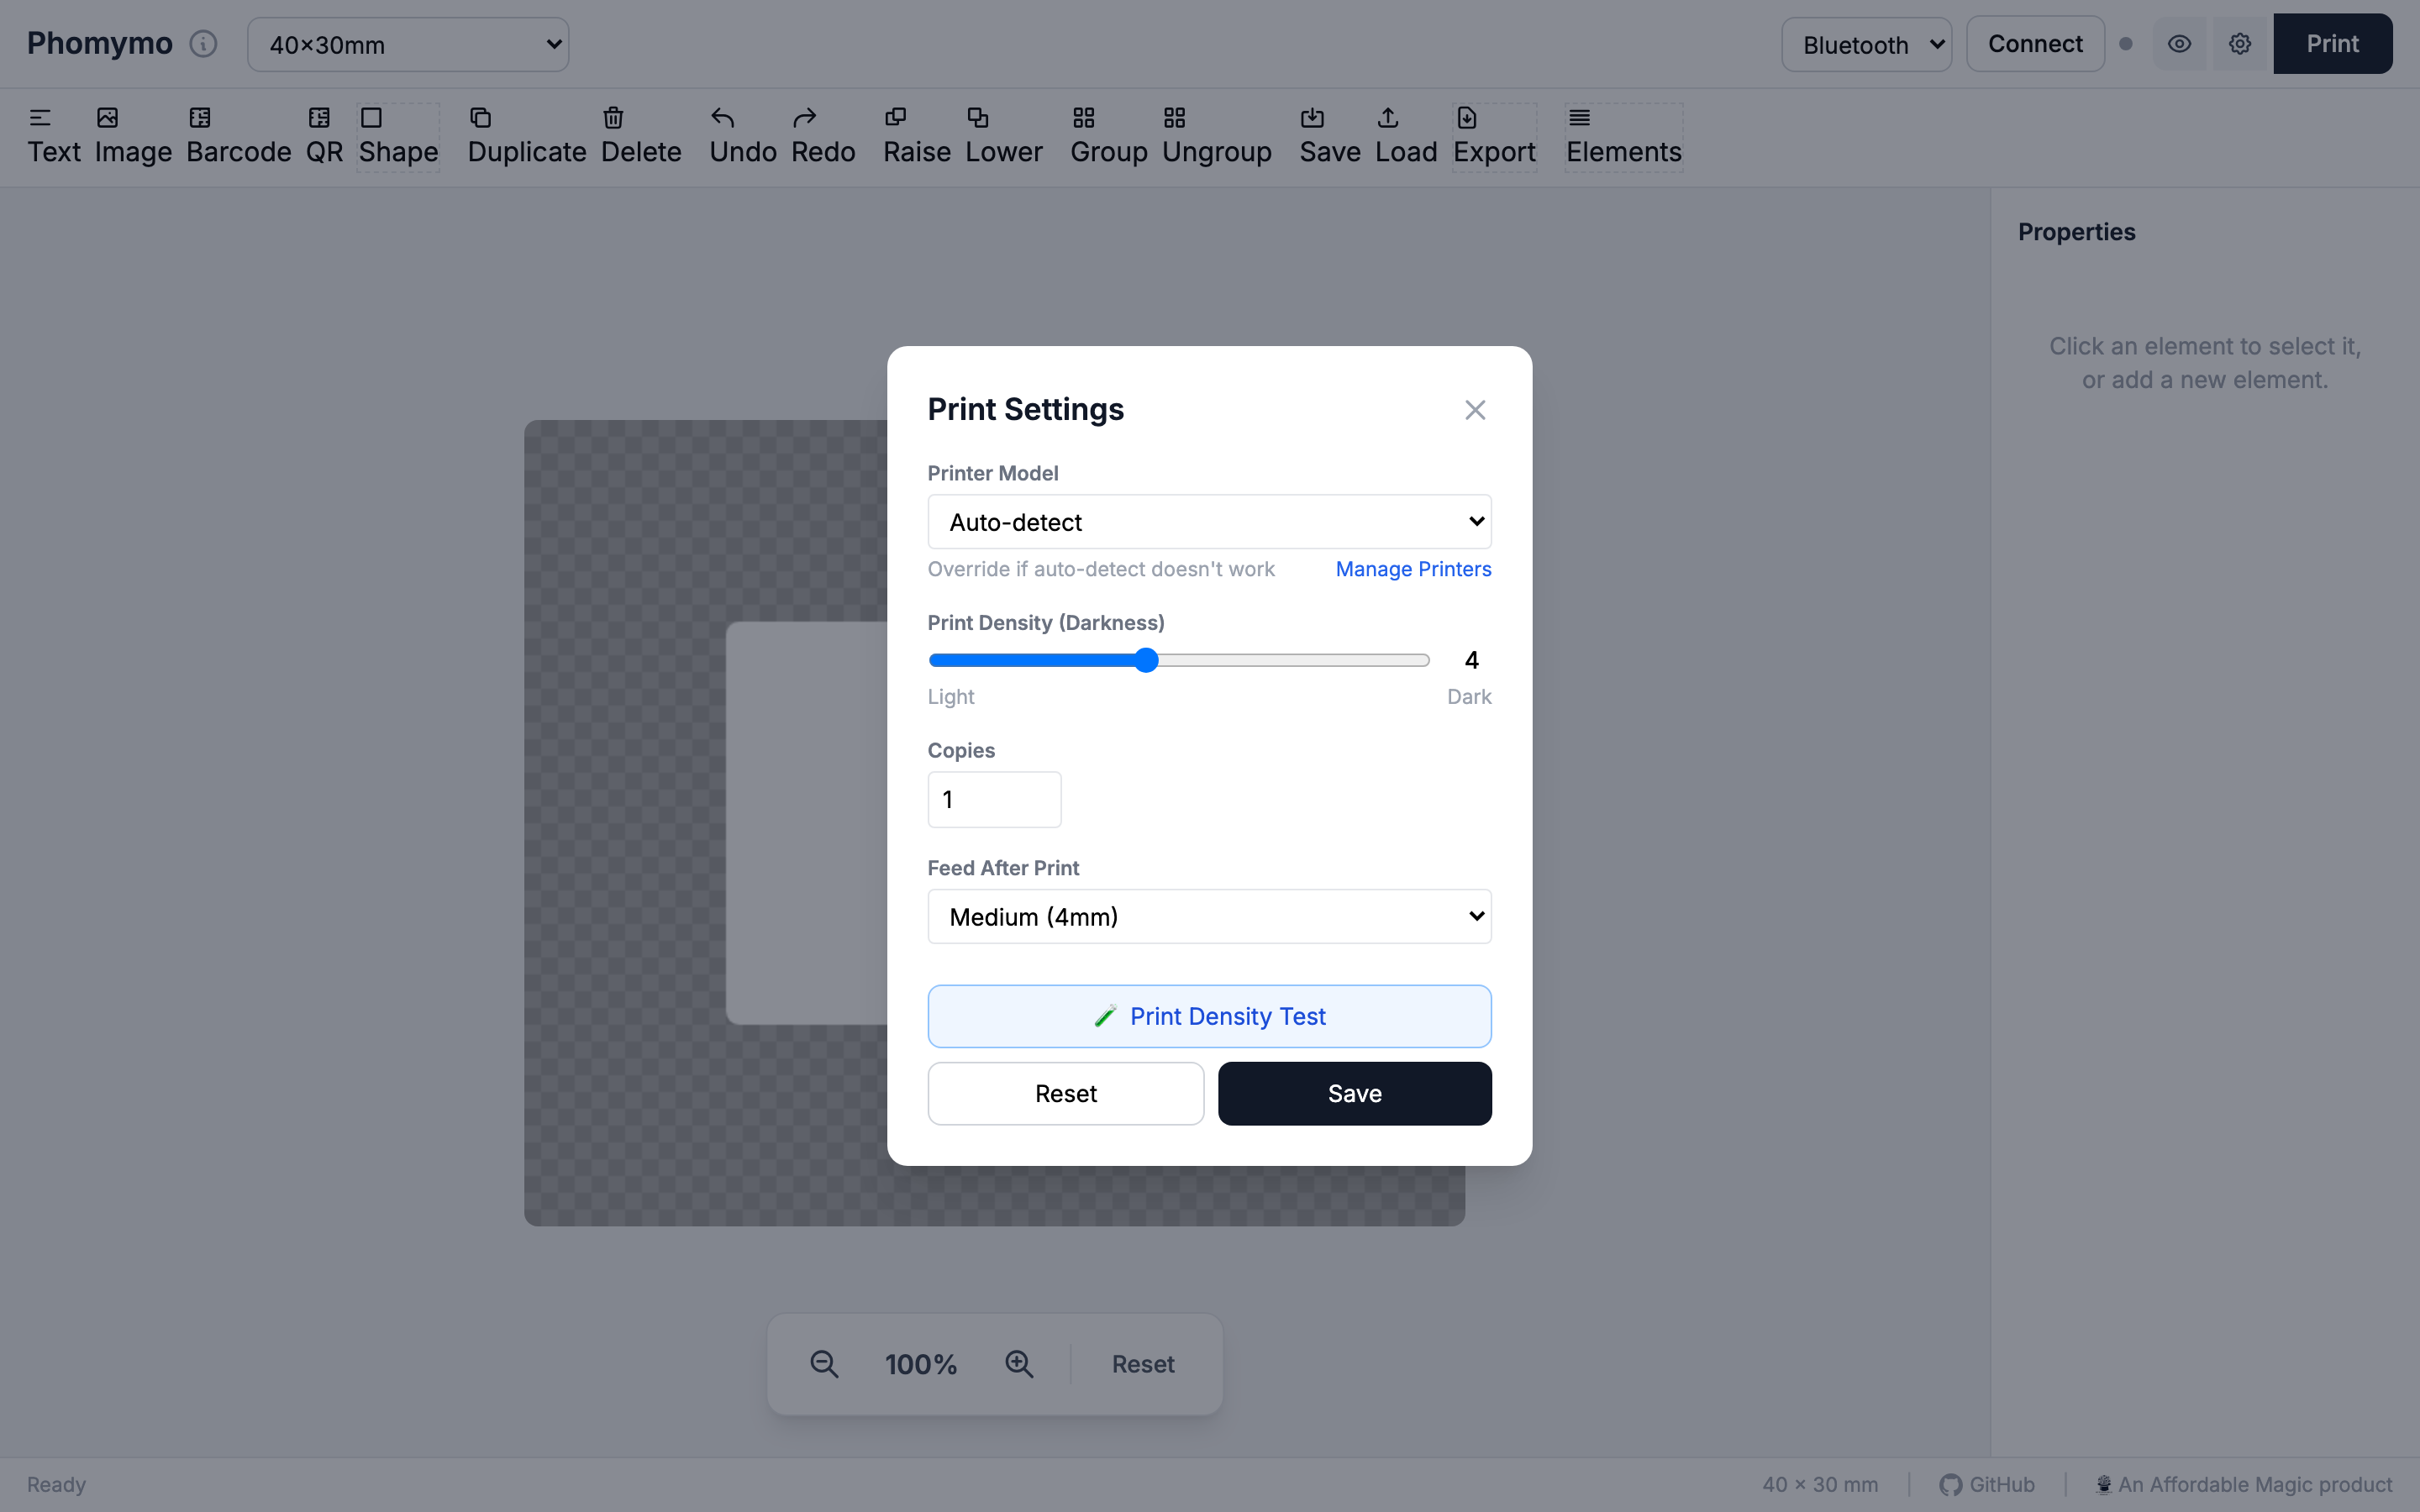
The density slider controls how dark the print is (1 = light, 8 = dark). Some printers may not respond to this setting.
Click Save to apply your settings. They persist across sessions.
If your printer isn’t in the built-in list, or if you need to tweak settings for your specific hardware, you can create custom printer definitions.
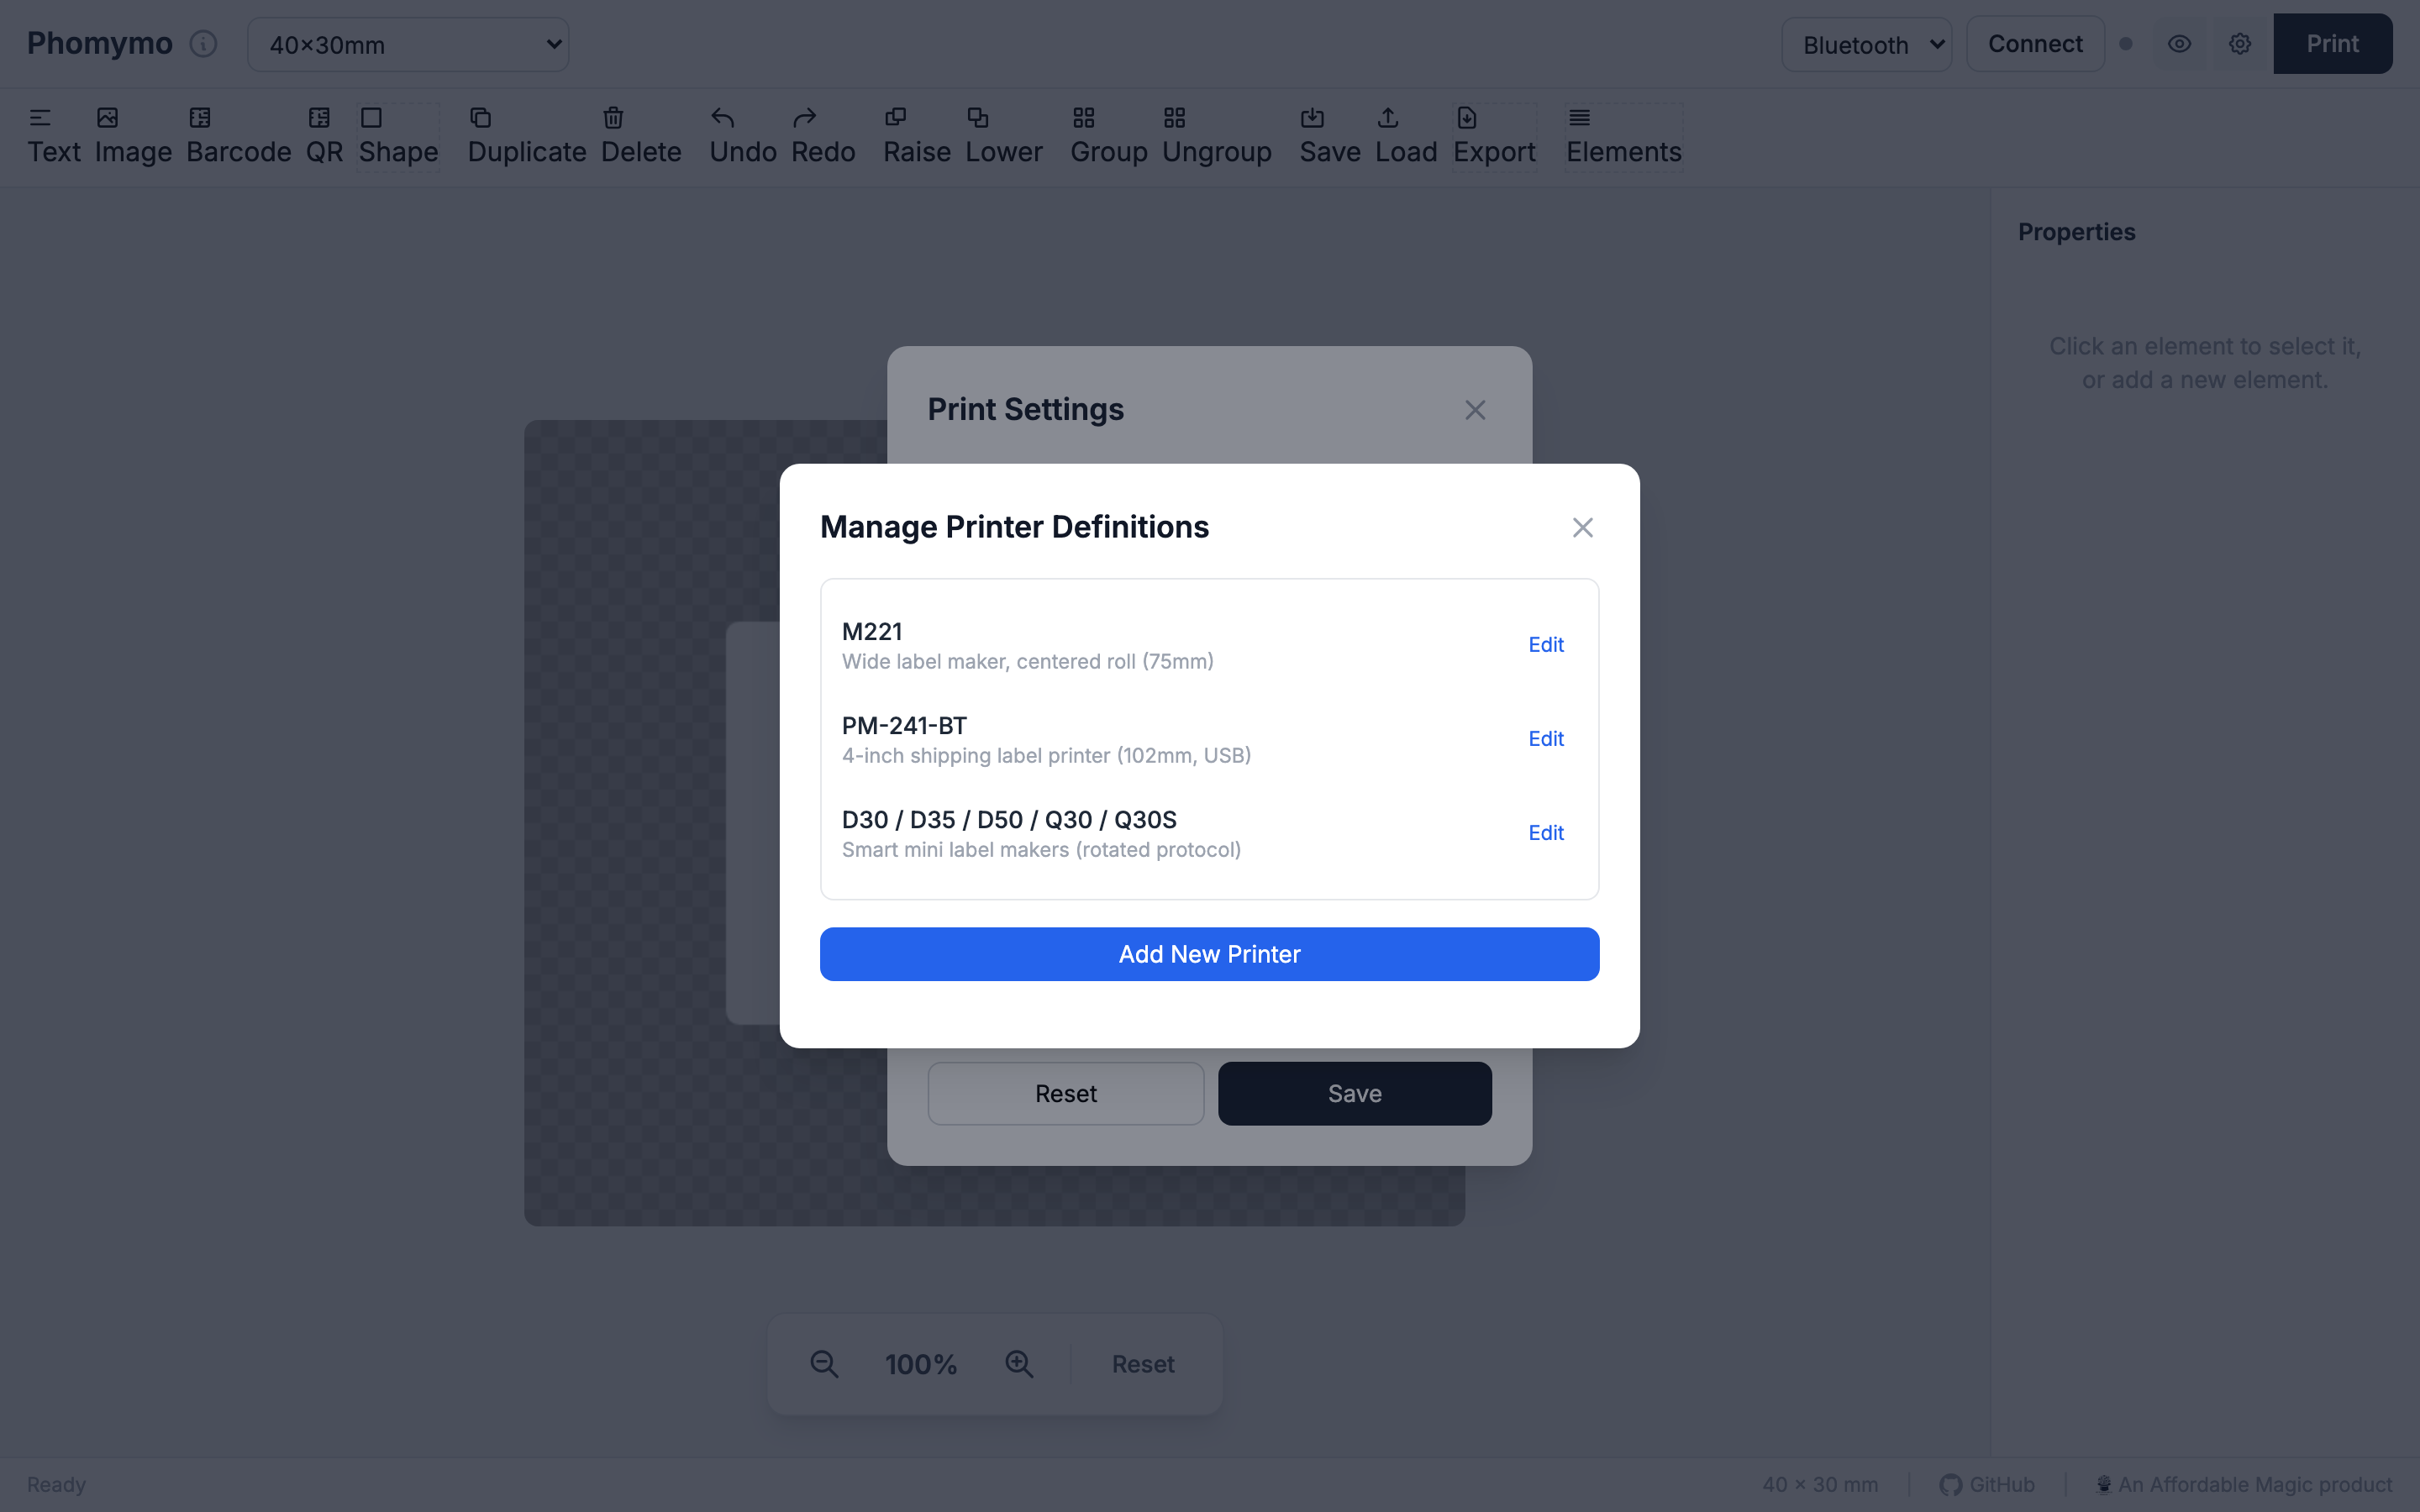
In Print Settings, click Manage Printers to open the printer definitions manager.
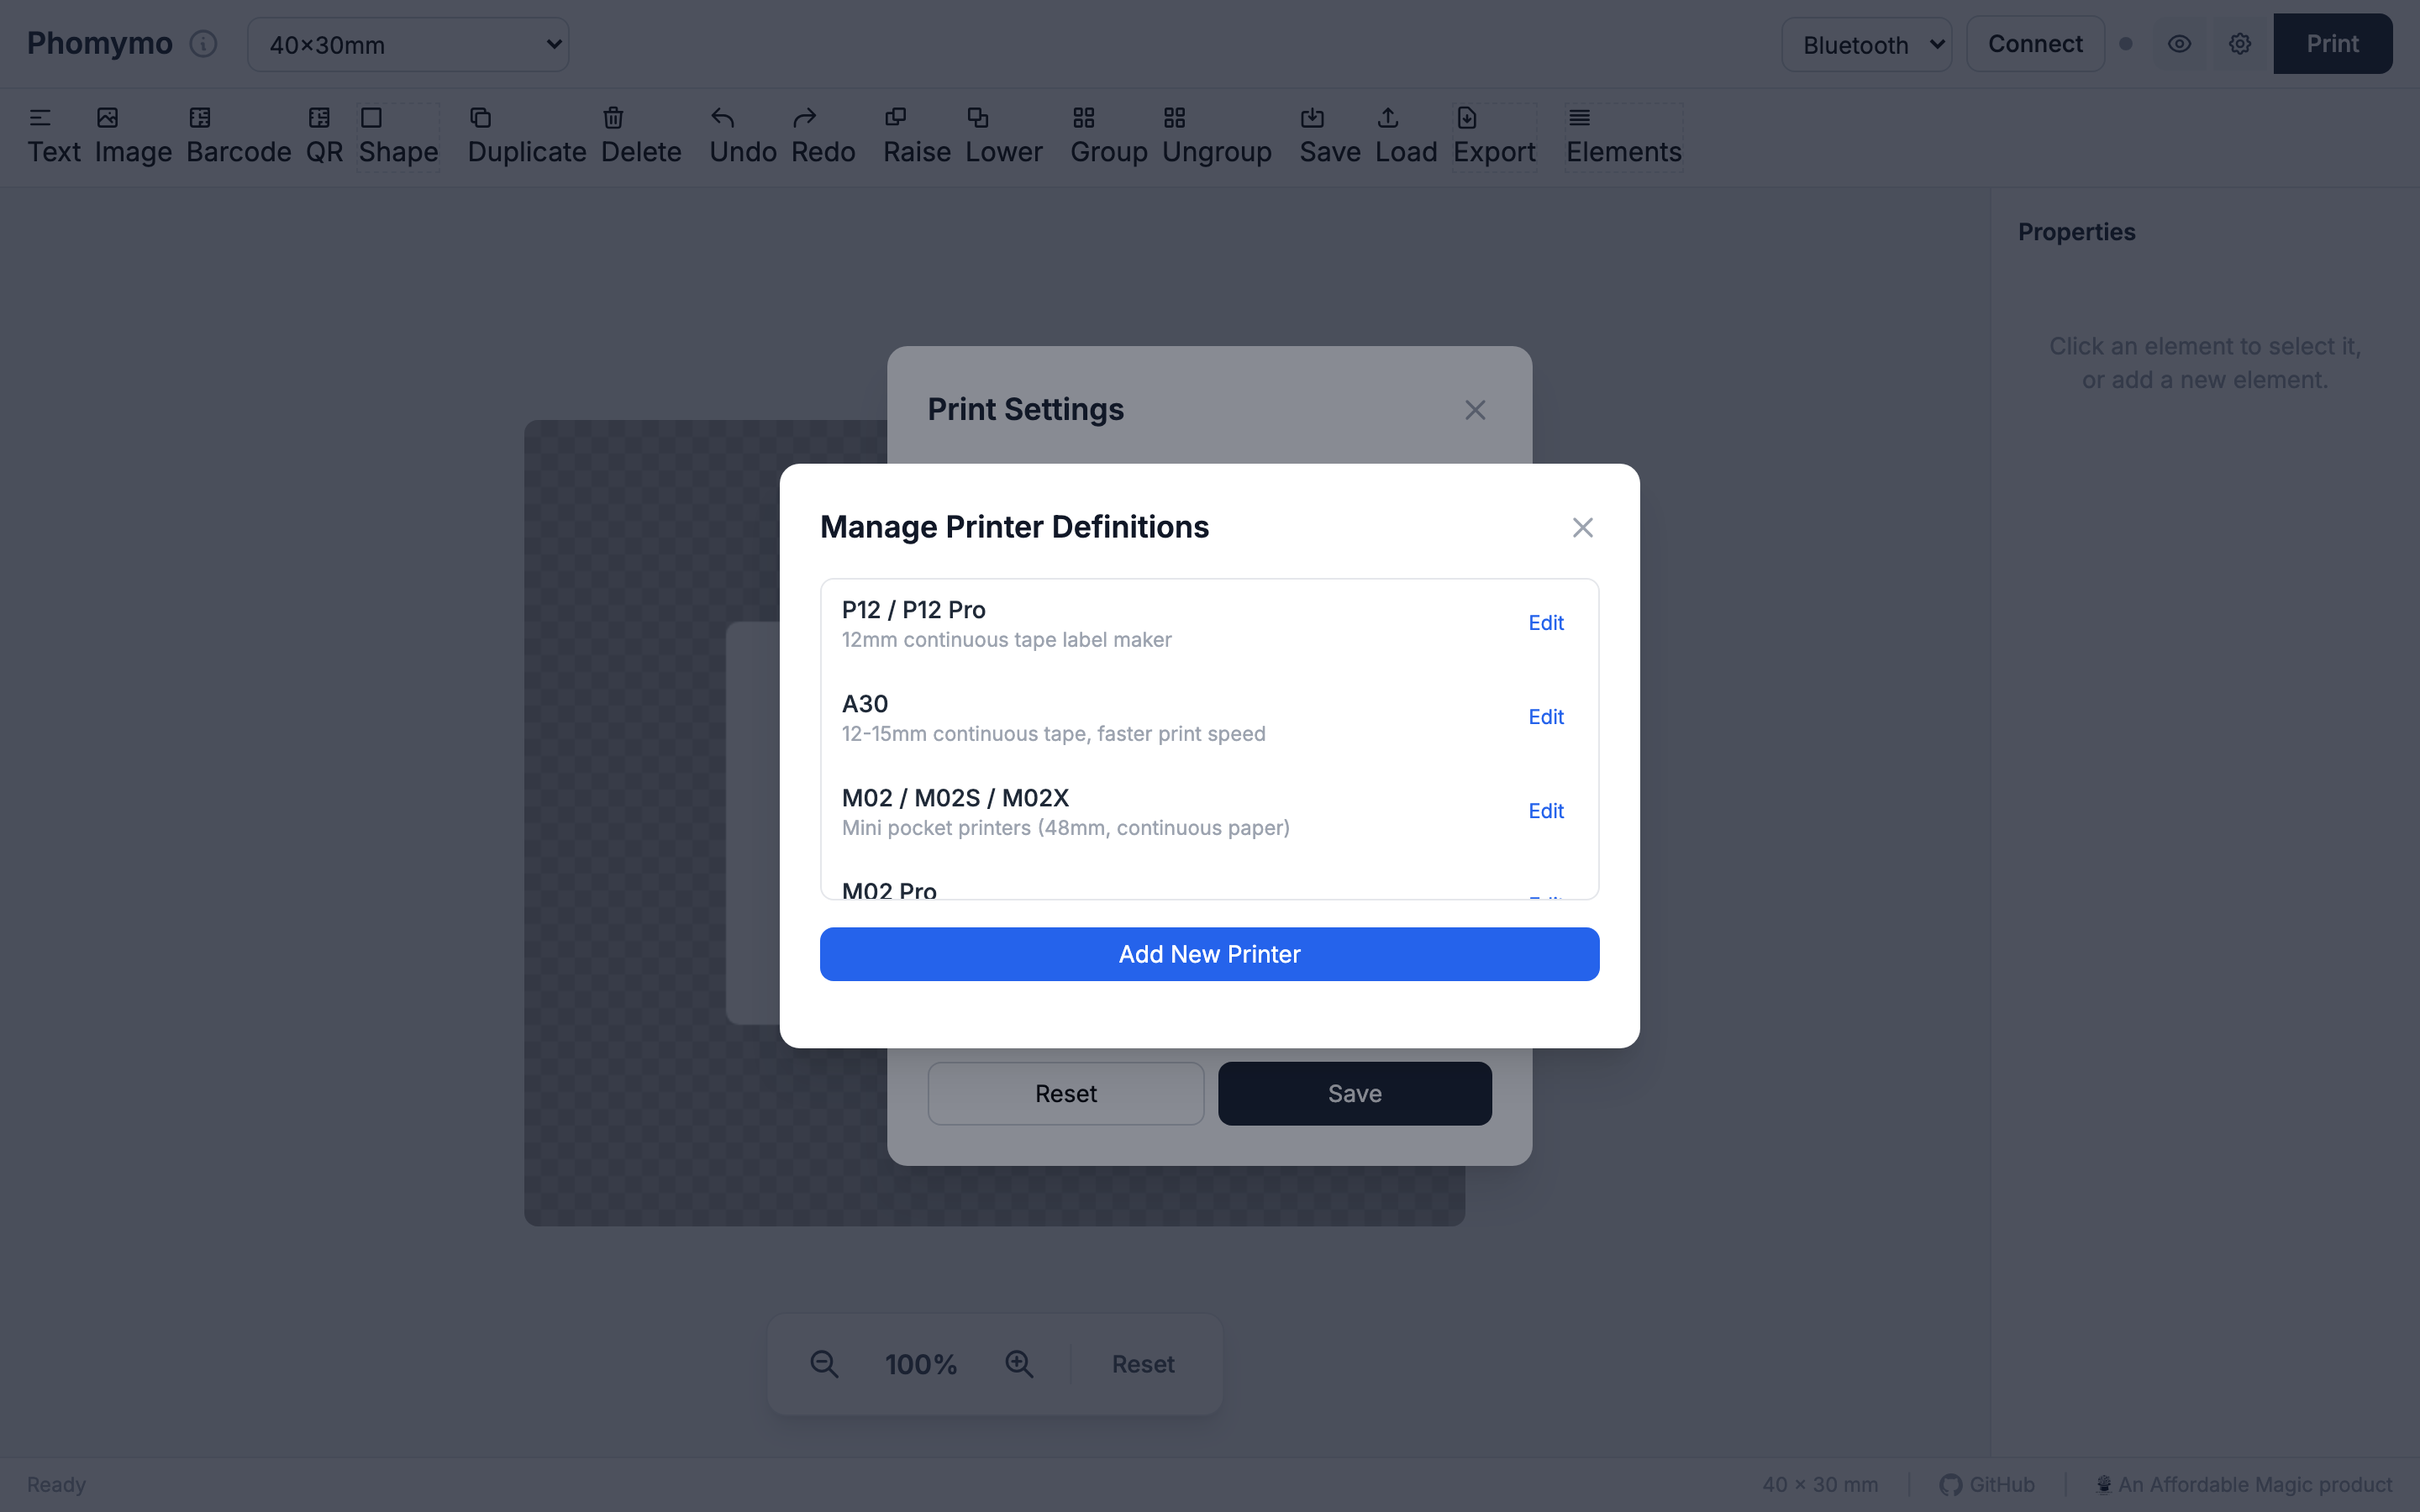
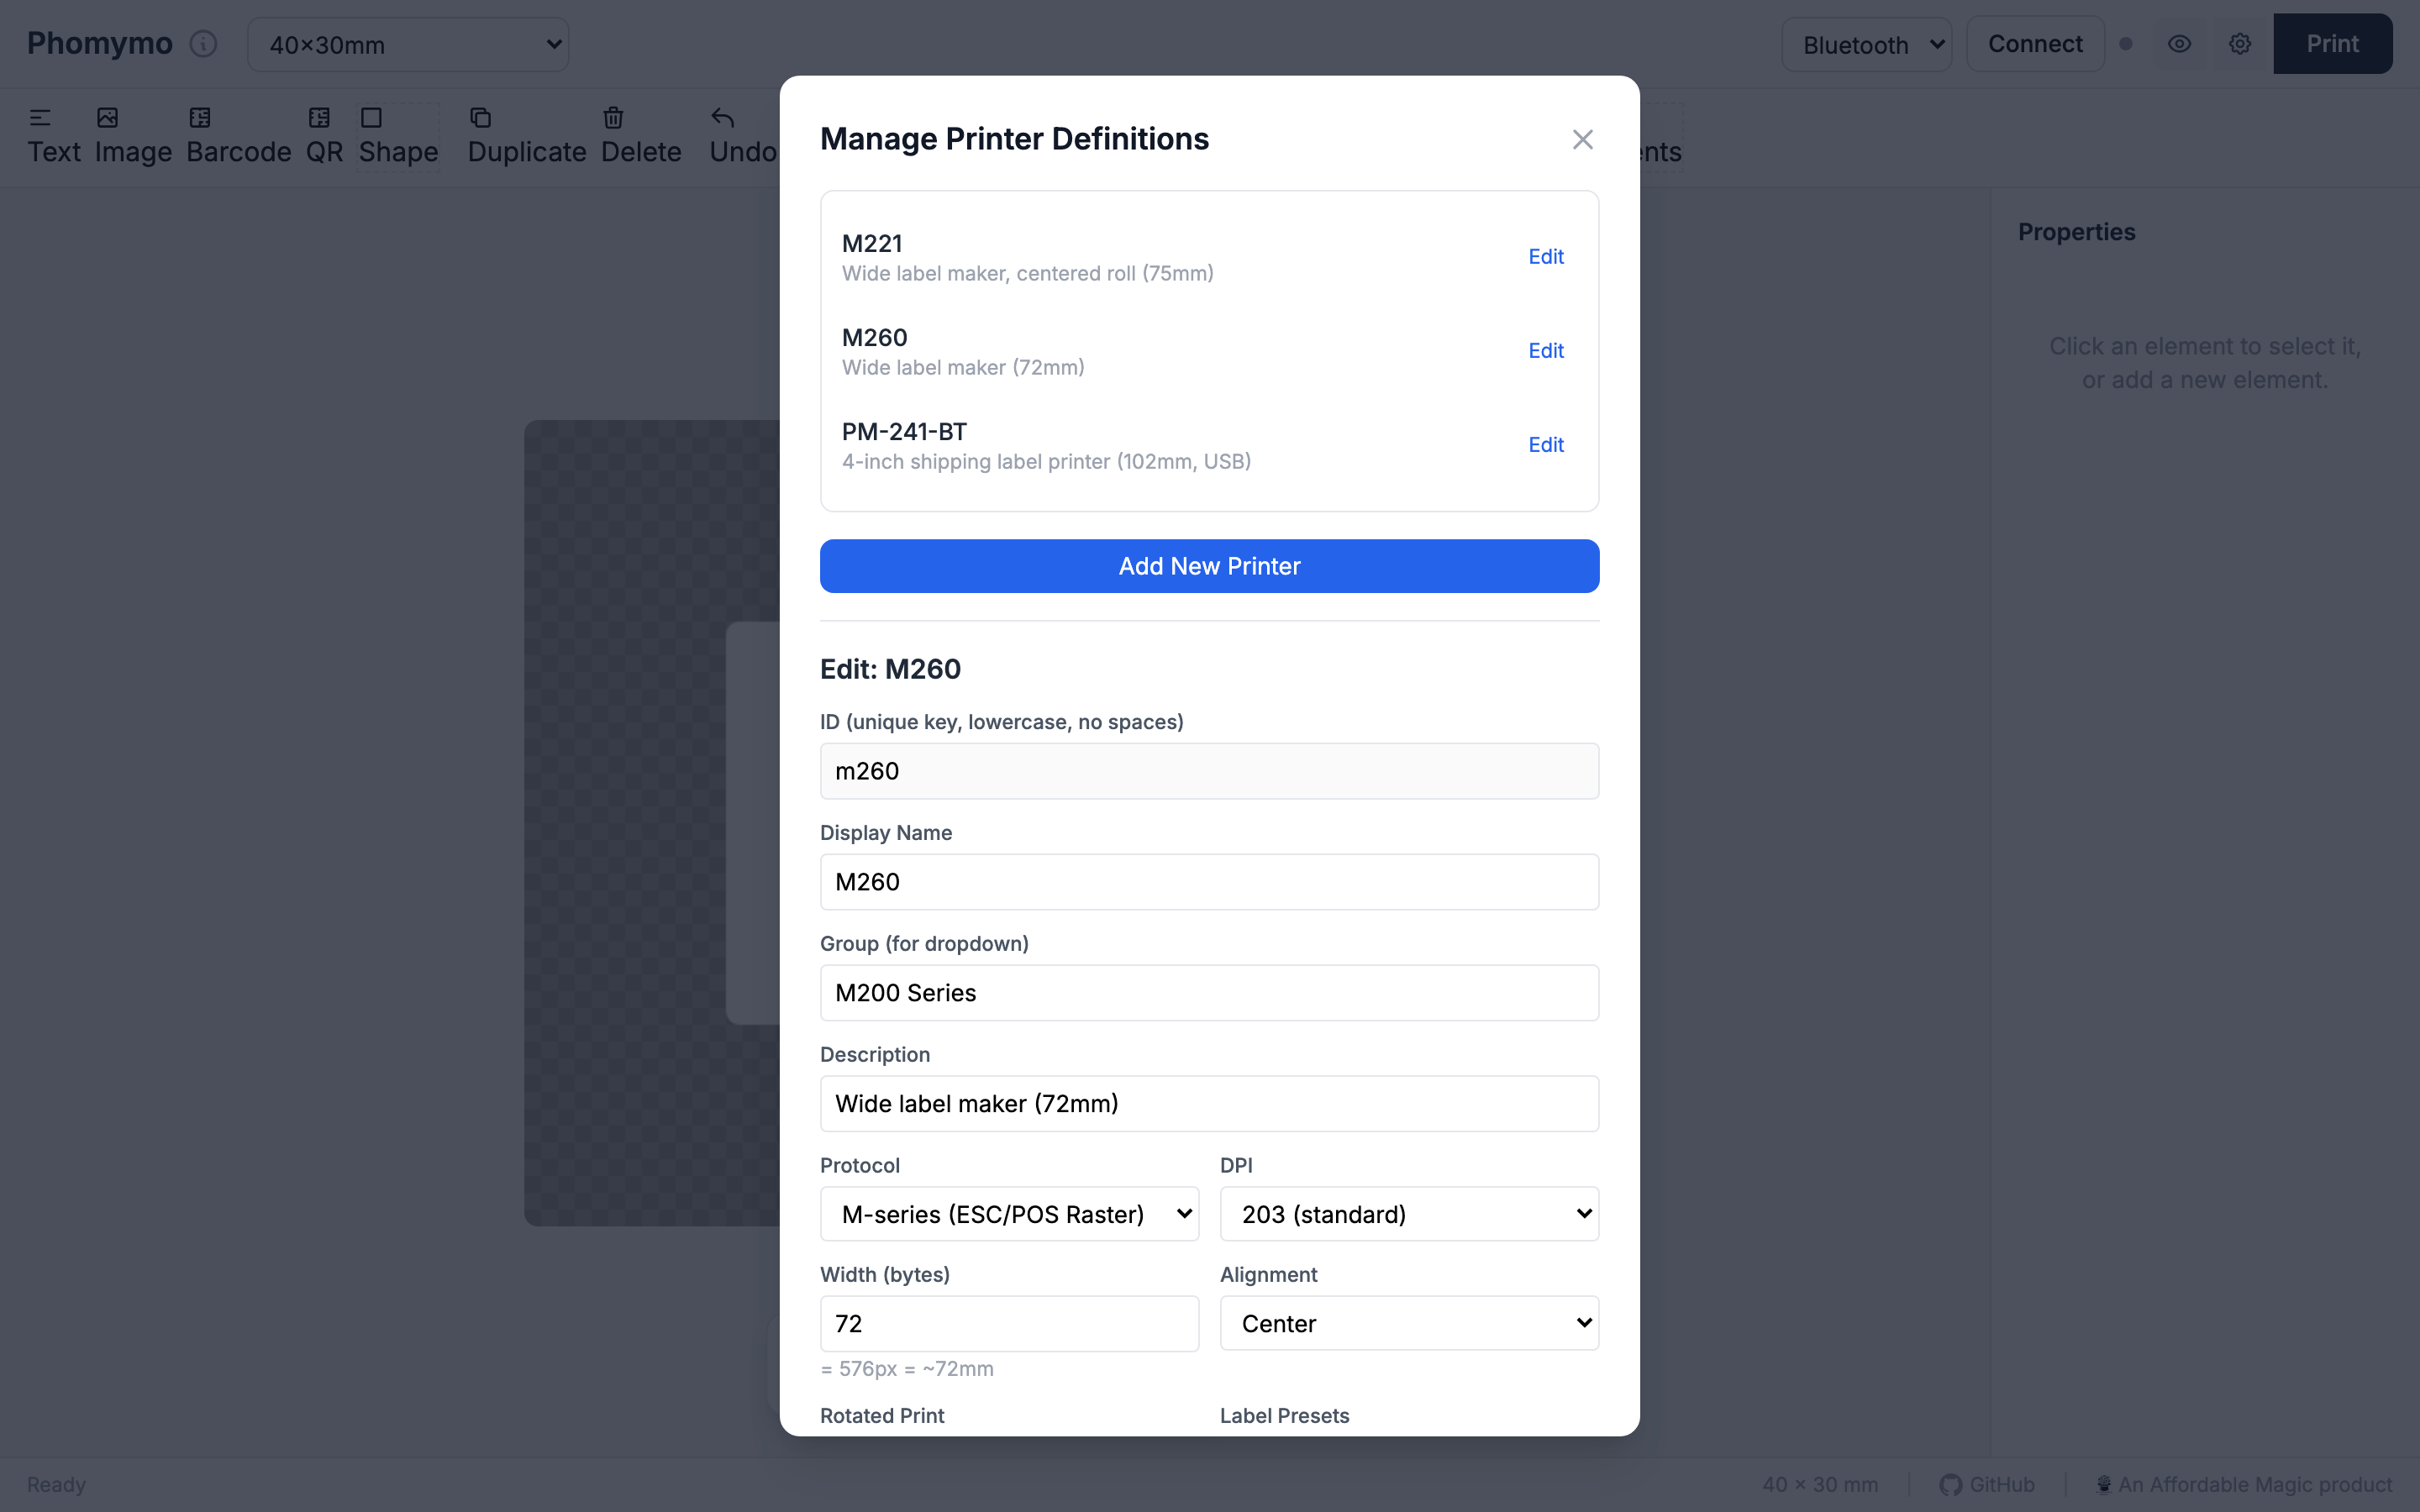
Click Add New Printer to open the editor form.
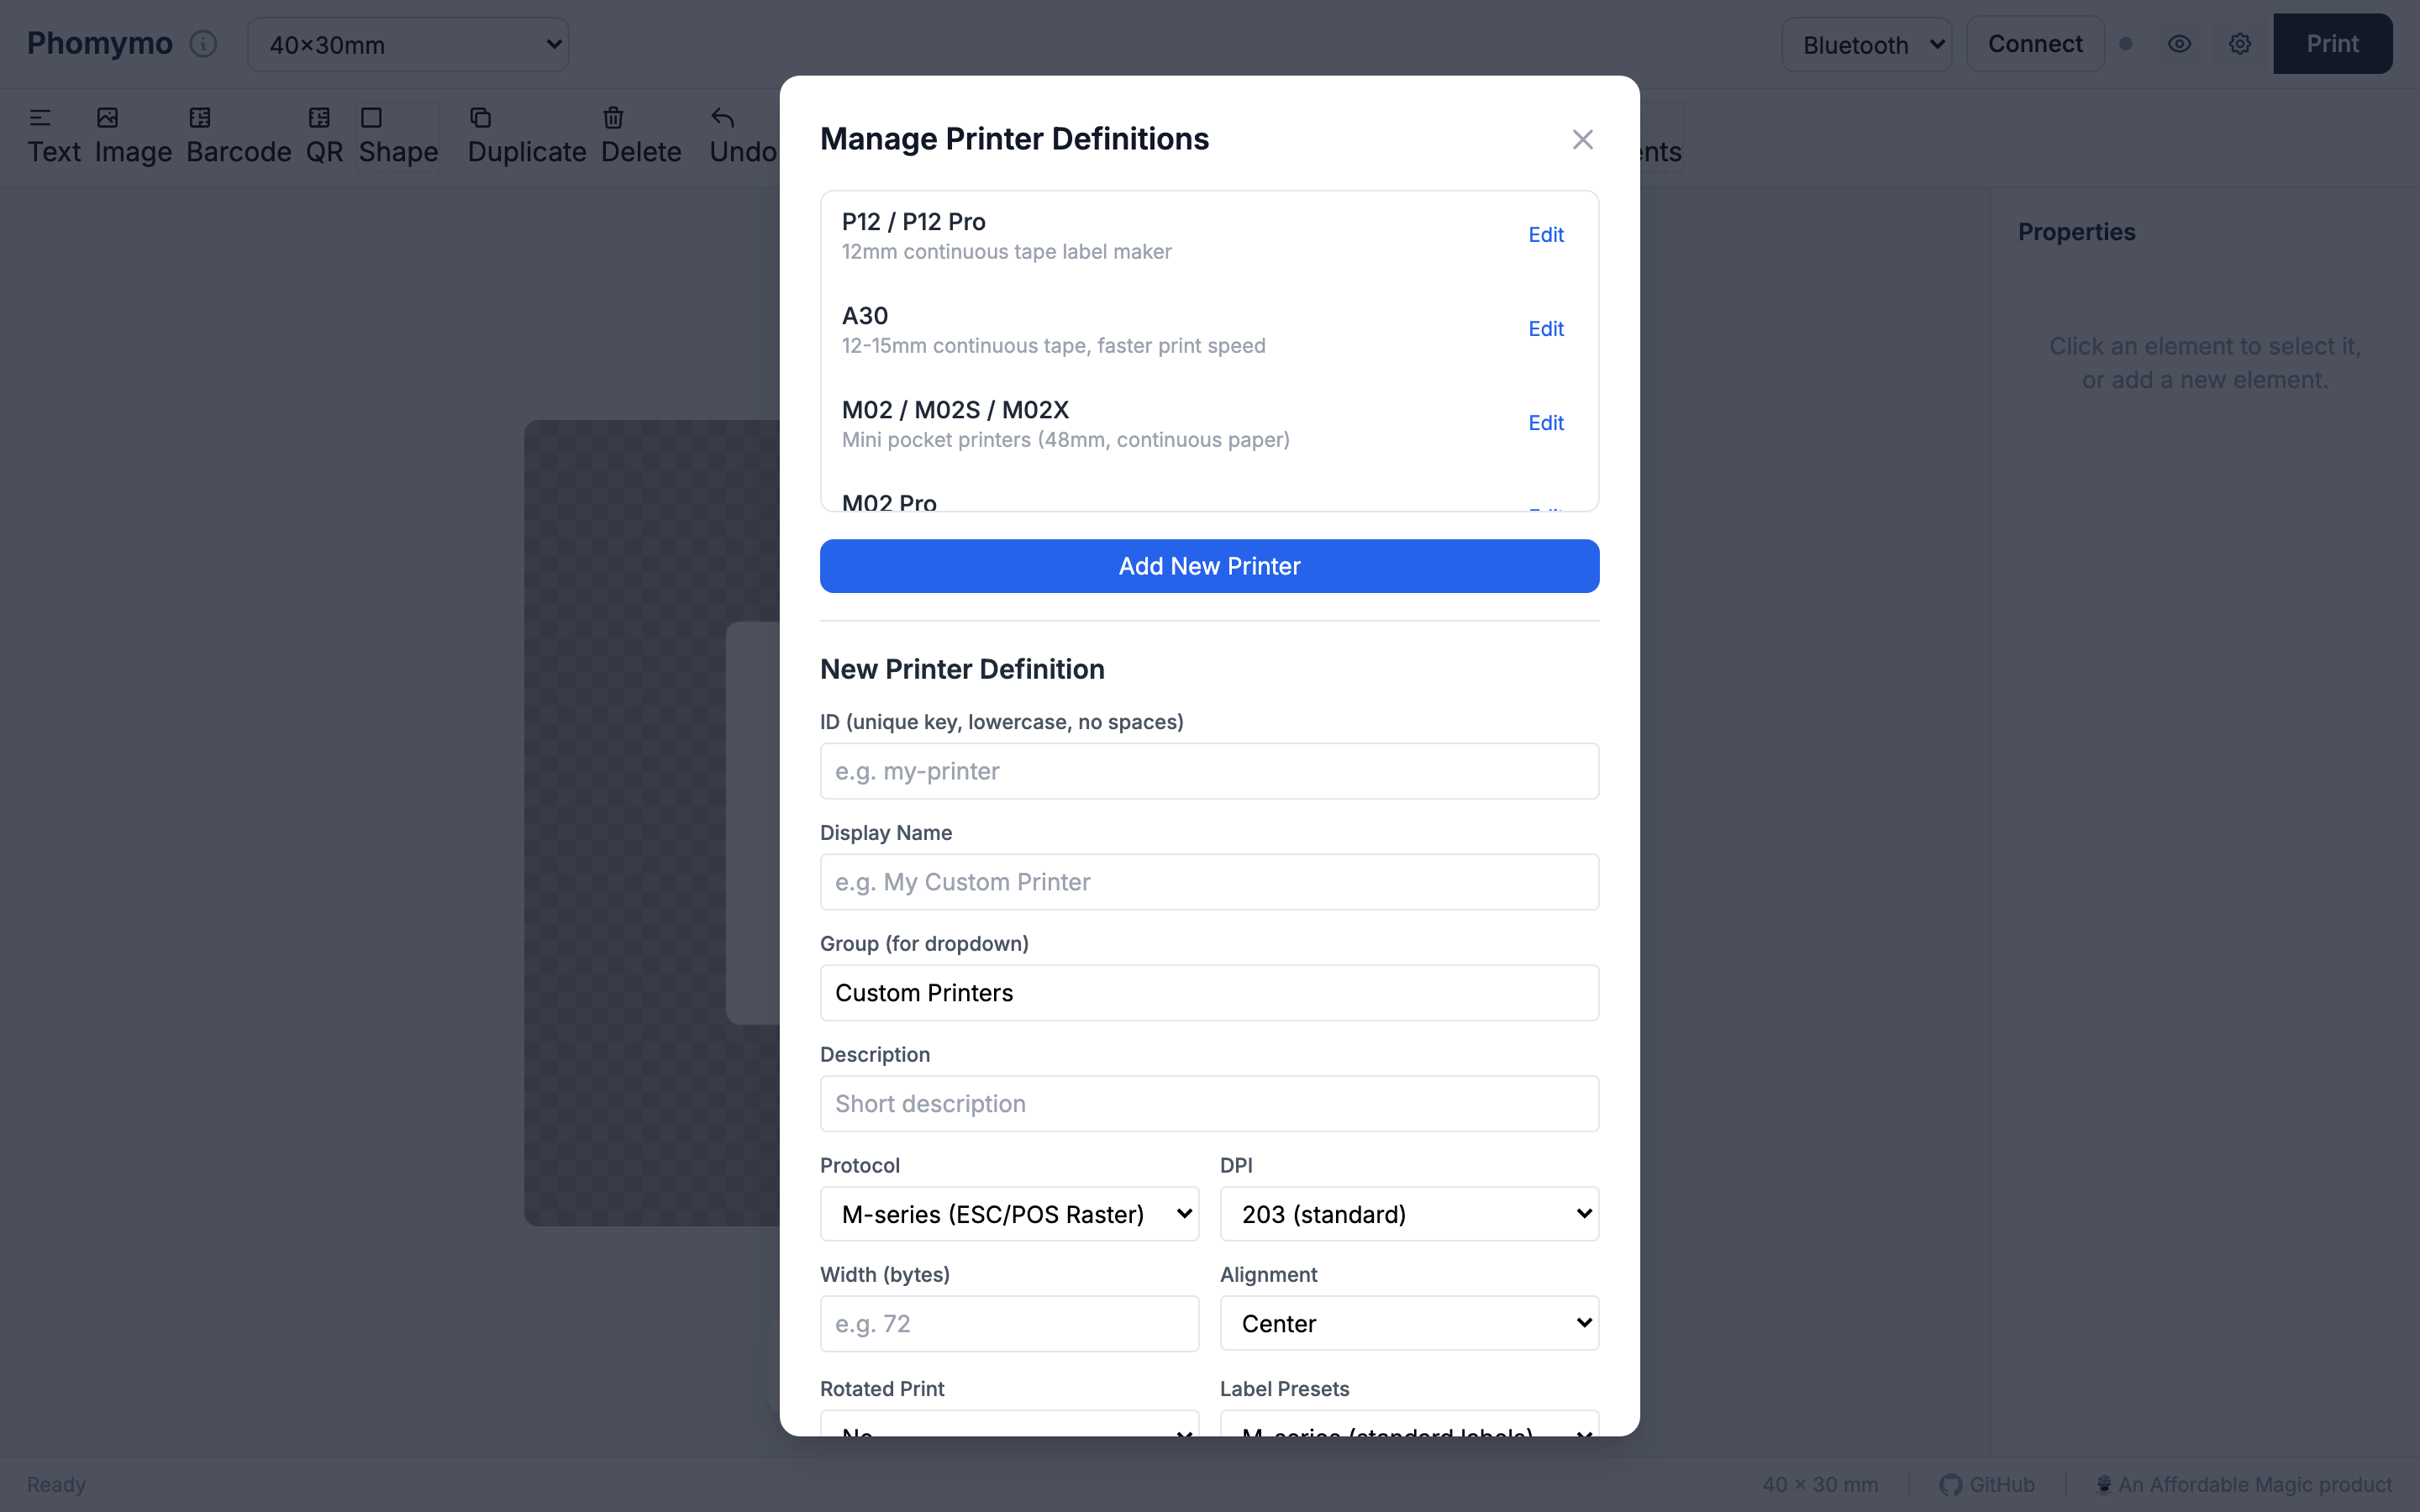
Fill in the fields:
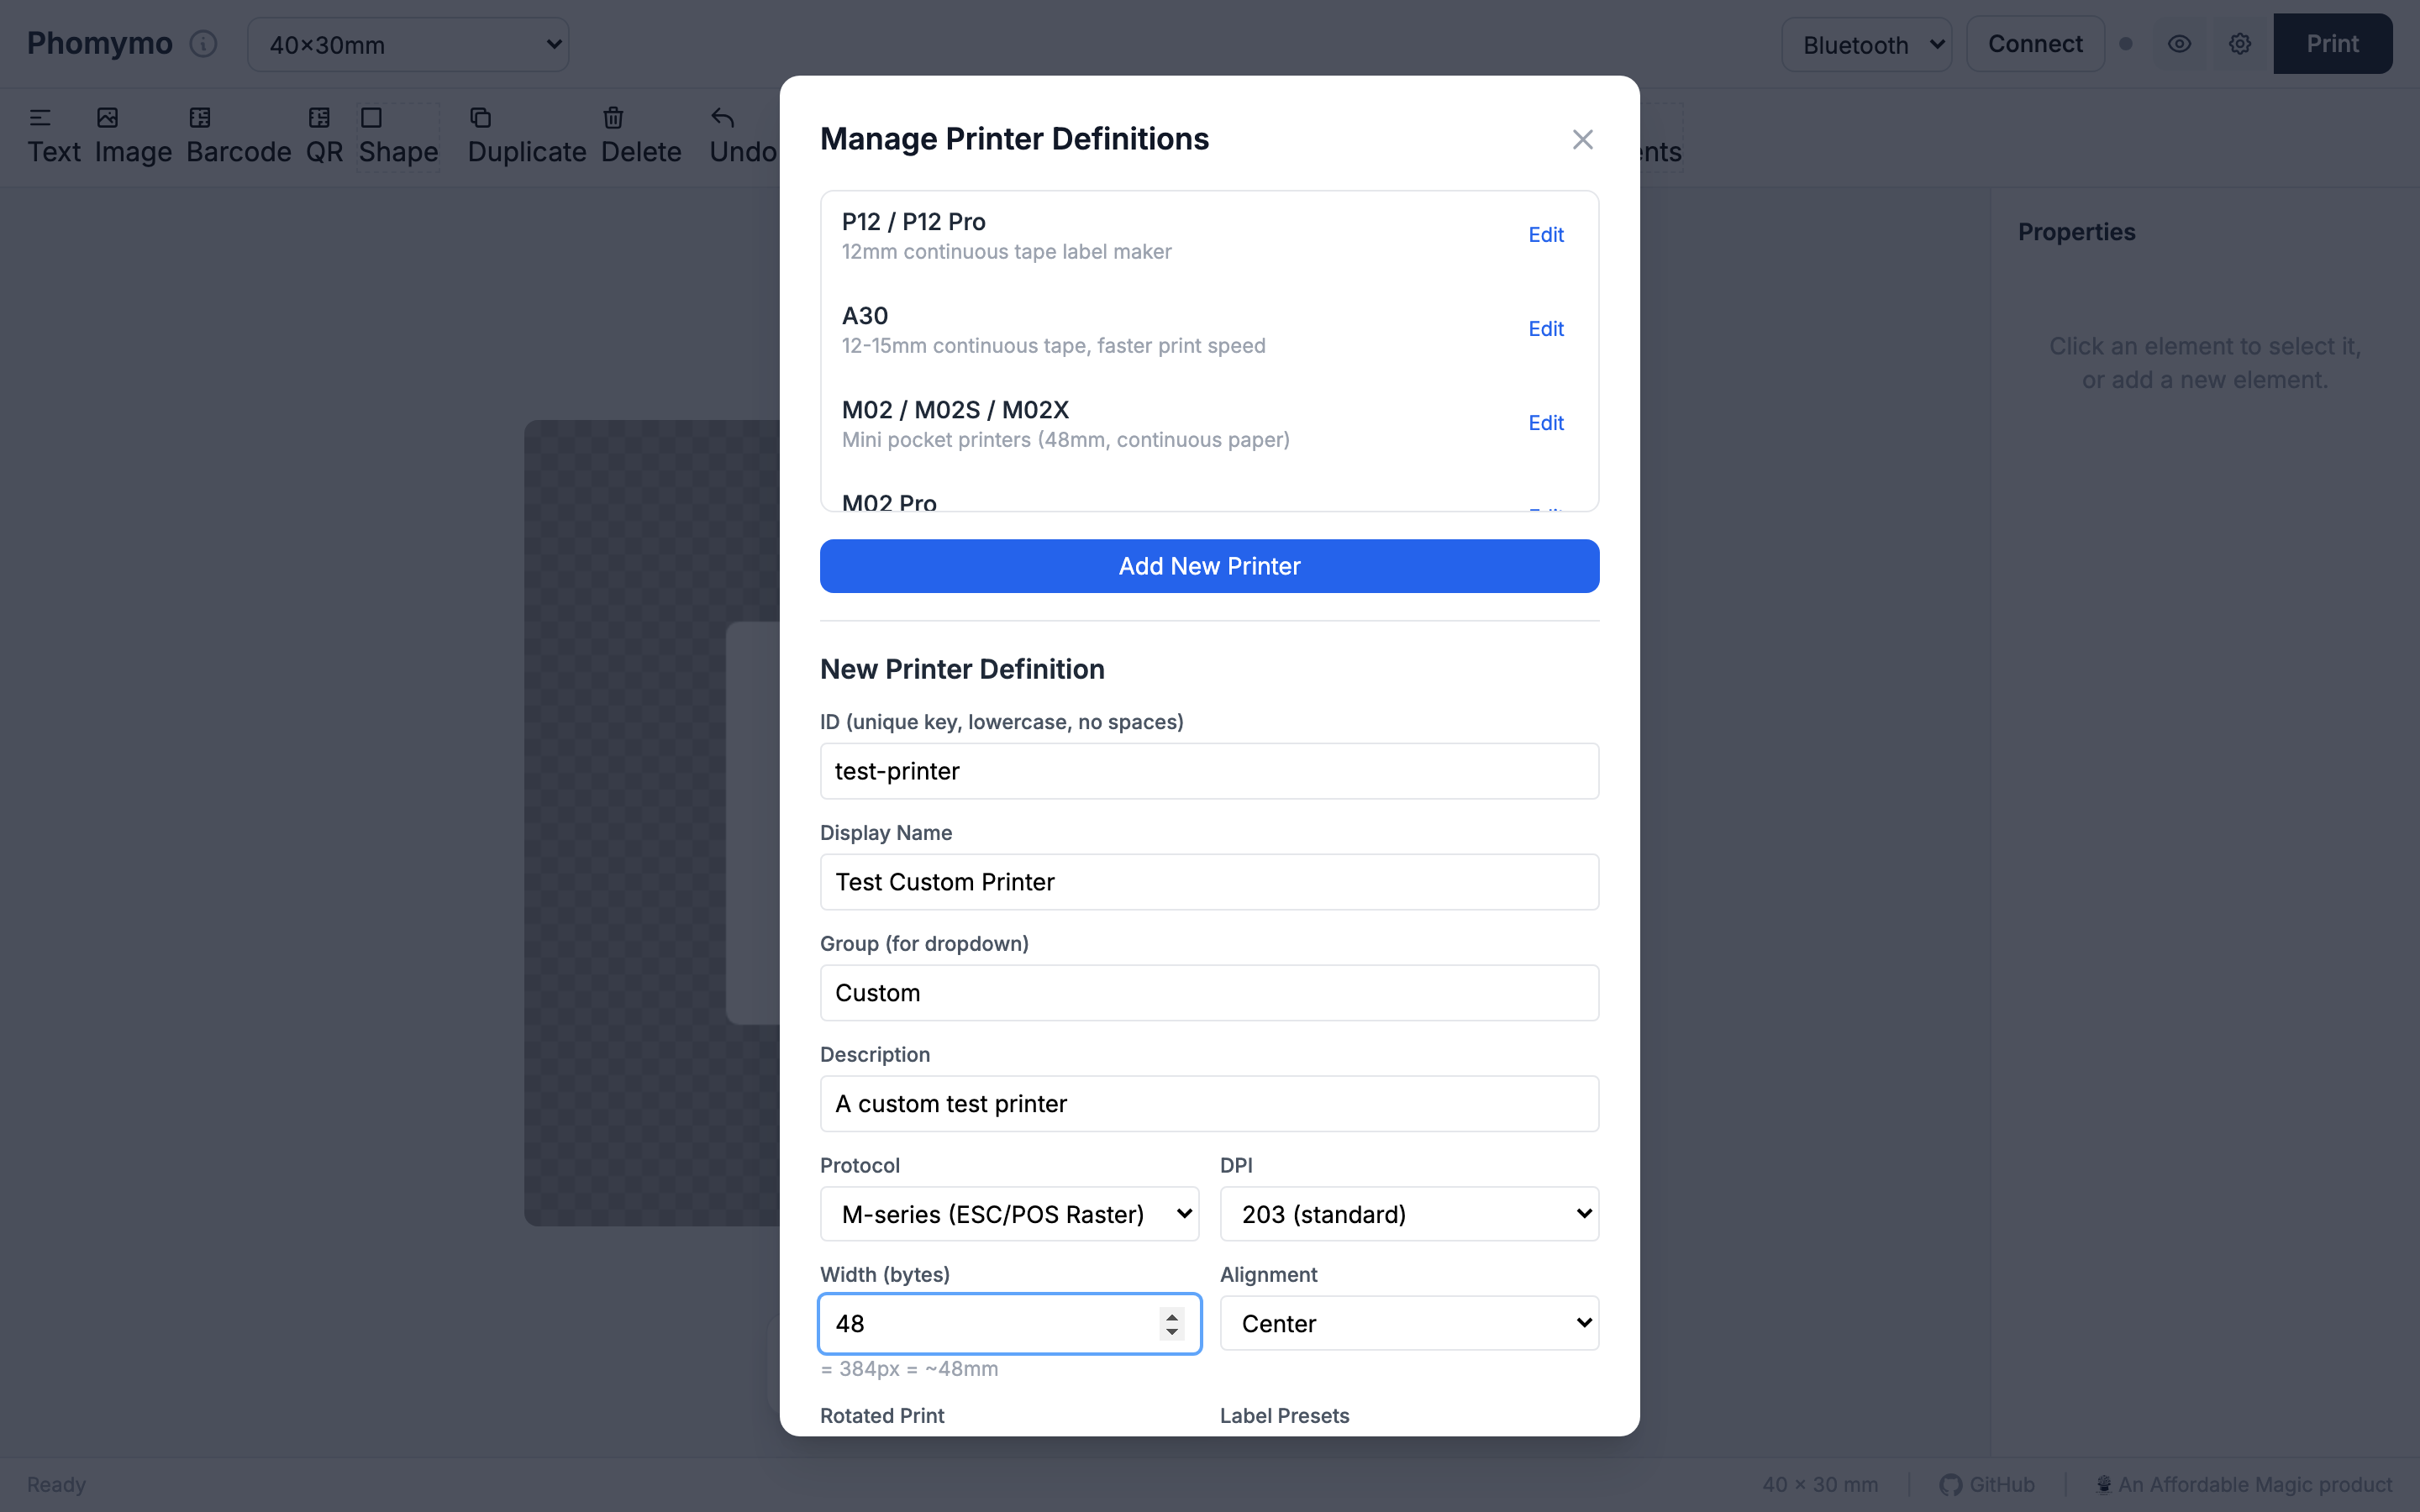
After saving, your custom printer appears in the list with a custom badge and in all printer dropdowns.

Click Edit on any built-in printer to override its settings. Modified built-ins show a modified badge.


All custom and modified printer definitions are saved in your browser’s localStorage and persist across sessions.